In preparing my latest sailplanes, I needed to
provide for ballasting.
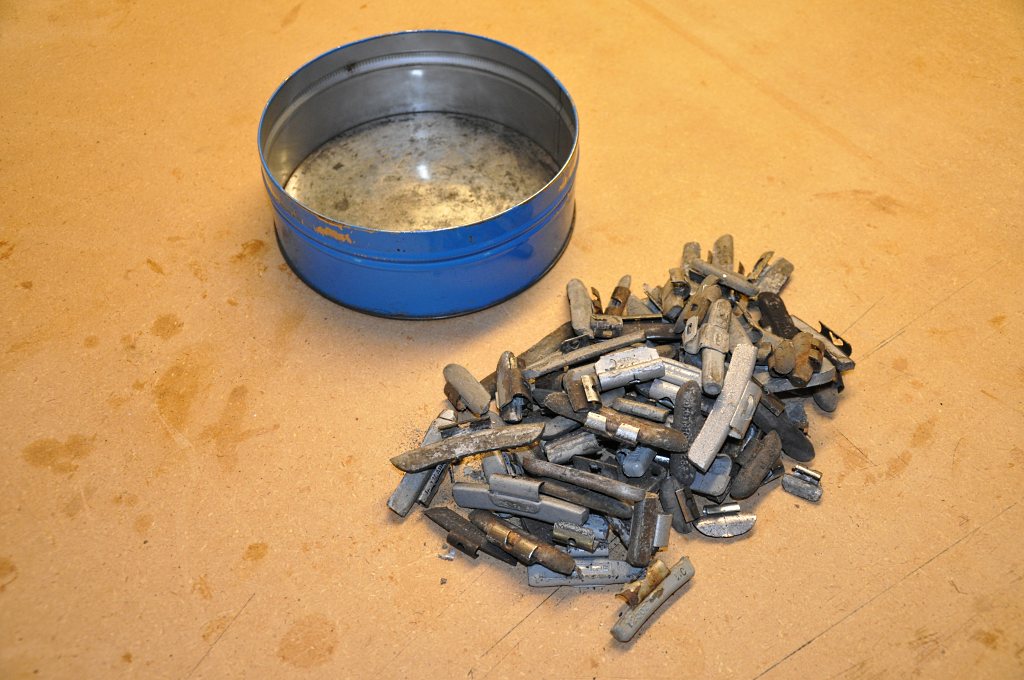
I stopped by my local auto repair shop and they kindly pulled a pile of discarded tire ballancing weights from a bucket for me free of charge.
I found an old tin can in my attic that was wide and shallow. (and that I wouldn't mind cooking over a flame.)
I dumped all the weights into the can.
I stopped by my local auto repair shop and they kindly pulled a pile of discarded tire ballancing weights from a bucket for me free of charge.
I found an old tin can in my attic that was wide and shallow. (and that I wouldn't mind cooking over a flame.)
I dumped all the weights into the can.
Lead weighs 6.556 oz. per cubic inch and I was
shooting for roughly 20 oz. of ballast in a 3/4 inch diameter tube.
This works out to just under 7 inches of lead. If I made 7,
one inch-long
slugs, I would have a nice range of ballasting options.
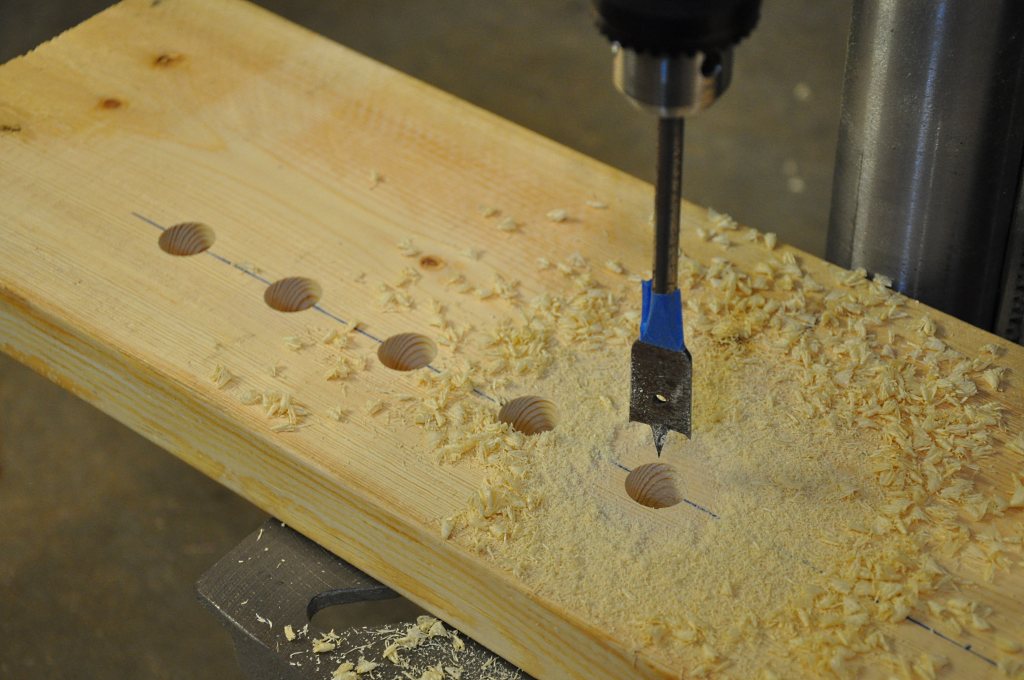
I found a scrap board in my shop and used a 3/4 inch drill bit to drill a bunch of holes that would be my casting molds. I placed some blue tape on the bit to show me when each hole was just over 1 inch deep.
Be sure that the drill makes smooth holes, as you want the cast lead to fall out easily once it has cooled.
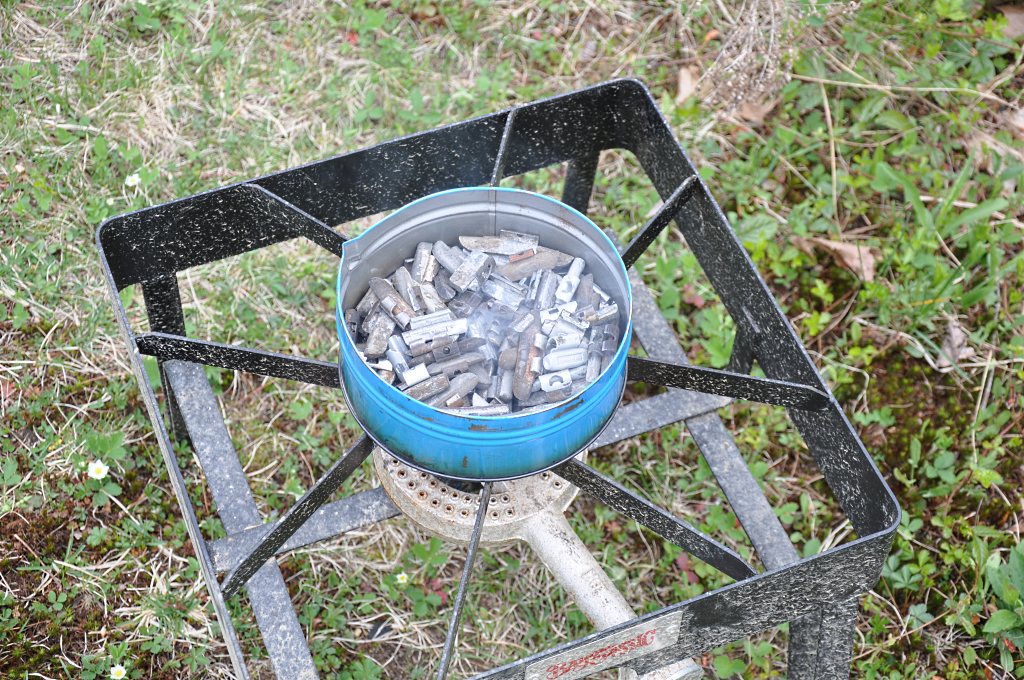
I took my propane cook stove out away from the
house on a nice breezy day (plenty of ventilation) and began the
melting process.
I was first going to need to separate the lead from the steel retaining clips. This proved to be quite easly as the lead melted and the clips floated free.
I was first going to need to separate the lead from the steel retaining clips. This proved to be quite easly as the lead melted and the clips floated free.
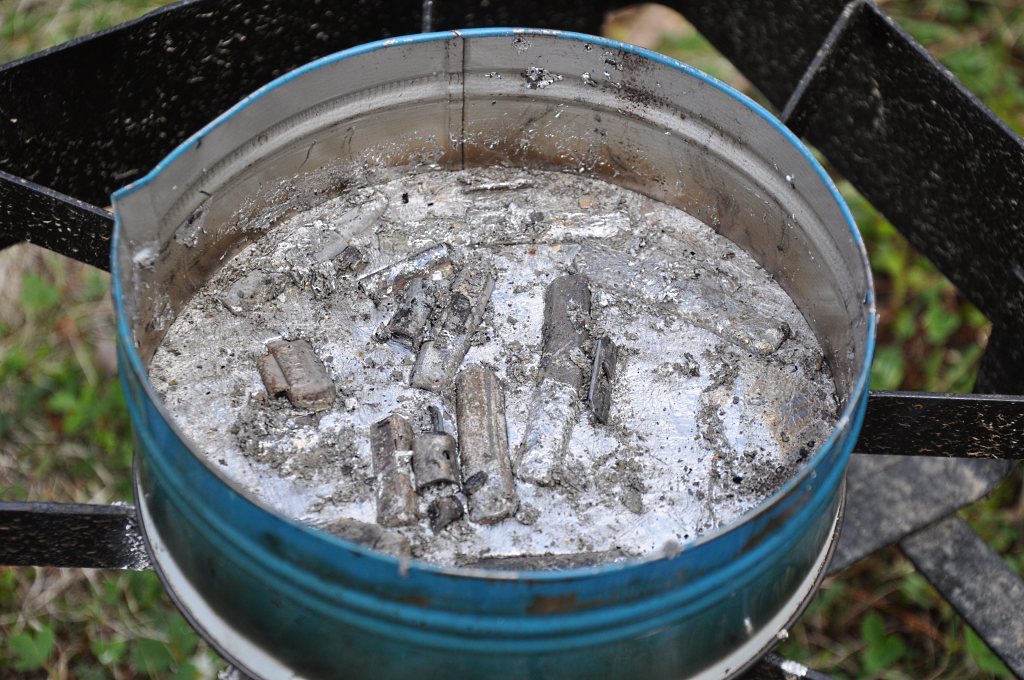
Here all the lead has melted and most of the
clips have been fished out. The remaining weights had a
different composition, and would not melt, so they were removed as
well.
Note in the picture that I crimped a pour spout on one side of the can to facilitate pouring the lead when the time came...
Note in the picture that I crimped a pour spout on one side of the can to facilitate pouring the lead when the time came...
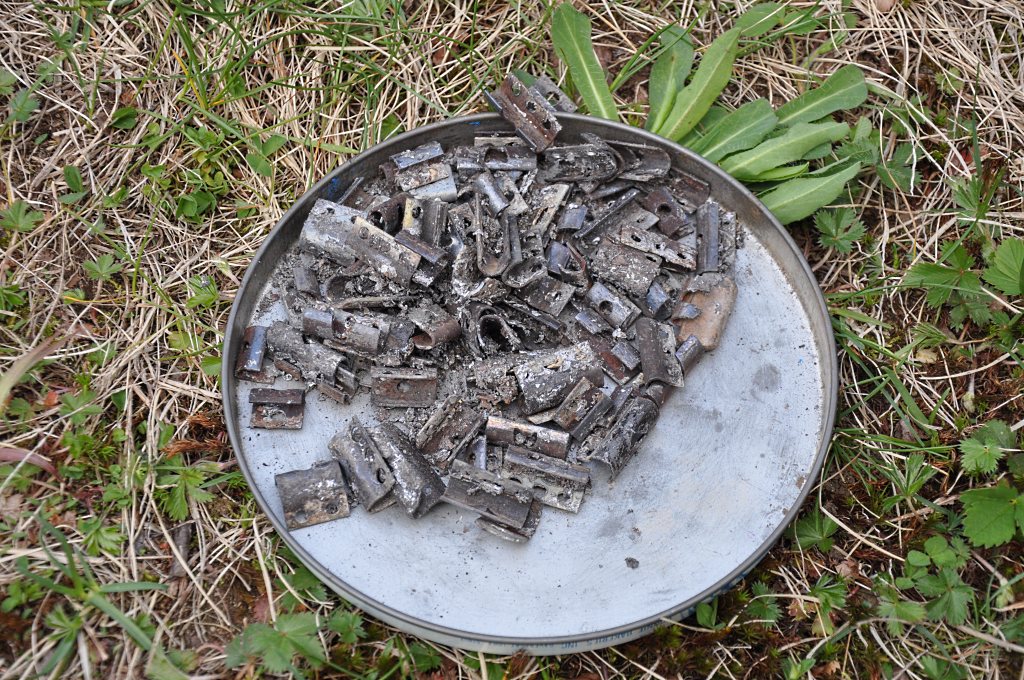
Here is a shot of all the clips that were removed
during the melting process.
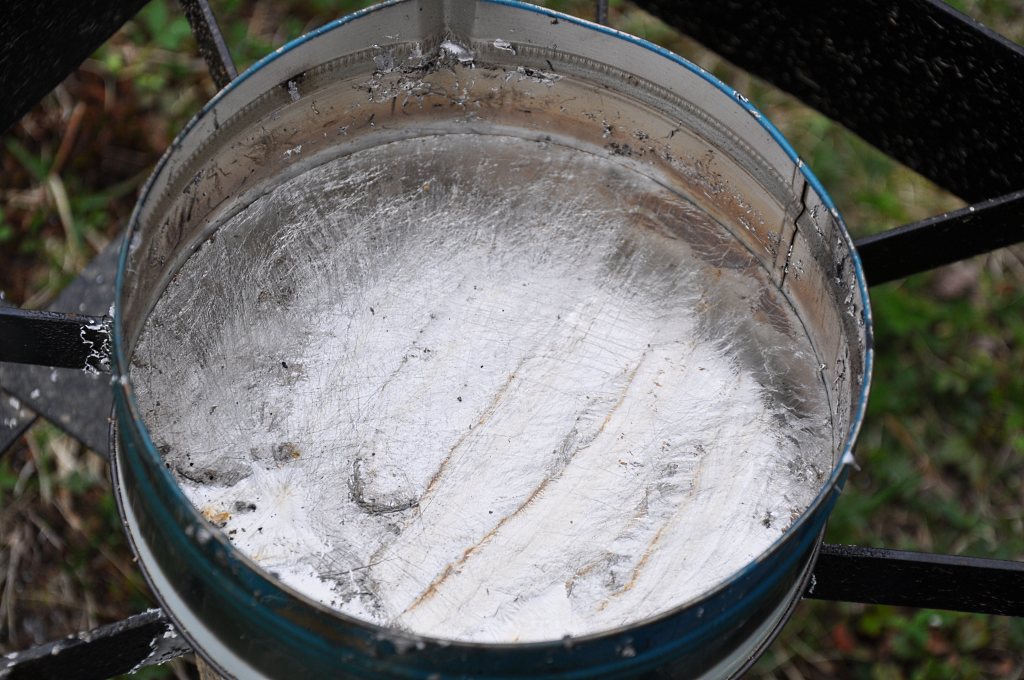
While the lead was in its molten state, I took
the opportunity to remove any dross that floated to the surface.
This process took several minutes, and as some dross was removed, more would surface. You can see the scoop marks on the surface of the lead where dross was removed.
I continued to remove dross until all that remained seemed to be nothing but lead.
This process took several minutes, and as some dross was removed, more would surface. You can see the scoop marks on the surface of the lead where dross was removed.
I continued to remove dross until all that remained seemed to be nothing but lead.
Once I was satisfied with the quality of my lead,
I picked up the can with a pair of pliers and carefully poured the
lead into the drilled holes.
I found that if I got the pour spout close to the hole, and proceeded slowly, there was very little splatter.
I found that if I got the pour spout close to the hole, and proceeded slowly, there was very little splatter.
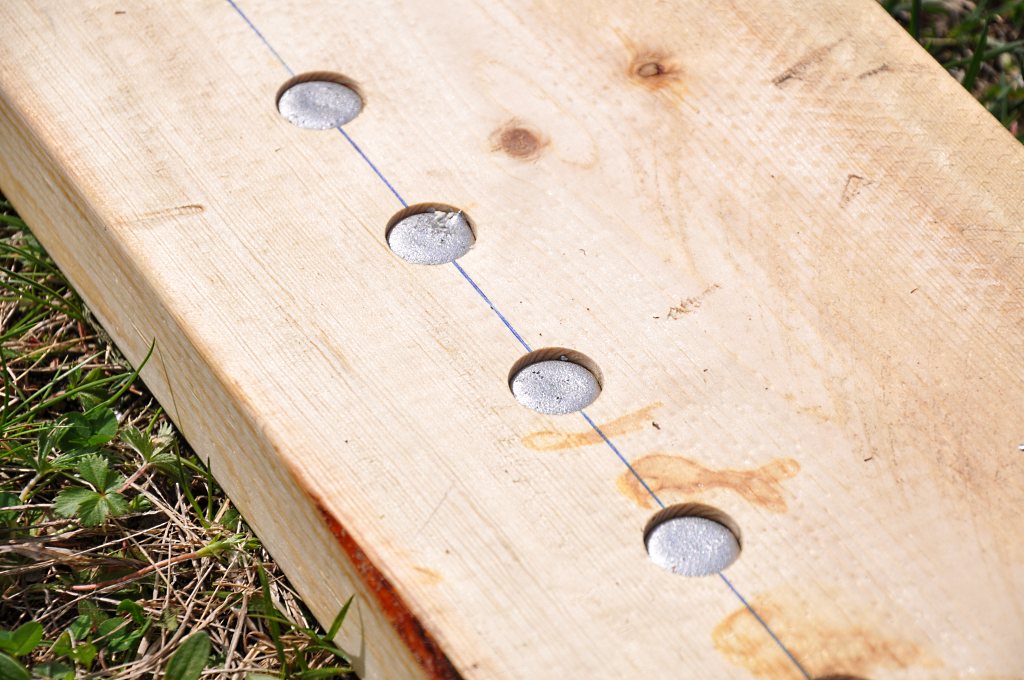
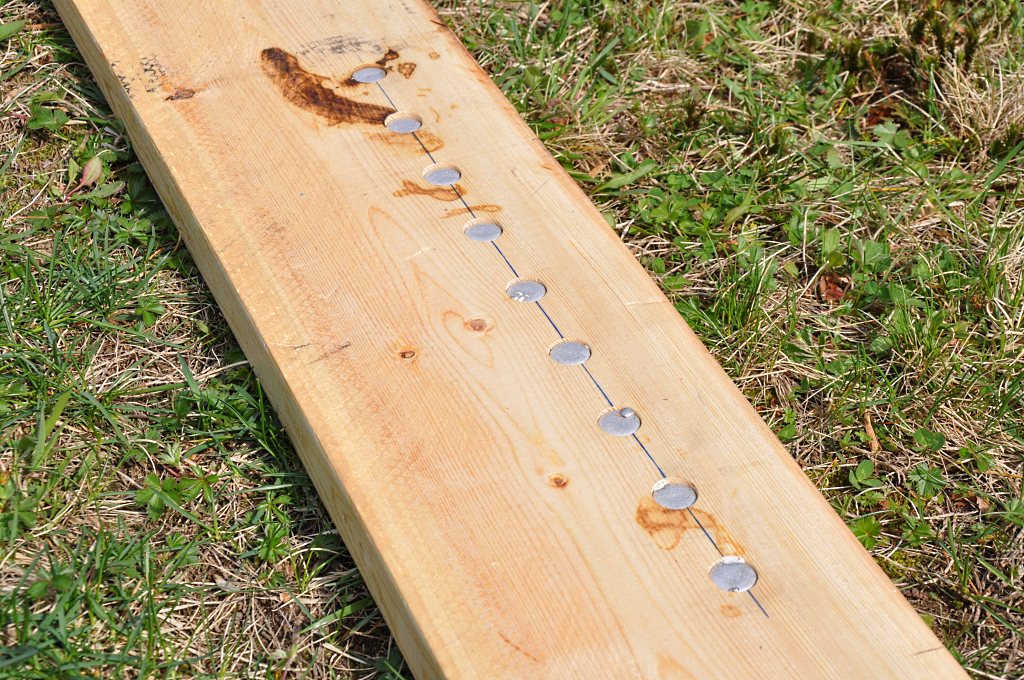
Here you see a close-up of the freshly poured
lead in the holes.
I allowed he lead to cool outside for about 45
minutes and then took the board inside. Once inside, I gave it
another hour to cool.
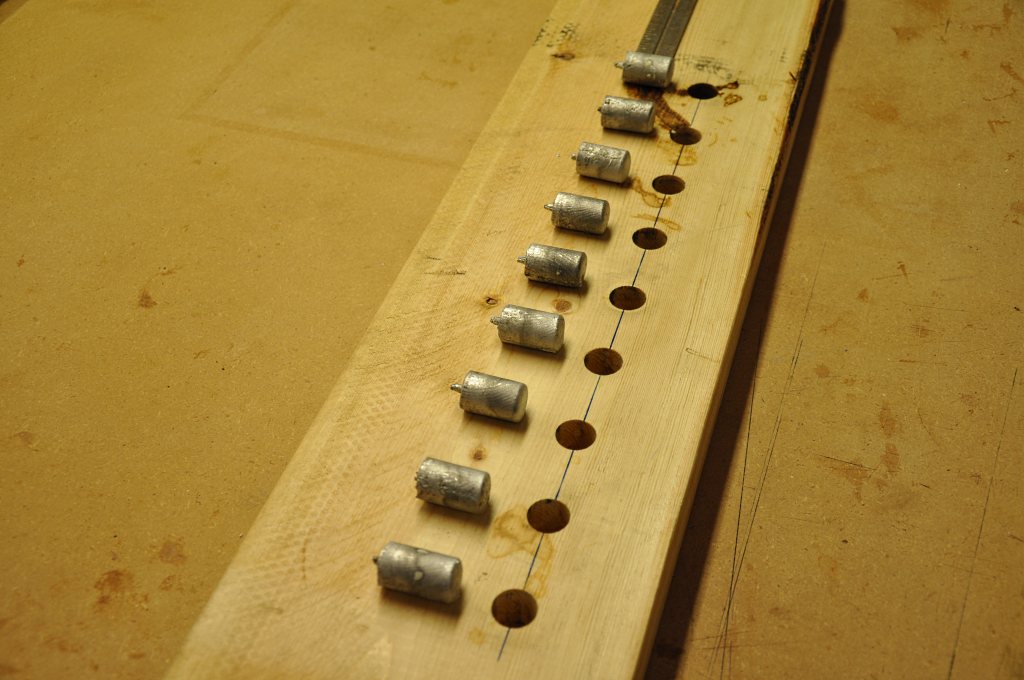
Once cool to the touch I noticed that the slugs rattled slightly in their holes, telling me that they had shrunk enough in cooling that they were now loose.
I turned the board over and gently tapped and pulled on the slugs until I got them all out.
You can see the small stem at one end that was made because of the shape of the drill... no problem, of course, as that will be removed.
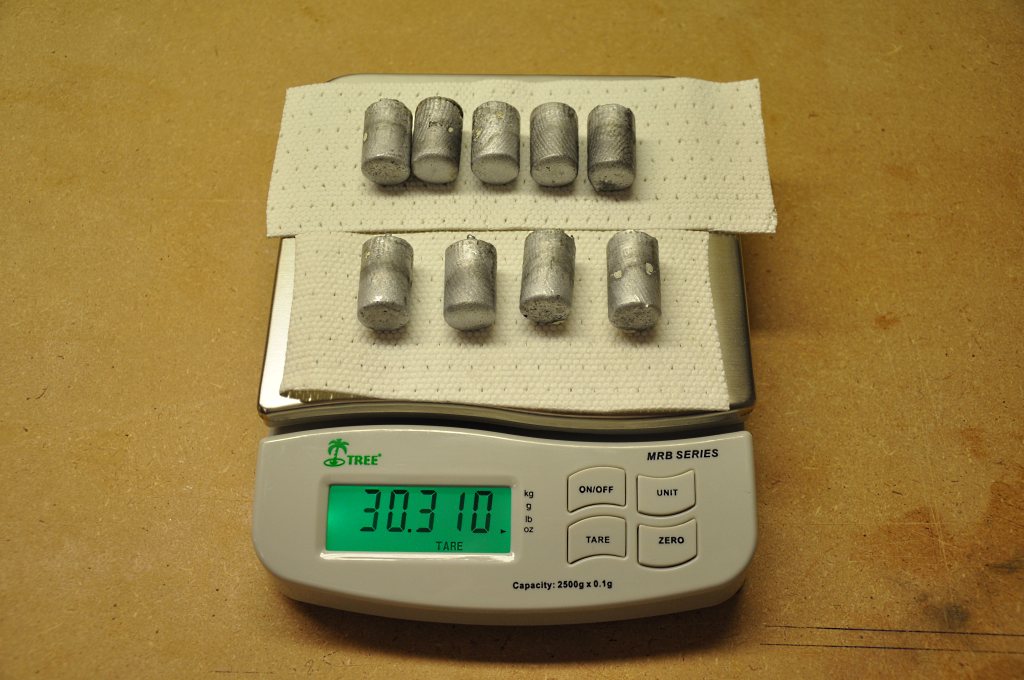
Having cast 9 slugs - each slightly over 1 inch
in length - I was anticipating a total weight of around 29 oz.
You see here that I have a bit over 30 oz.
You will note the use of the Tare feature of my scale, in order to remove the small weight of the fabric protecting the surface of the scale.
You will note the use of the Tare feature of my scale, in order to remove the small weight of the fabric protecting the surface of the scale.
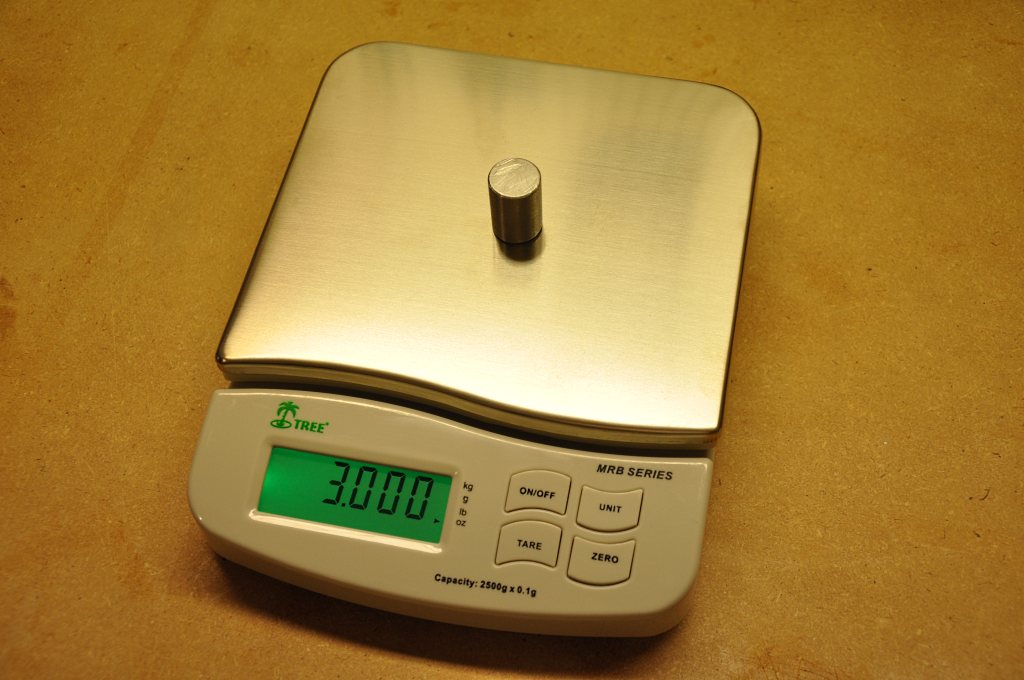
I then proceeded to mill the slugs to a finished
weight of 3 oz.
I used gloves and a mask while handling the lead, and milled them with a combination of aluminum shears, files and differing weights of sand paper to achieve a nice shape and finish.
Next up: Making the ballast tube... Check back!
I used gloves and a mask while handling the lead, and milled them with a combination of aluminum shears, files and differing weights of sand paper to achieve a nice shape and finish.
Next up: Making the ballast tube... Check back!