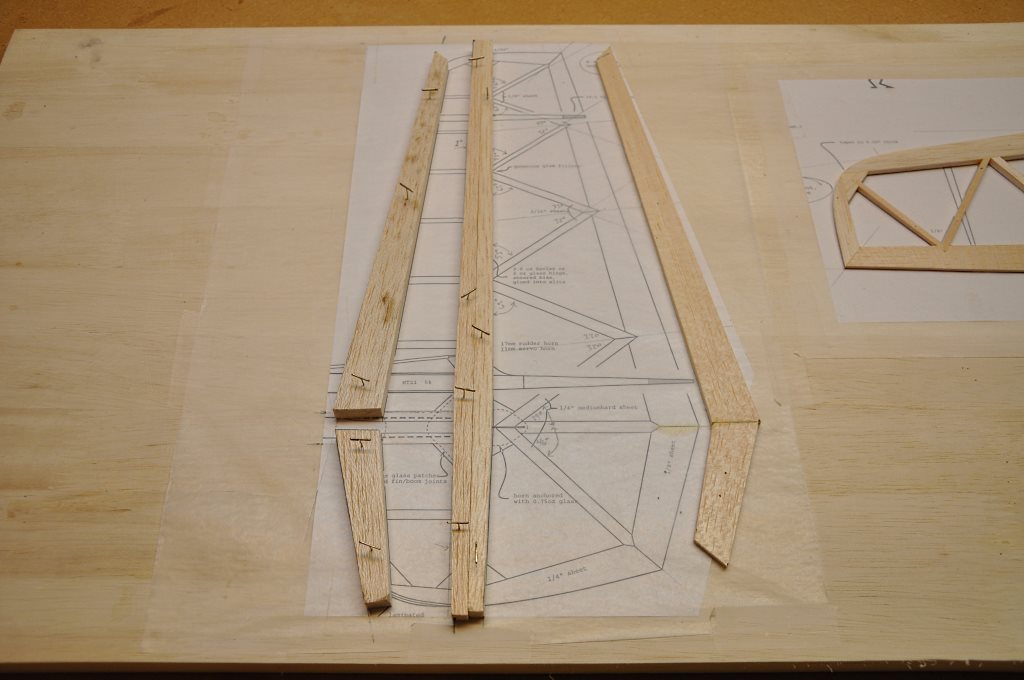
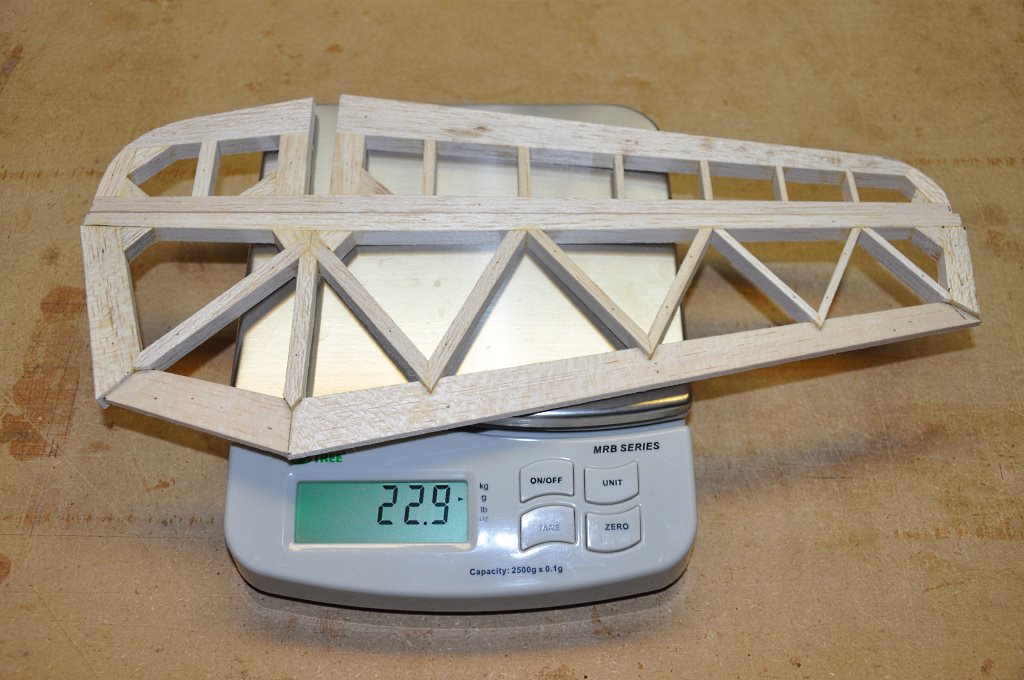
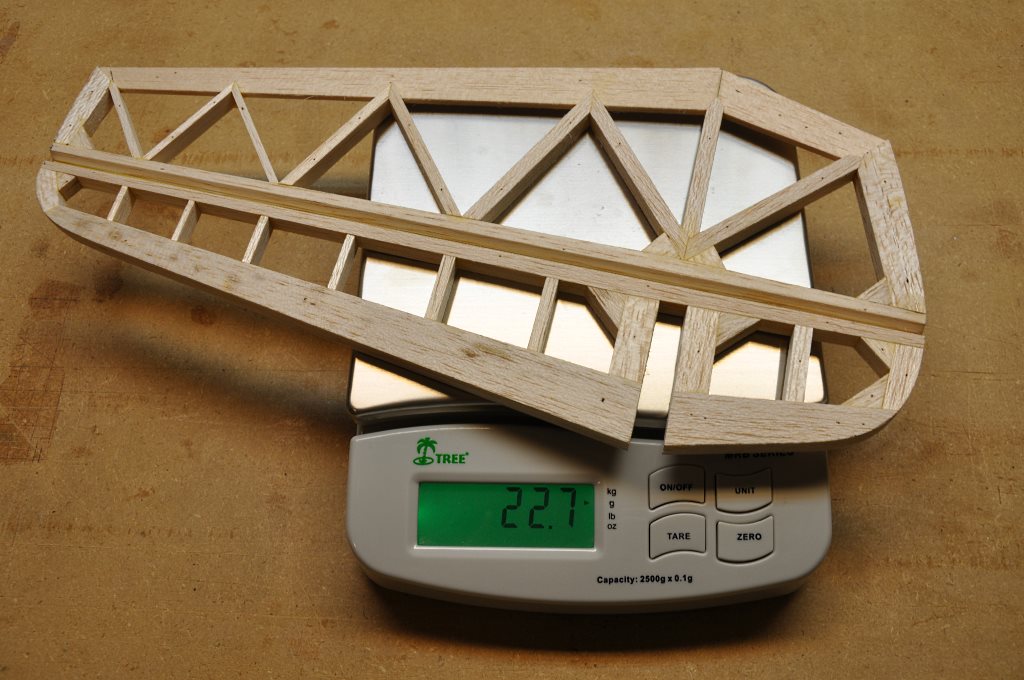
The finished target weight for this part is 17 grams, so in order to have any chance at all at achieving that weight, we need to be very selective in the wood that we use.
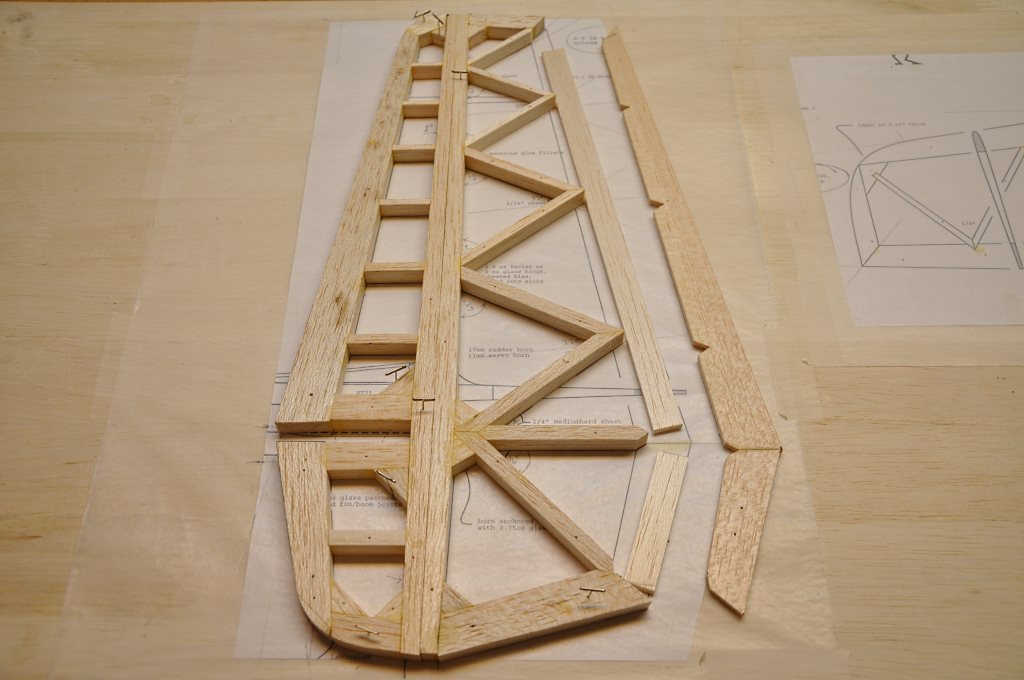
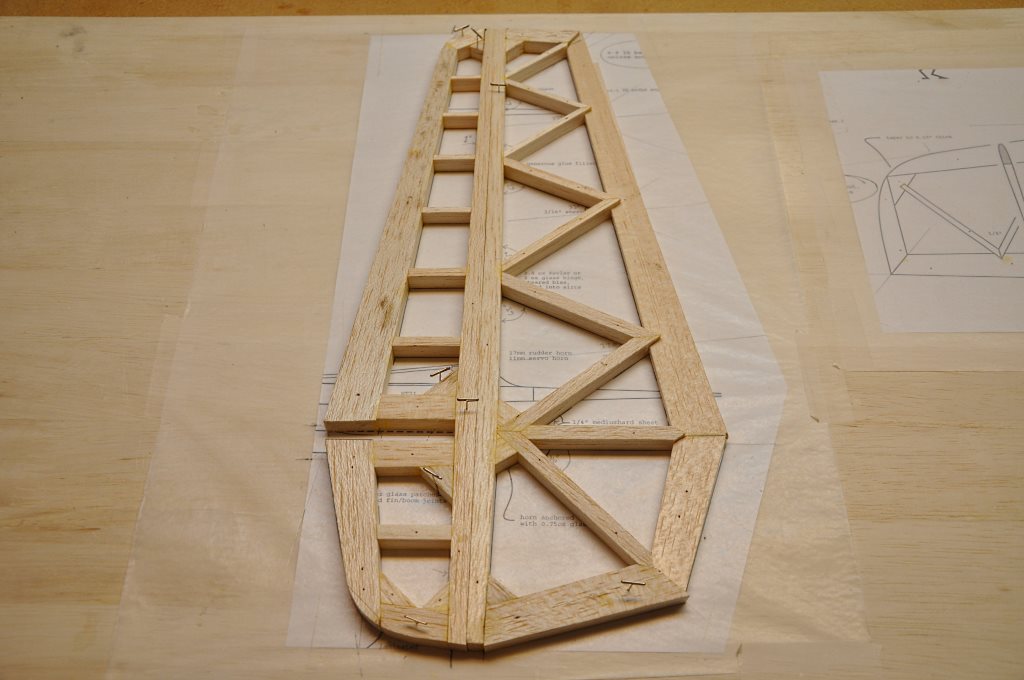
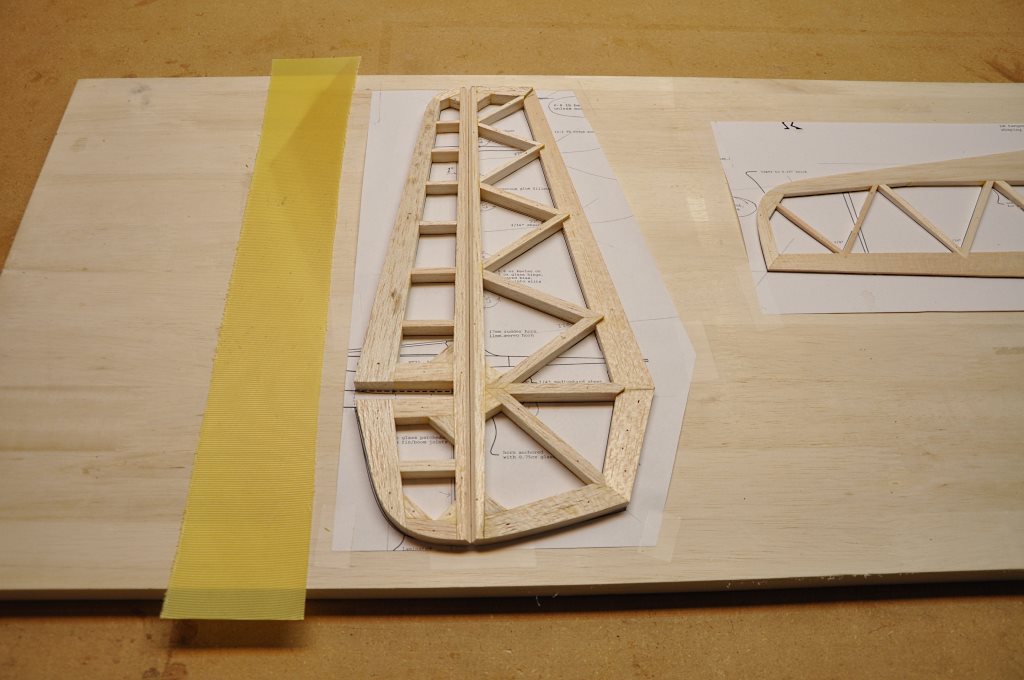
I started by cutting the various long pieces to shape and pinning them to my building board.
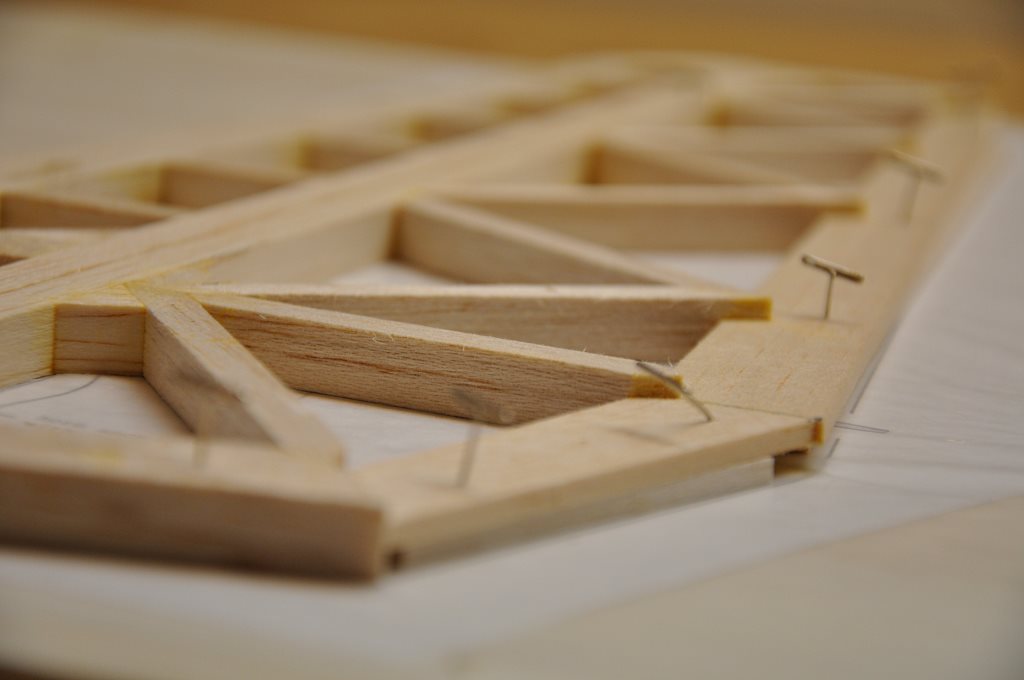
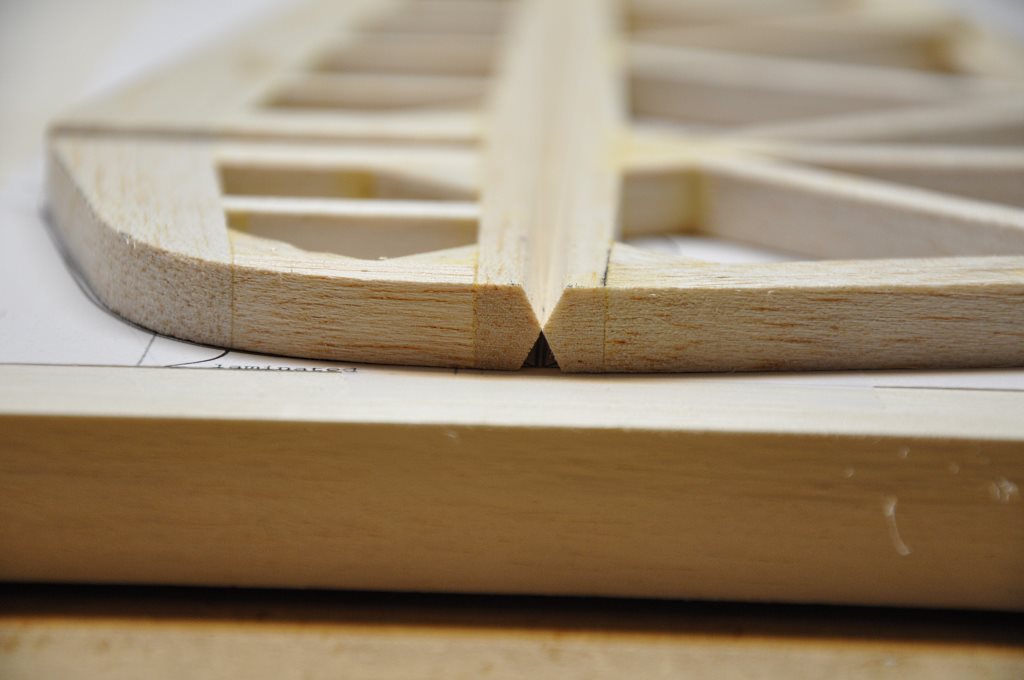
Almost all the balsa pieces are 3/8" thick, but you can see that the trailing edge is only 1/8 inch thick.
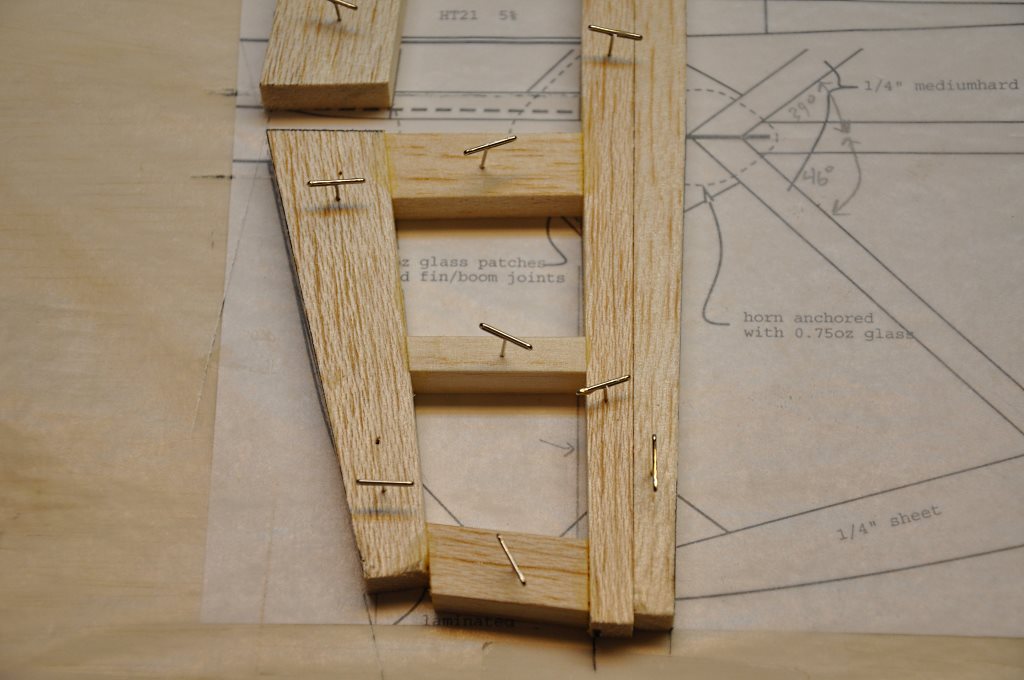
In the interest of speed, I only roughly shaped the pieces before gluing them in place... The final shape will be easier to achieve after all the parts are glued.
Note that the plans call for "medium hard" balsa sheet for the 3 ribs that radiate from the rudder hinge point.

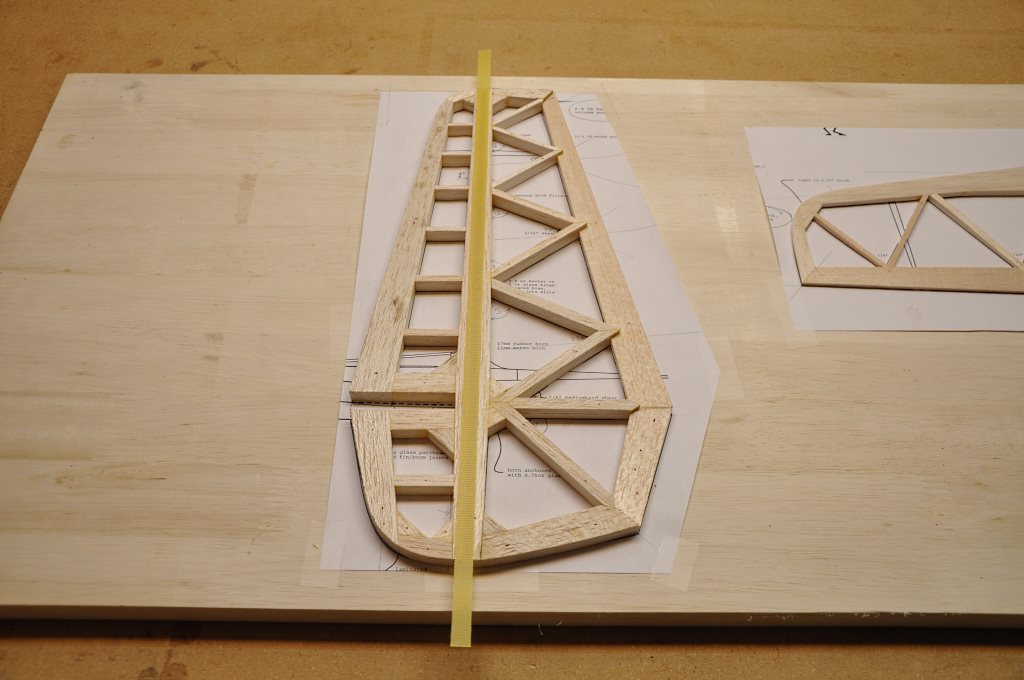
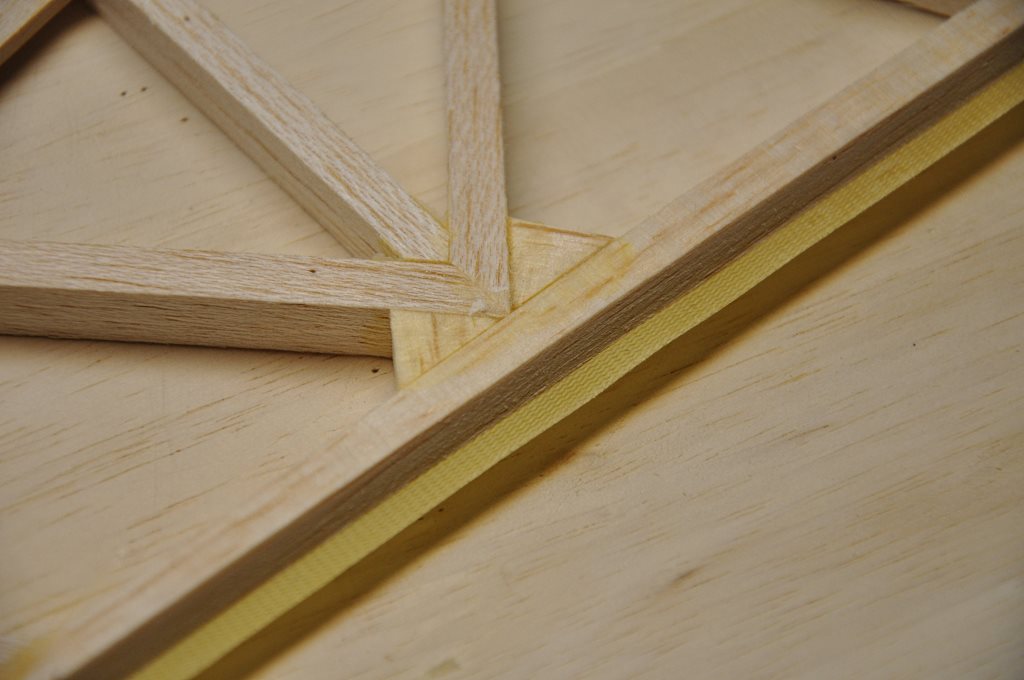
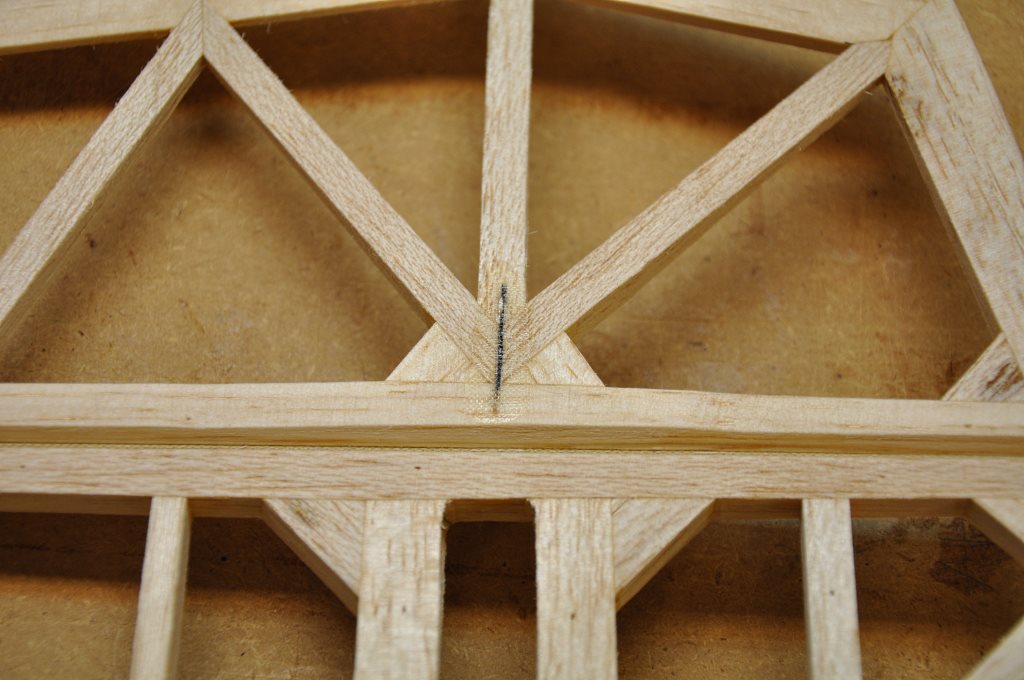
Work carefully to achieve 100% wood contact for the strongest joint possible.
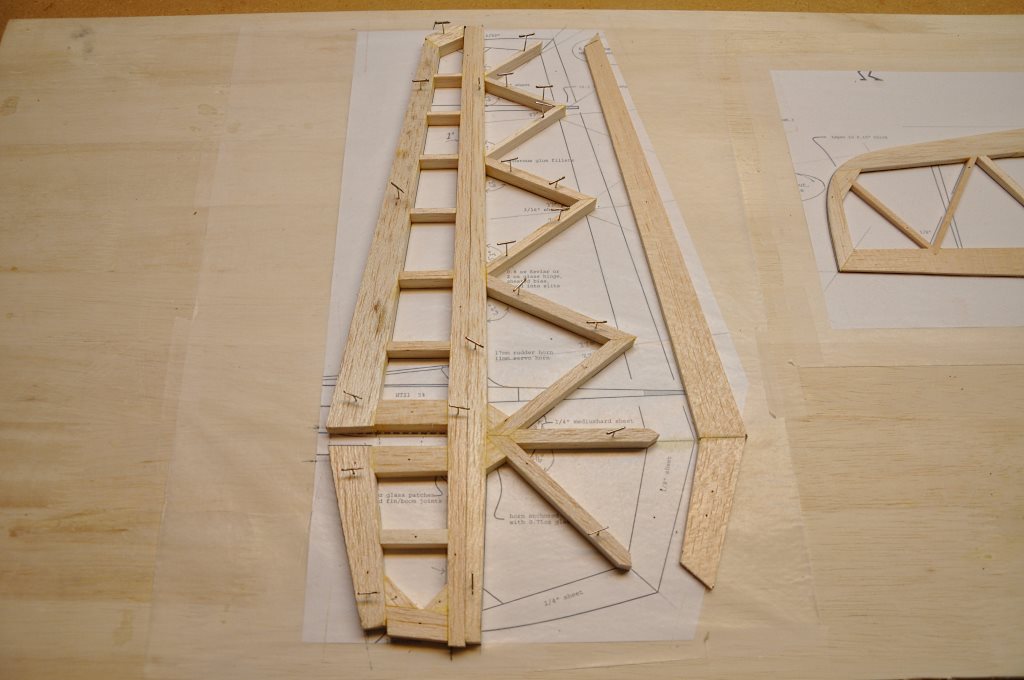
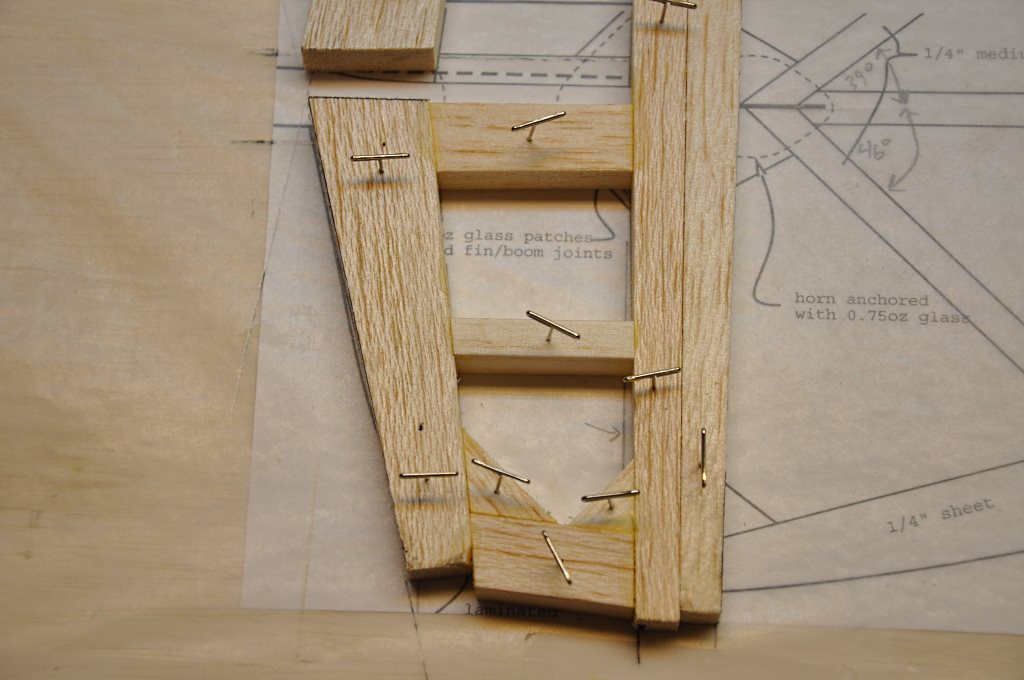
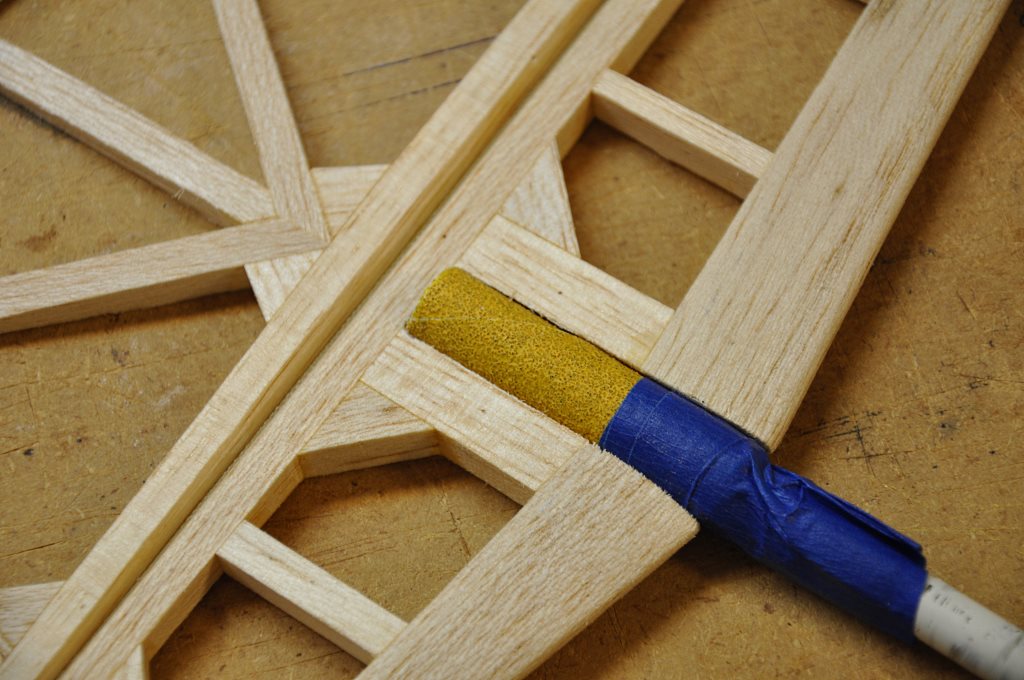
I then place 1/8" scraps of balsa under the trailing edge to lift it to the middle of the rudder ribs.
I then glued the trailing edge in place.
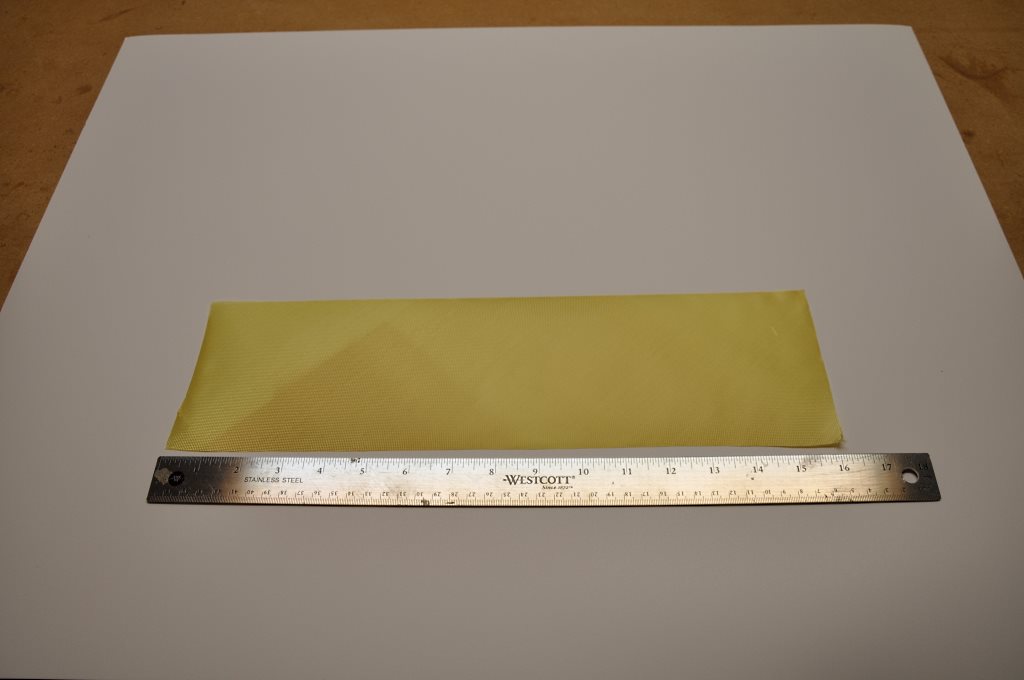
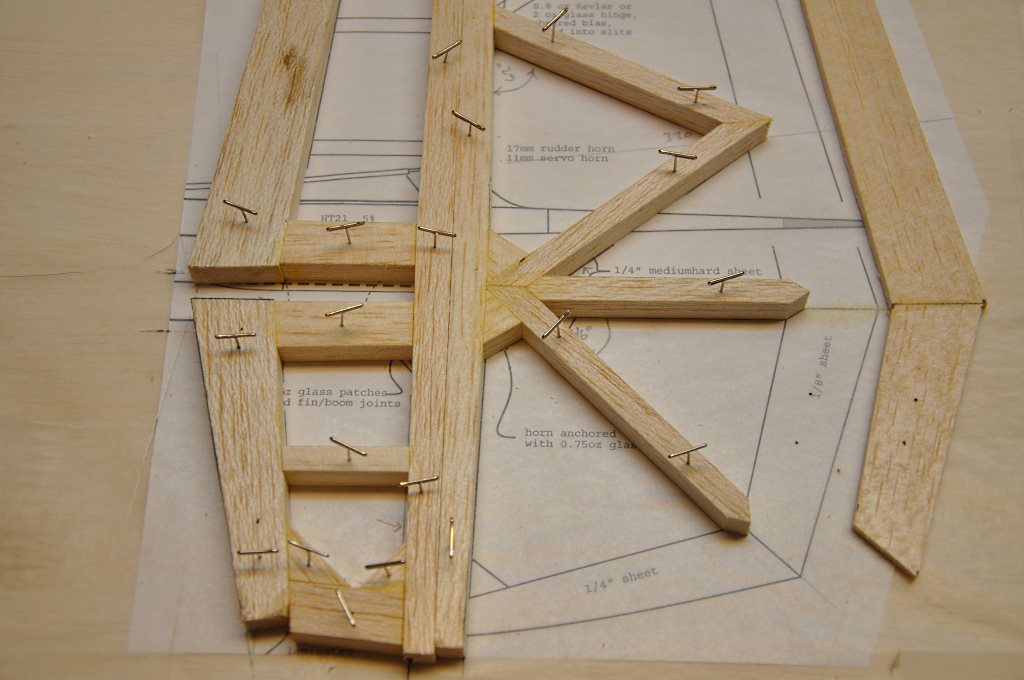
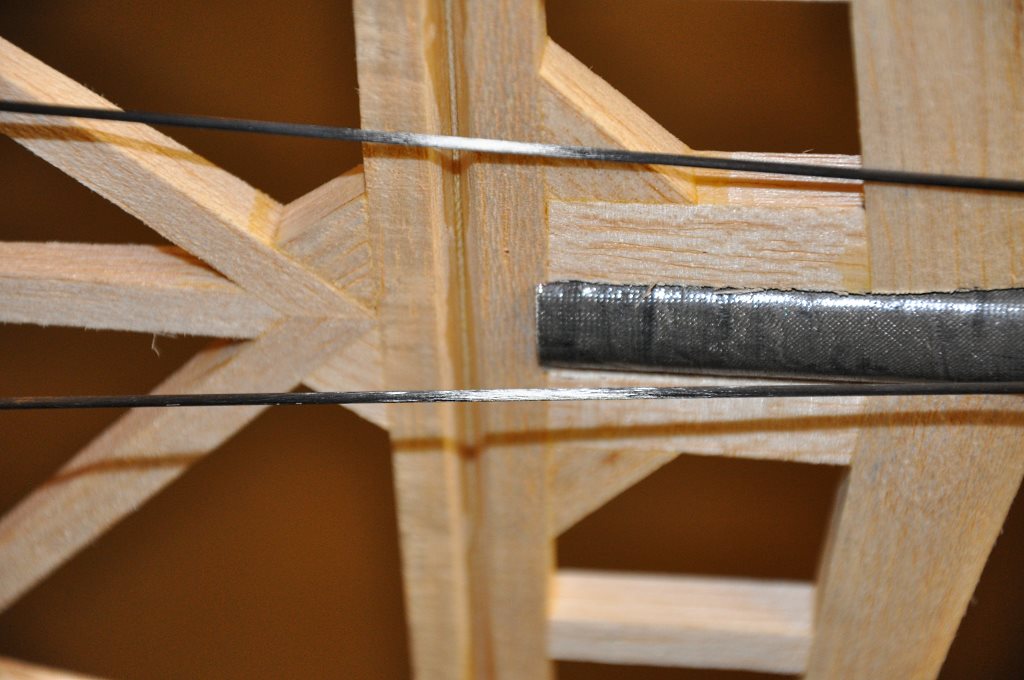
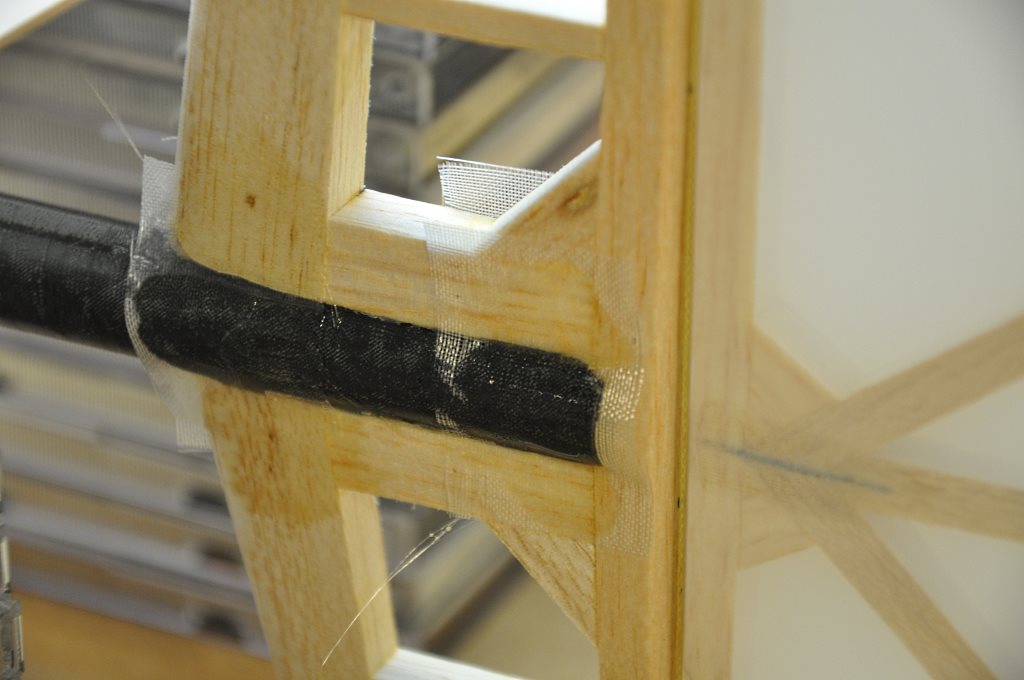
I'm actually making more than one Bubble Dancer simultaneously, so I'm using enough material for several hinges...
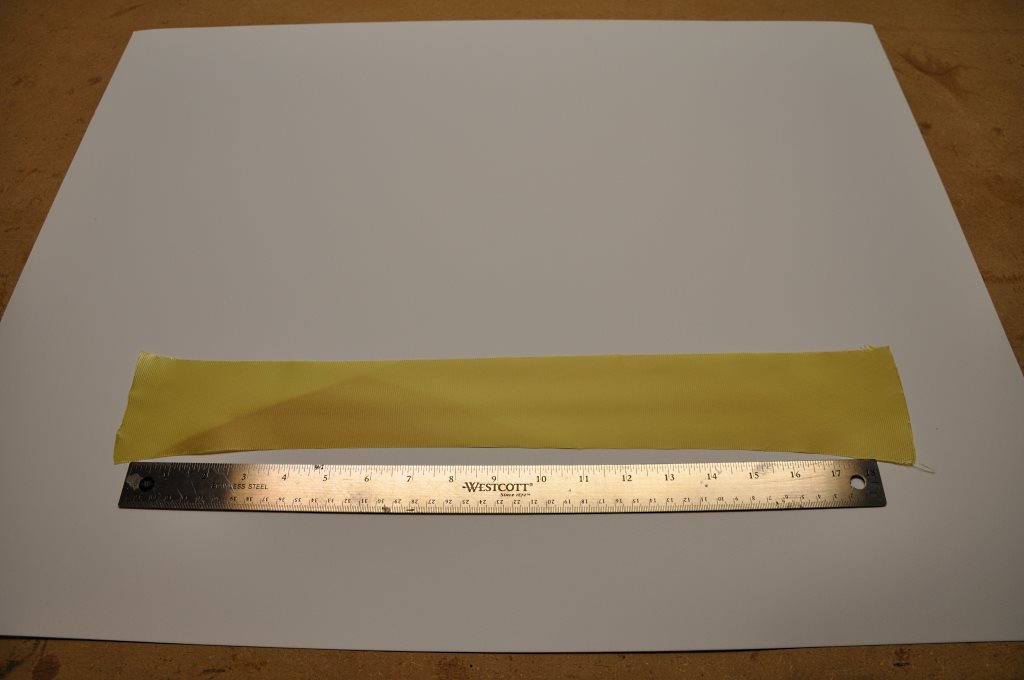
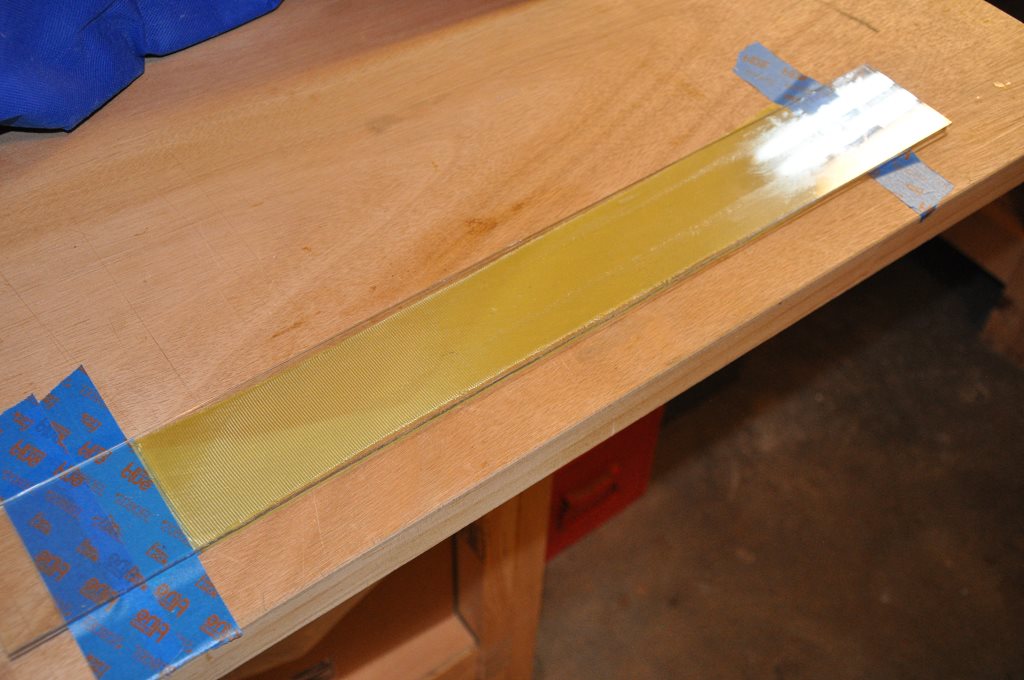
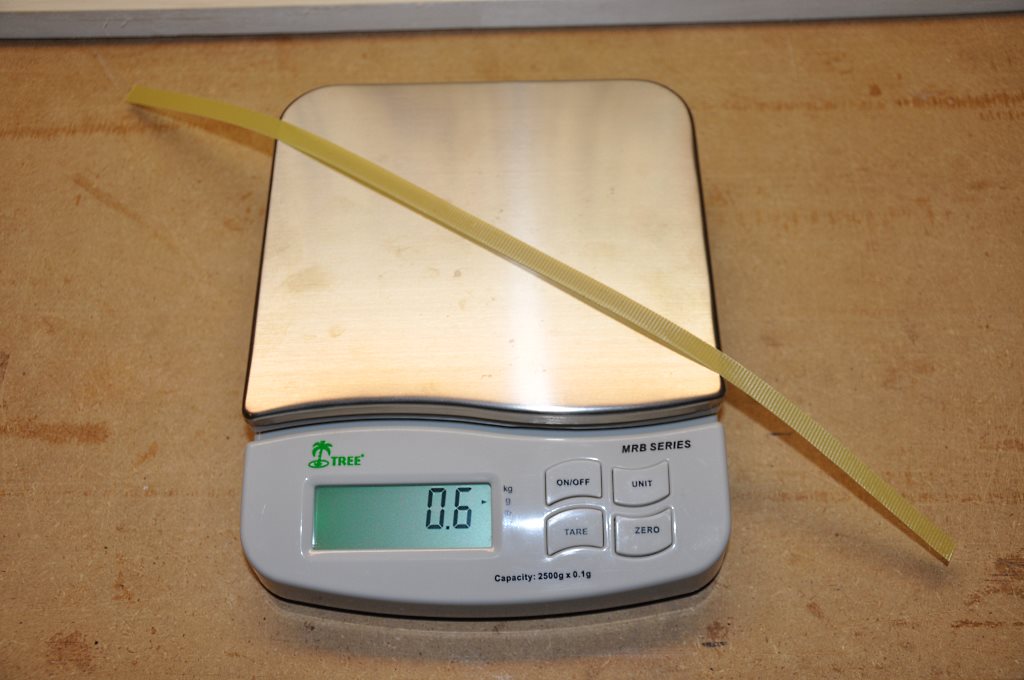
I will admit that this is more that double what this hinge should weigh for the simple reason that the plans call for .8 oz. Kevlar - which I've never bothered to purchase... so this hinge is made from the 1.7 oz. Kevlar that I have in stock.
I glued the hinge in place with CA.
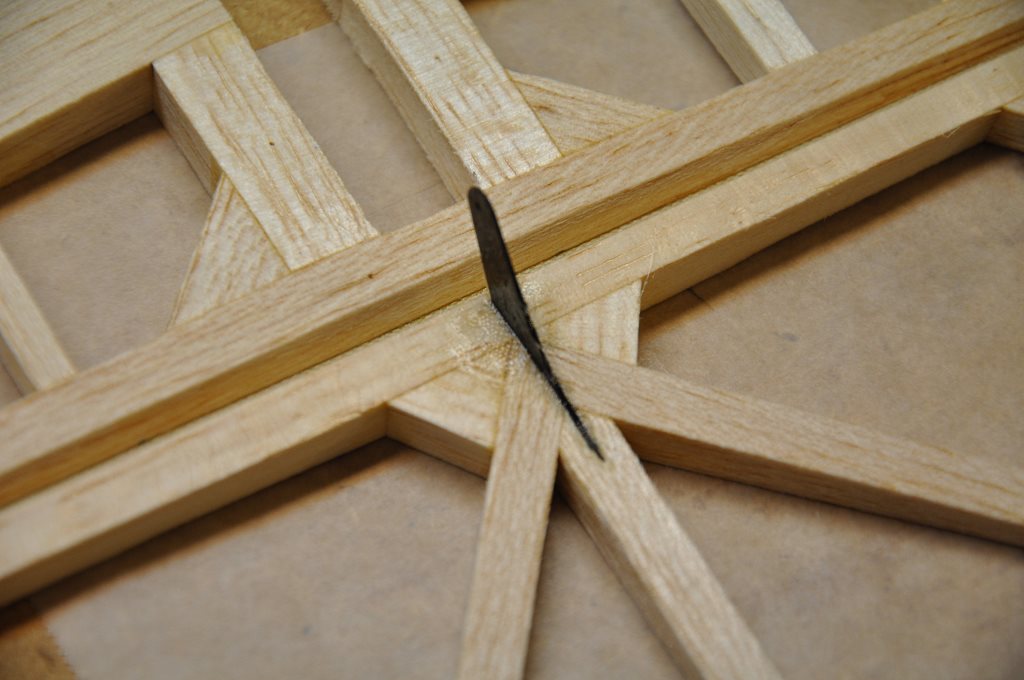
Using CA can be problematic if it is allowed to stiffen the Kevlar fibers across the hinge-line. So I tested the idea out first on some scrap pieces and discovered that as long as I was careful to get most of the CA into the wood, and flexed the hinge while the CA was curing, the joint turned out absolutely fine.
In fact the final joint is quite "floppy" - excellent!
To shape the fin, I followed the documentation available on the CRRC website.
I drew out extended lines from each edge of the fin to converge at the edge of my workbench.
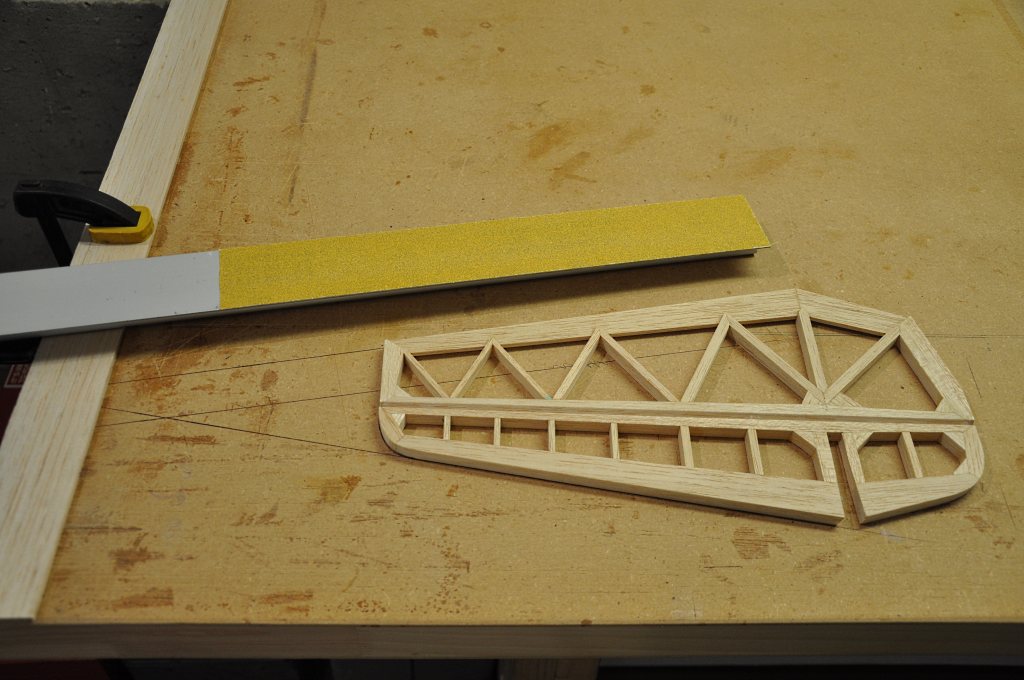
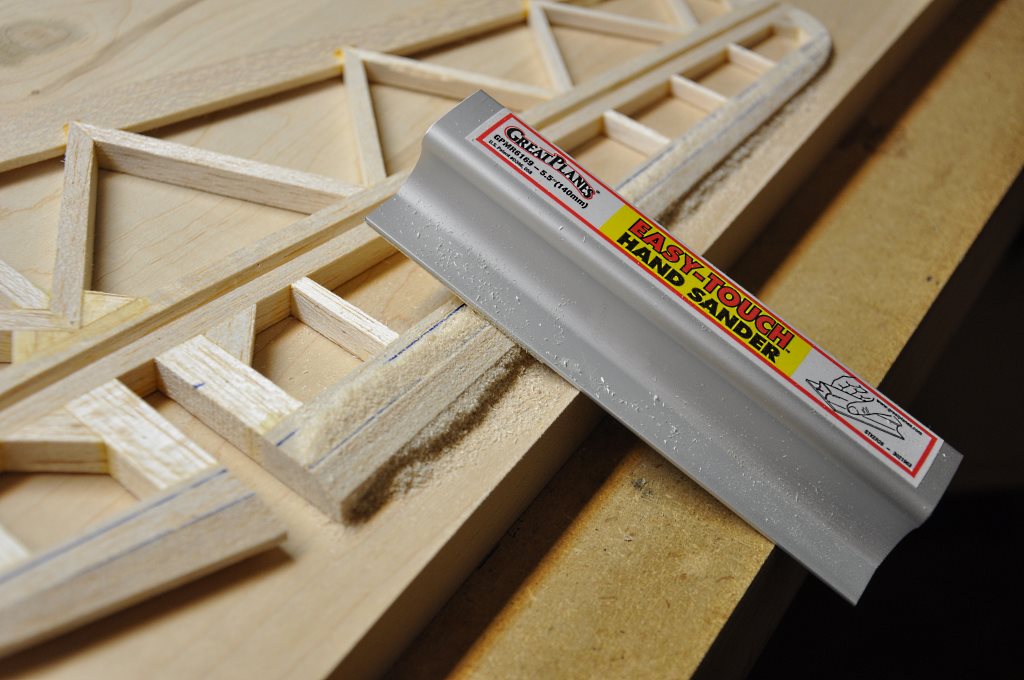
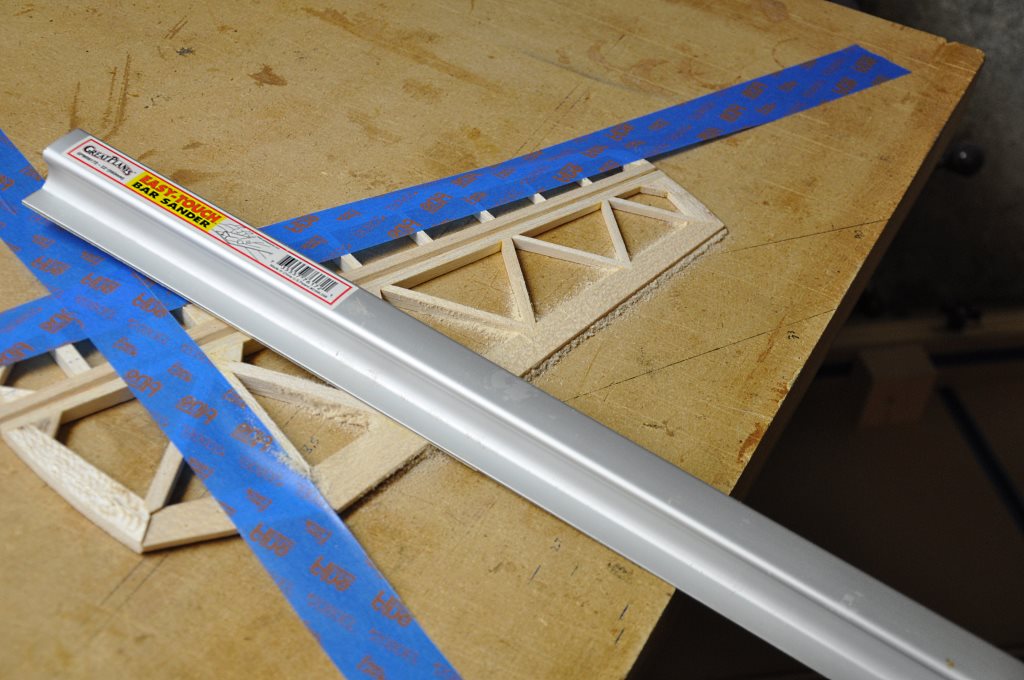
I then prepared my long sanding bar with 80-grit sandpaper on one half of the bar.
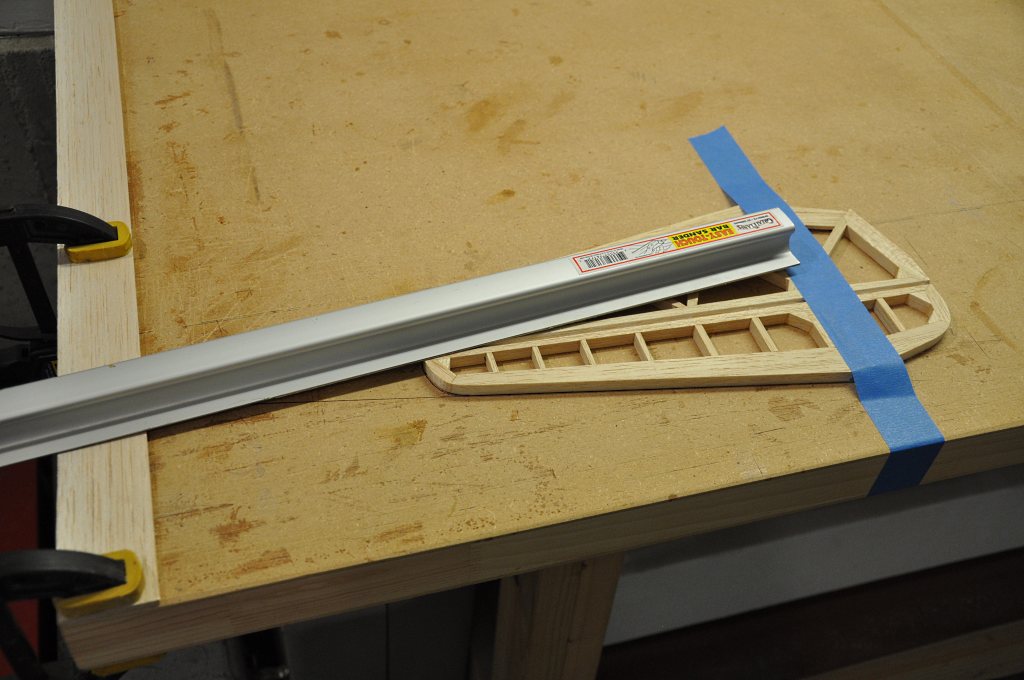
I taped across the fin at the location where the tapering ends to protect the wood from inadvertent sanding.
Next, I placed a half-thickness balsa shim at the bench edge on which the smooth portion of the sanding bar would rest.
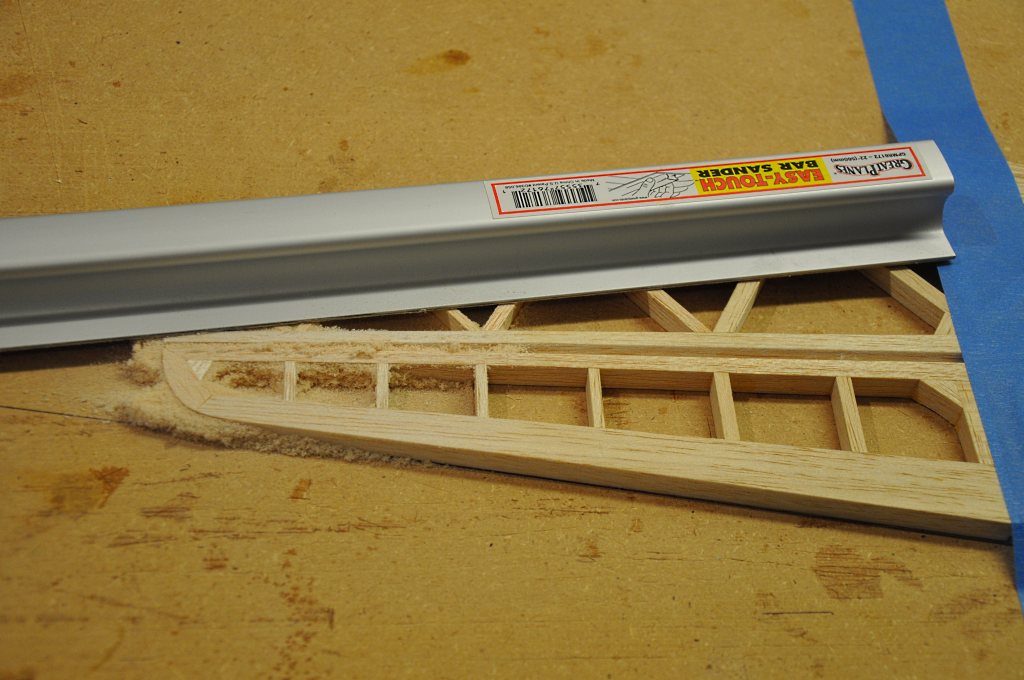
Then I began sanding across the fin until the end of the bar began lightly scratching on the blue tape.
Once the first side was done, I removed the shim, flipped the fin over and sanded the other side in the same fashion.
In this way an even taper is achieved on both sides.
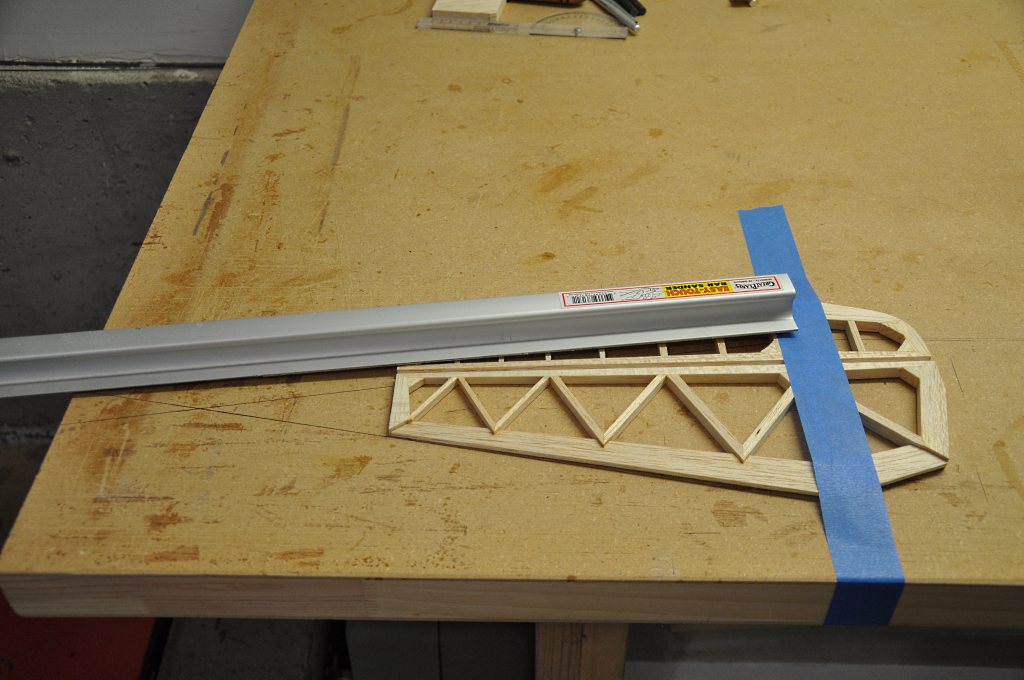
I then repeated the process to taper the bottom portion of the fin.
Then using the slope values given on the plans, I set the fin on a block of wood and began sanding up to the lines.
Again, using 80 grit sandpaper makes the process go quite fast.

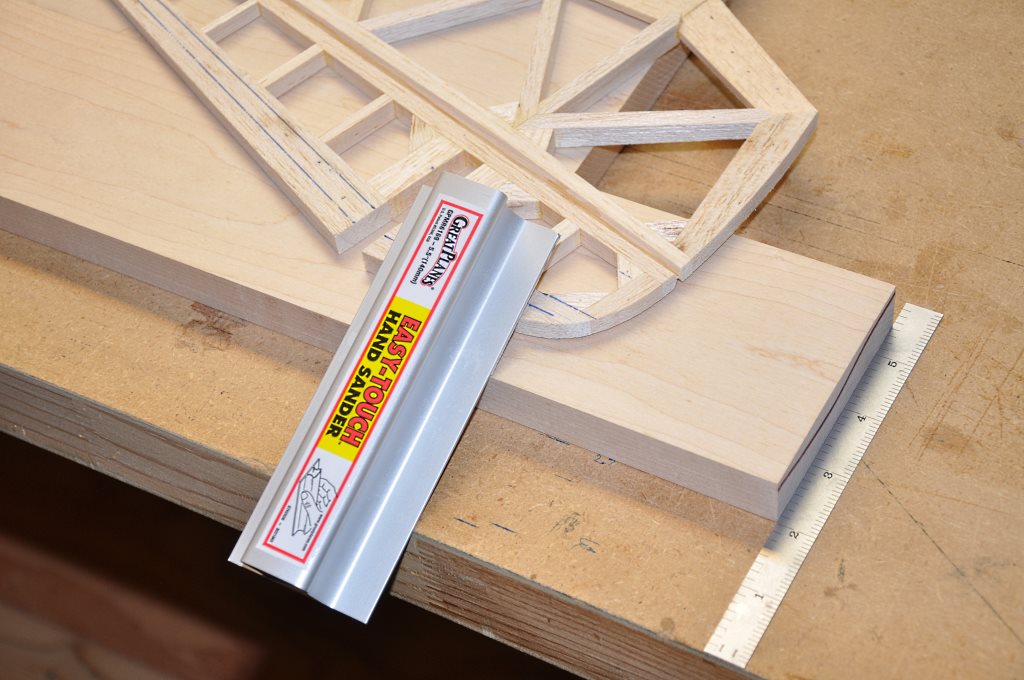
You can see that a longer sanding block will be needed.
Repeat this process for both sides.
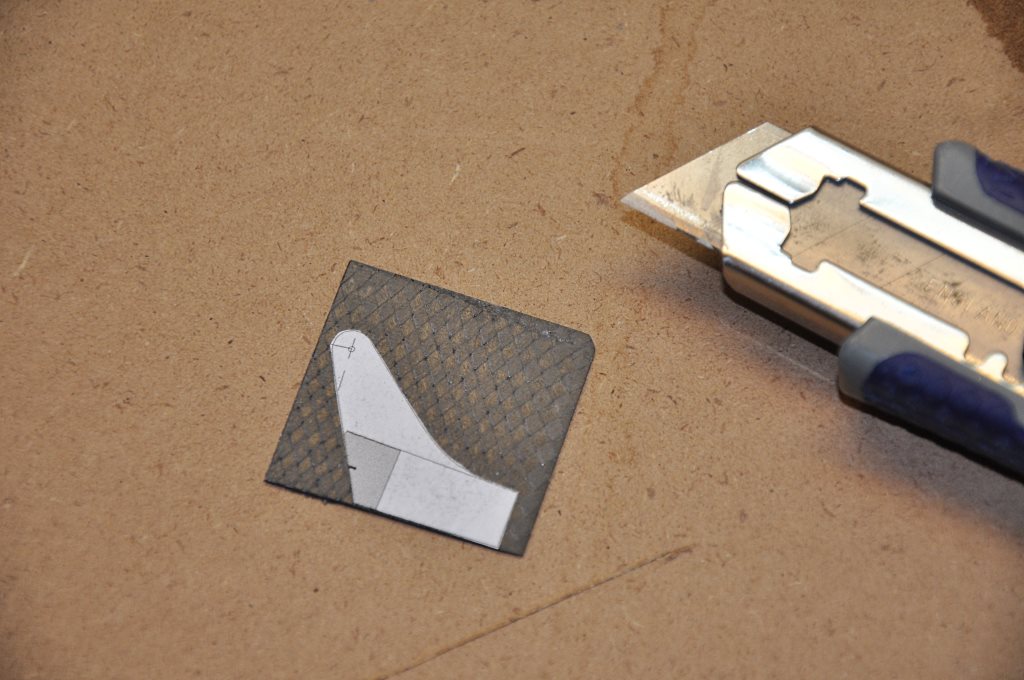
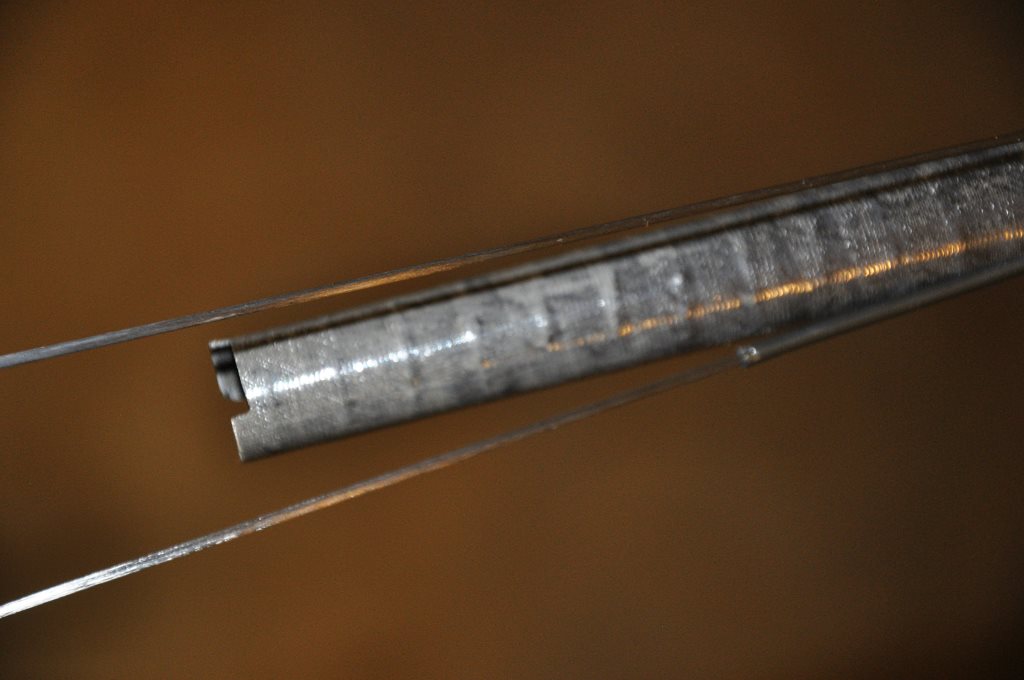
I then used a strong utility knife to cut the carbon to the approximate dimension.
I finalized the by wet-sanding.
Note: Some sandpaper wrapped around a wooden dowel works well to shape the concave curve of the horn.
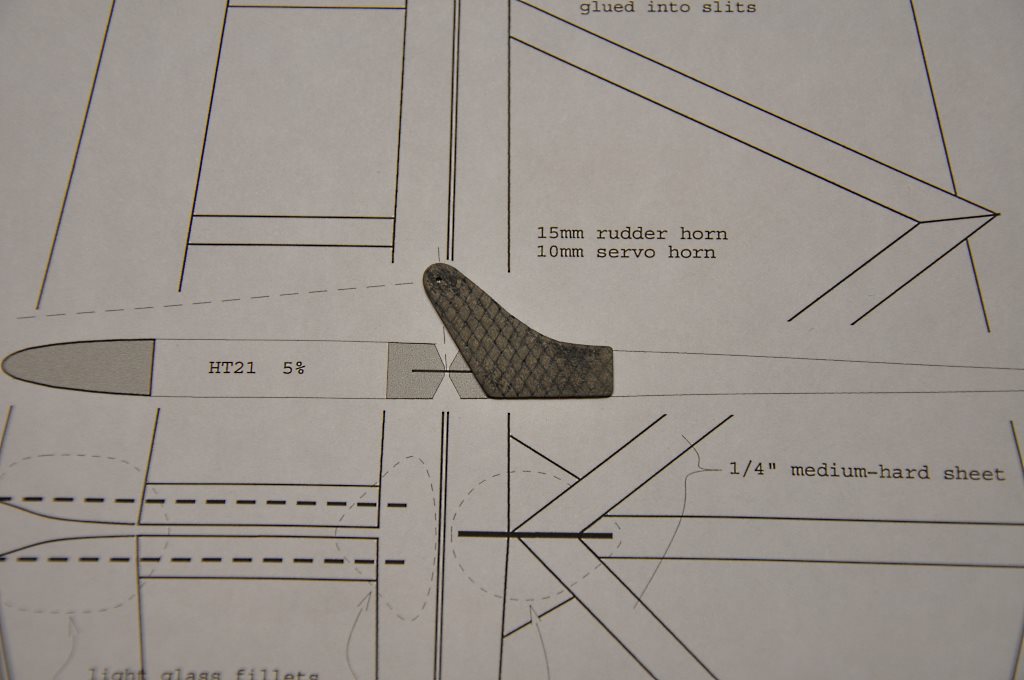
I then lightly sanded the part of the horn that will be inserted in the rudder, so that it will glue better.
You want to ensure that this groove remains centered and straight.
Then secure the horn with some .75 oz. fiberglass.
Blot up excess epoxy and then once the epoxy has cured, sand lightly to make a smooth transition.
At any rate, using thickened epoxy on the curved slot, mount the fin to the boom. Obviously be ready to properly align the fin while it cures.
Then using .75 oz. fiberglass, apply patches to the front and back of the fin. Once it cures, trim and sand as needed.