I know that basswood is overkill for the usual plug making material, but I had heard that it was a good carving wood and wanted to try it out. I've used balsa in the past for making plugs and I found it too easy to carve and sand more than I intended, which left me having to fill in low spots.
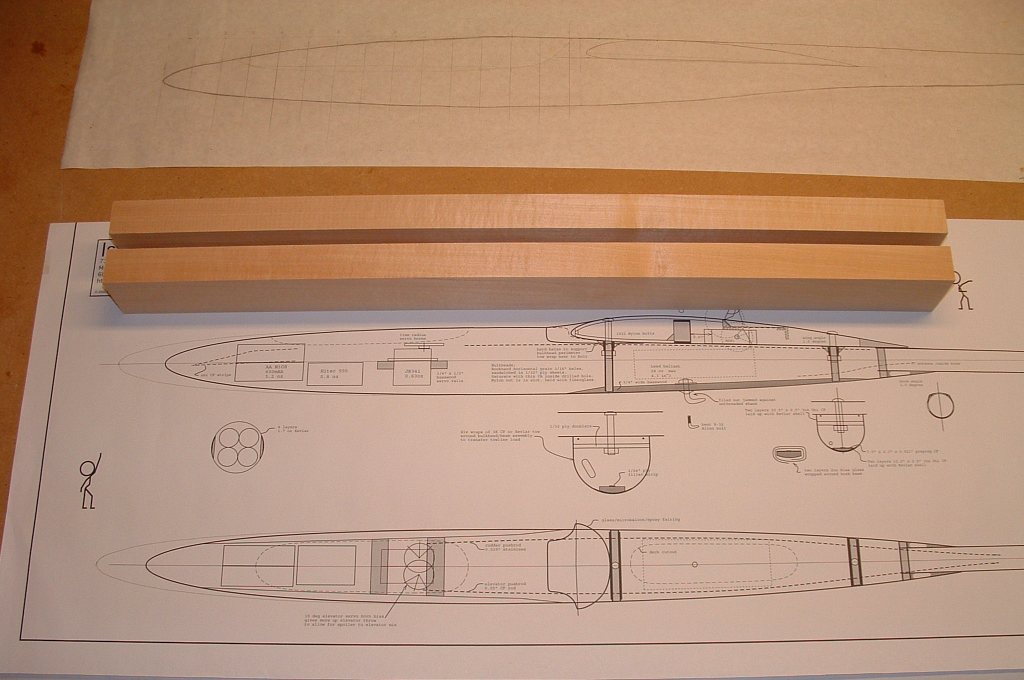
(The drawing above the planks was a previous project that I still had on my bench.)
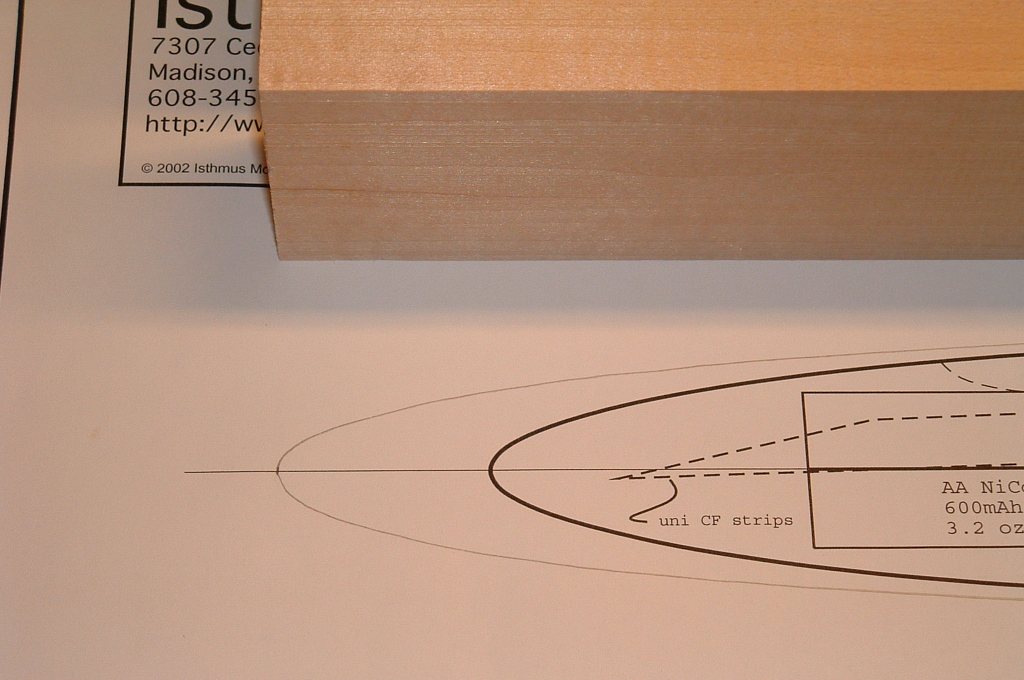
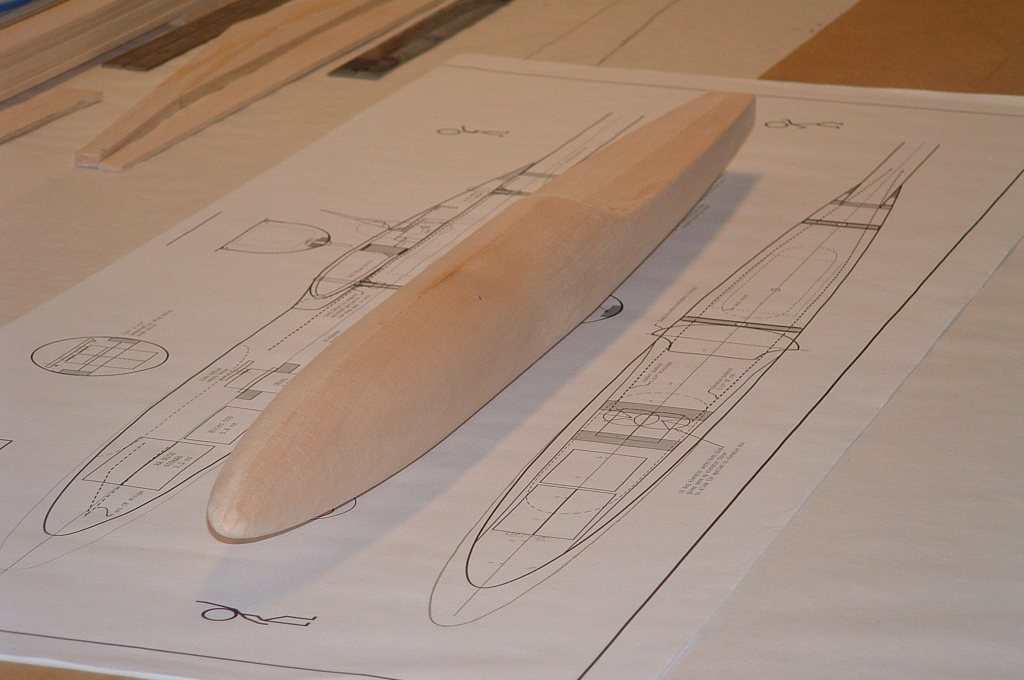
A change that I made to the published plans was to extend the fuselage pod forward by 1 1/2 inches.
I had two reasons for doing this:
- I prefer a slightly longer nose for aesthetic reasons.
- I think I'll need a longer arm forward since I doubt my tail sections will be as light as specified.
You'll notice in the picture the longer nose and that the plug planks are sized for that length.
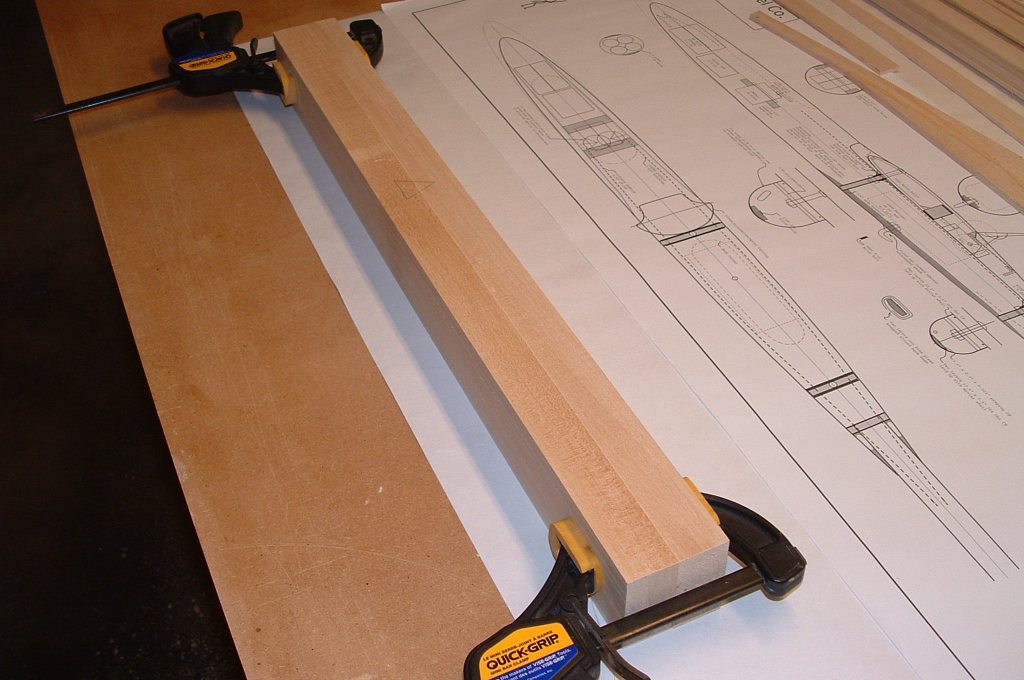
By using two planks in the shaping of my plug, I bypassed the normal splitter board when making the mold. After the plug was shaped the two halves were separated and placed flat on a board, thereby allowing me to lay-up both mold halves at the same time.
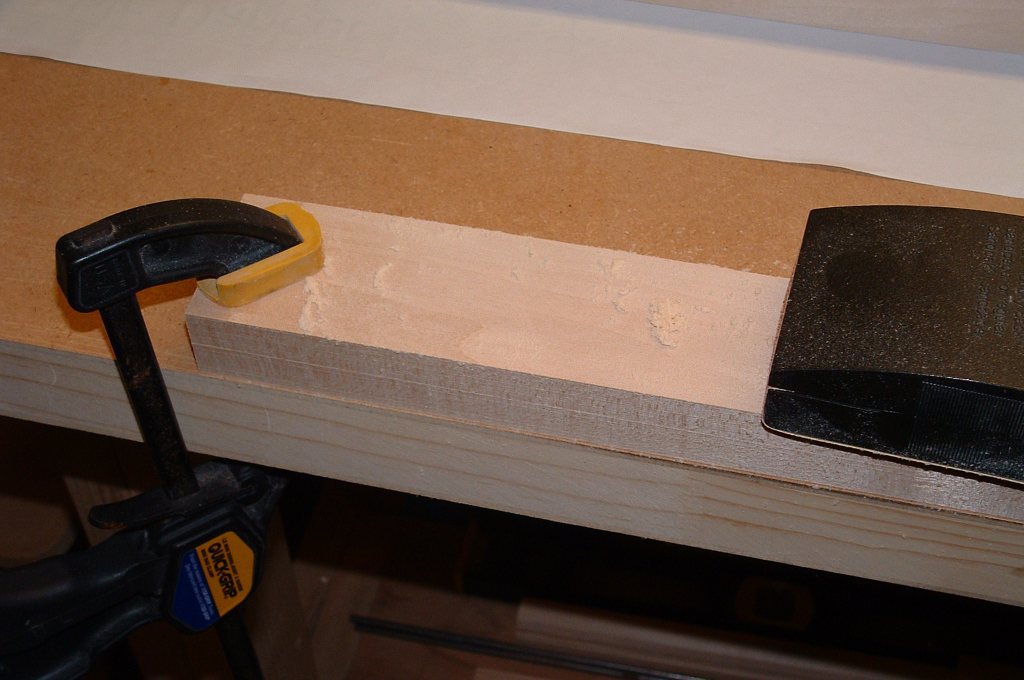
In this picture I was trueing up the mating surfaces so that the joint between the halves would be spot-on.
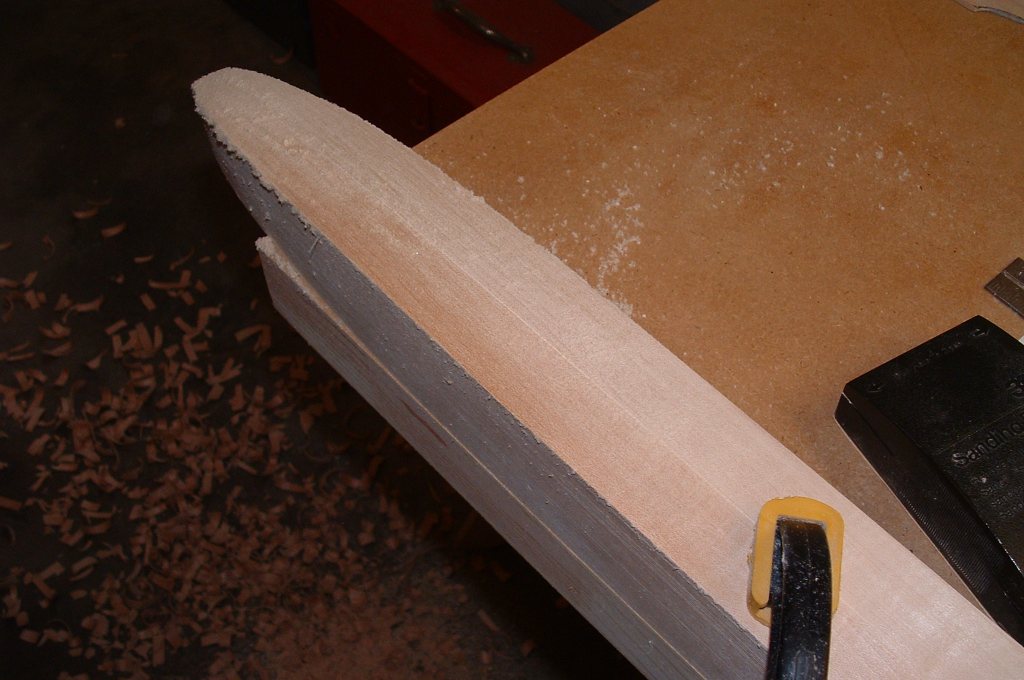
I worked on the nose section first, allowing me to secure the plug with clamps via the square aft end.
The round shape was achieved by using a "shoe-shining" technique with 80 grit sandpaper. I draped a full-size sheet of sandpaper over the plug and using a shoe-shining motion alternately drew the sandpaper over the plug in a 180 degree arc. The resulting shape was everything I could have hoped for.
I left the sawdust on this picture so it would look "in process", but I'm afraid the end result is that it only looks like I'm sanding foam...
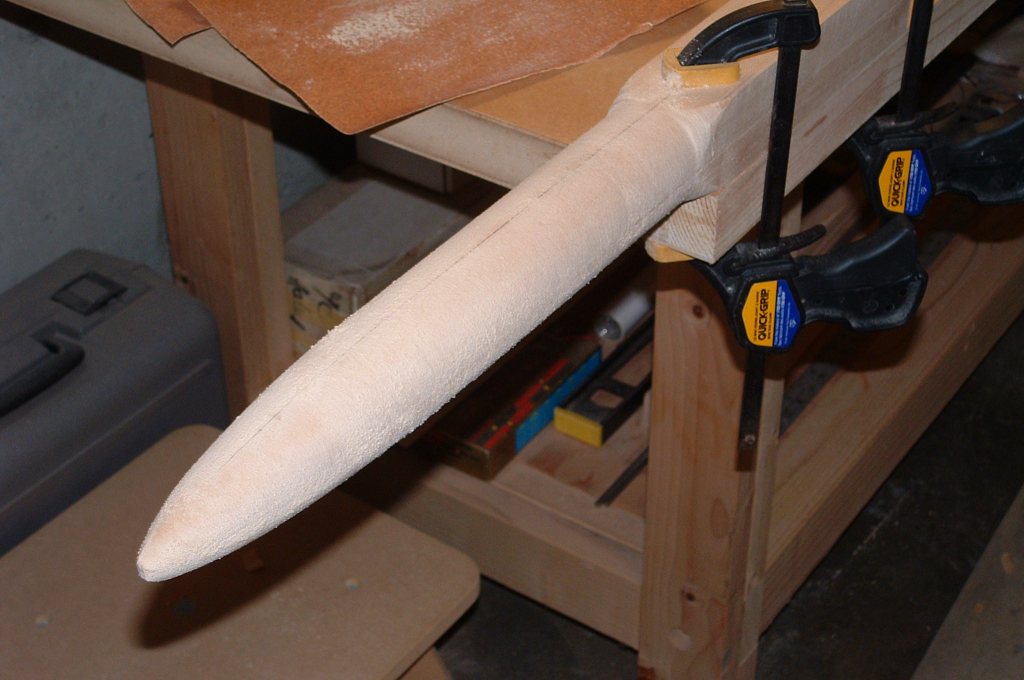
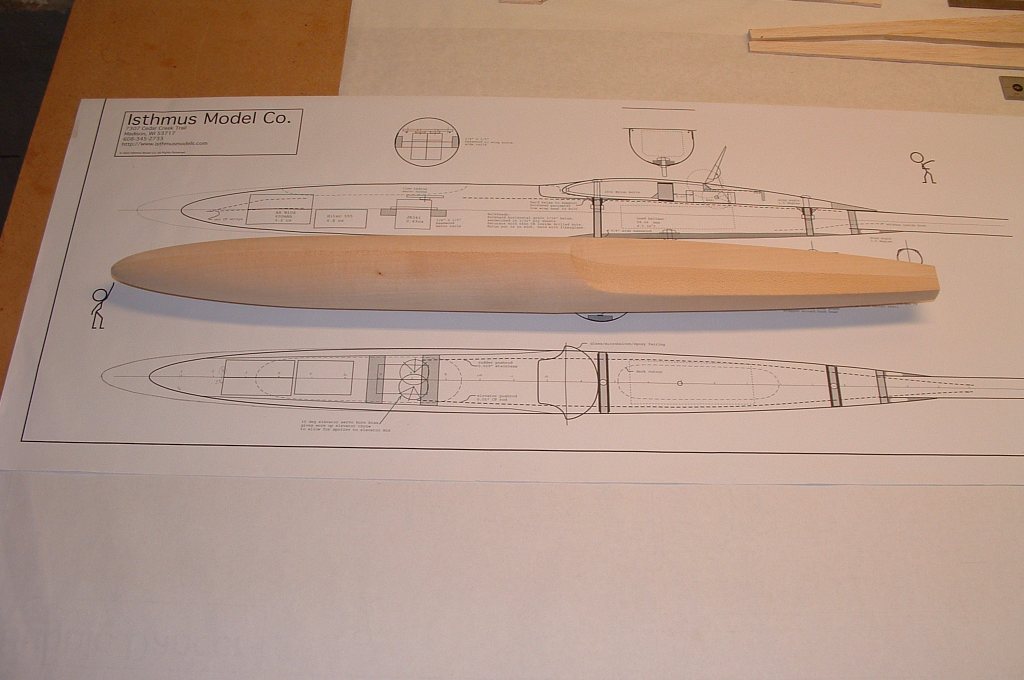
With the nose section shaped, I began work on the wing-saddle.
Here again, careful chisel and sanding work was used to get the shape desired. The same shoe-shining technique was used to round the underside of the wing-saddle so that it matches the nose in its shape.
A template of the wing-root rib was made to guide the final shaping of the wing saddle.
Consideration was given to rounding any sharp edges, so that the glass would be able to follow the contours.
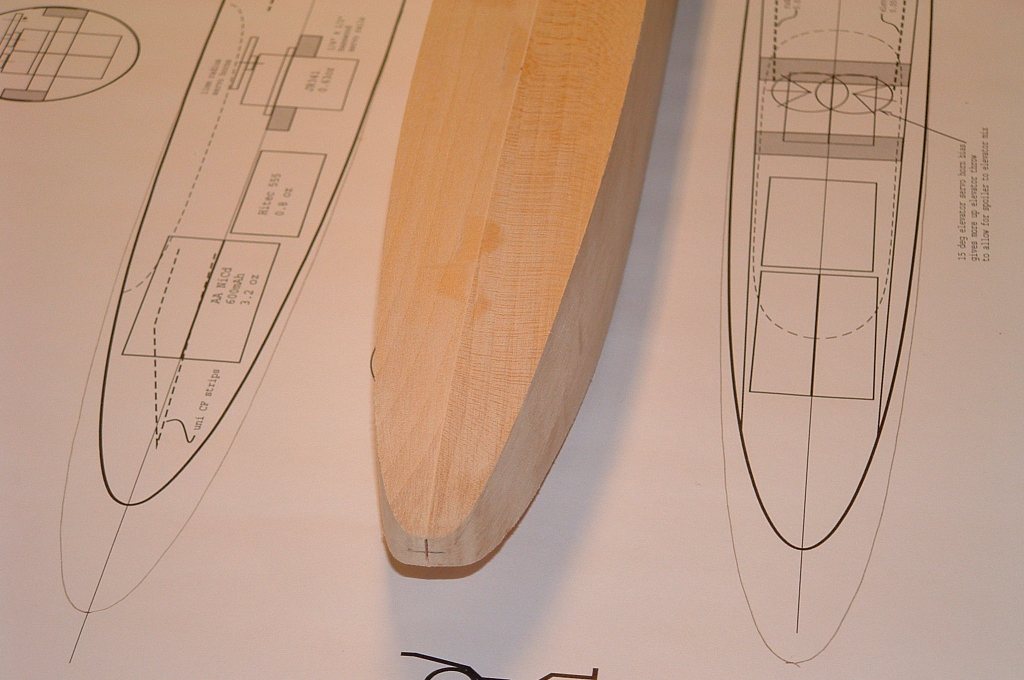
Looking at the fuse plug from the side, the lengthened nose section is evident.
You can also note the two plug halves easily by the difference in wood color and grain. This difference in the wood also meant the halves had different hardnesses which made shaping more difficult given the differing wood-removal rate of each half.
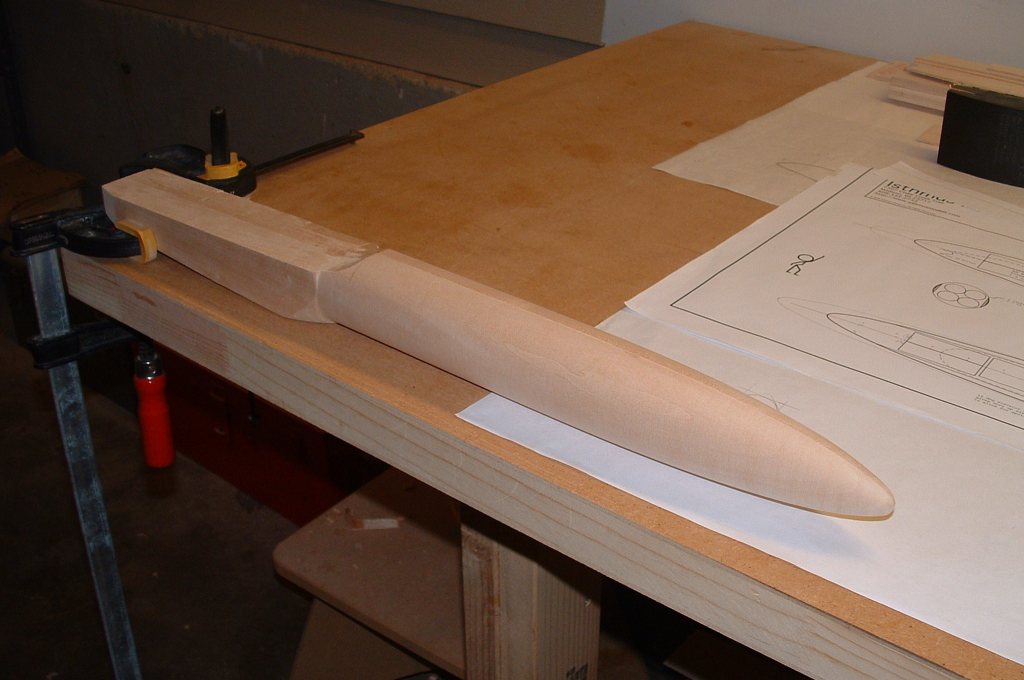
The final steps for plug preparation were to polish-sand it using progressively finer grid paper. First 120, then 220 and finally 400 grit was used.
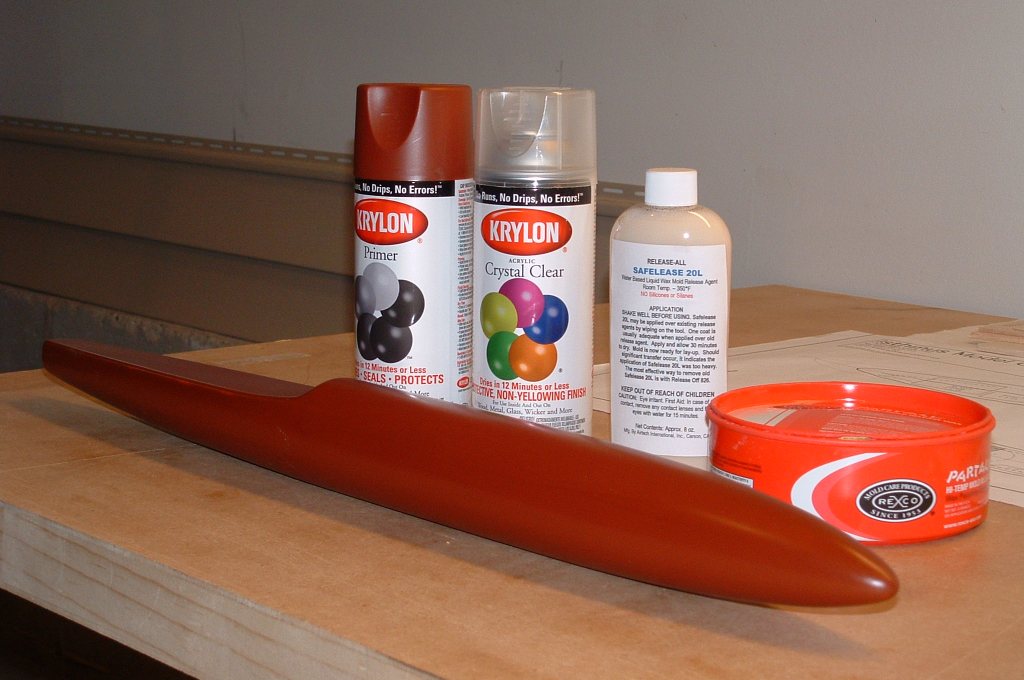
Next, several coats of Krylon primer was used to seal up the wood. Fine-grit sanding was accomplished between each coat.
The primer was followed by 2 coats of Clear Acrylic, and finally, 6 coats of wax.
That completed the work on the fuselage plug. The next step was to create molds from the plug.