Ok, so what do you do when you want to make a new Bubble Dancer, but tossed out the molds from the first one 2 years ago?
And what if as well, you want to do a completely different fuselage anyway, because - well you just want something a little more modern looking (think Ava Pro and other newer fuselages).
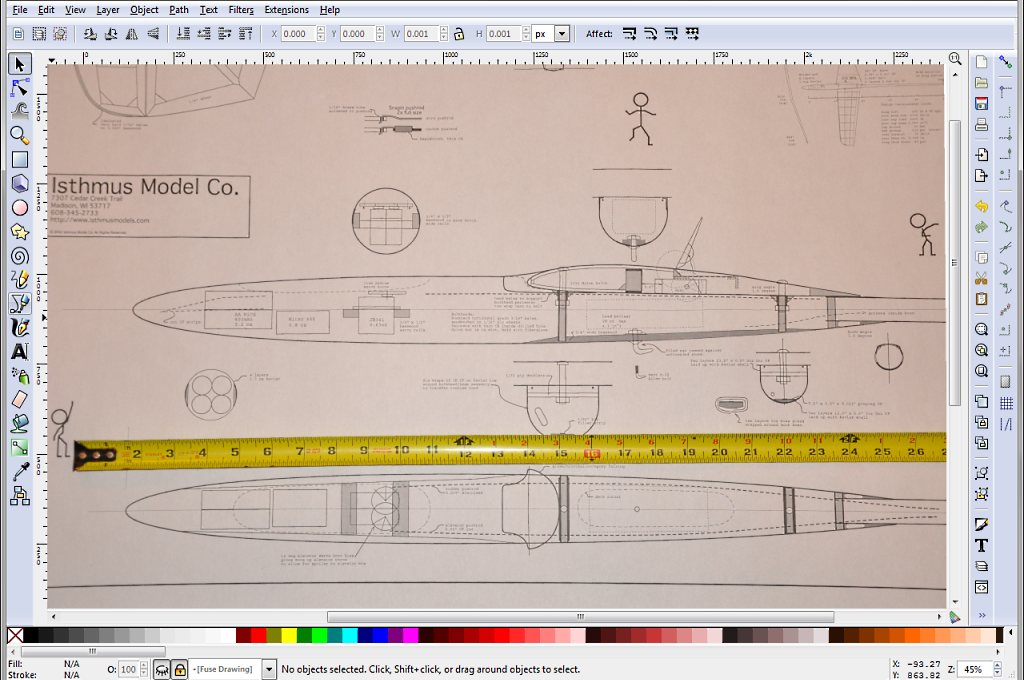
First, I took a picture of the plans with a ruler for reference.
Then I imported the picture into a vector art program like Inkscape. You may need to rotate the image a bit to get it lined up well.
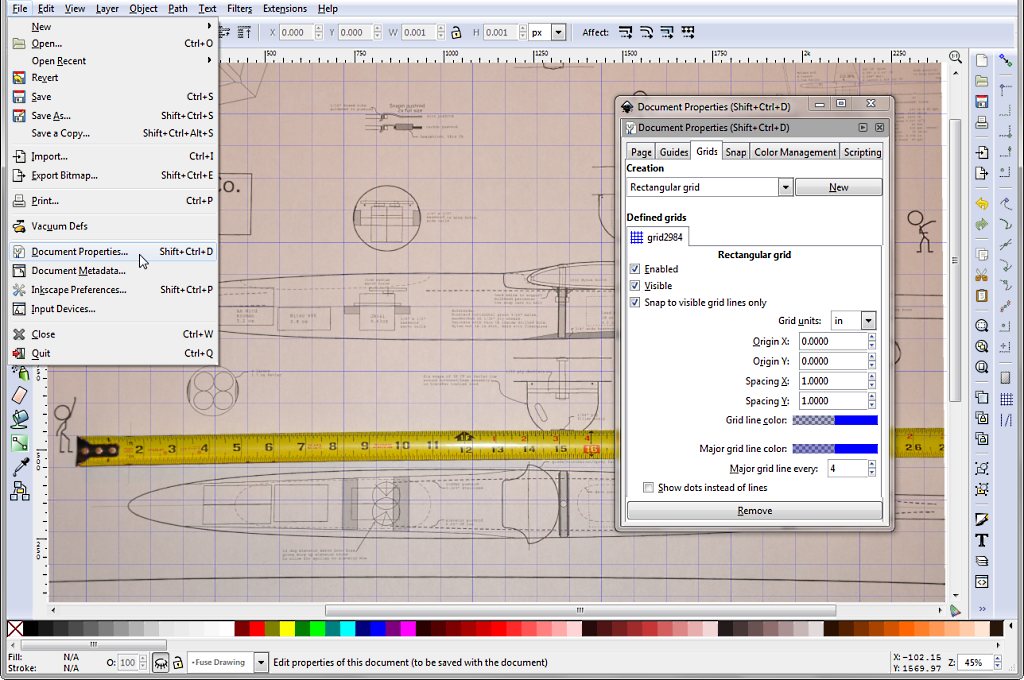
Now we want to resize our picture into our real-world units so that the new drawing that we make will print in the correct size.
To do this, select Document Properties from the File menu.
Then click on the Grids tab and create a New Rectangular Grid and set the Grid Units to inch.
Set the Spacing X and the Spacing Y to 1.
Now move and size the picture to line up with the grid lines.
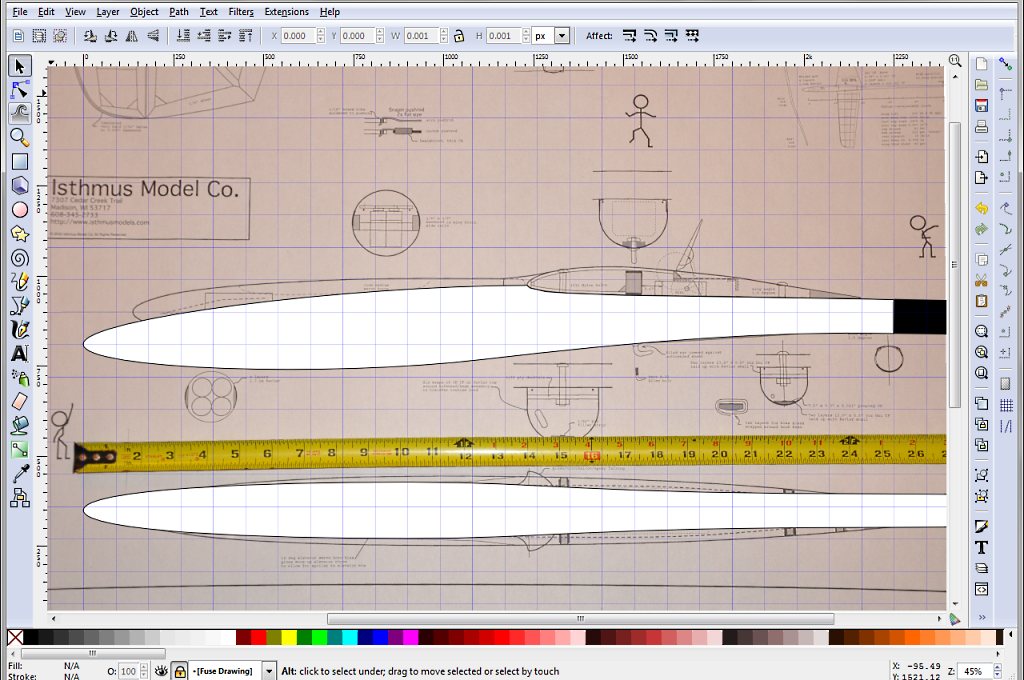
The great thing about vectors is that they make really nice sweeping lines - something that you could do with French curves, but good luck finding curves big enough to do this job...
In Inkscape, use the Pen tool to draw lines. Then use the Node tool to adjust the curves to what seems good to you.
I created both a side and top view.
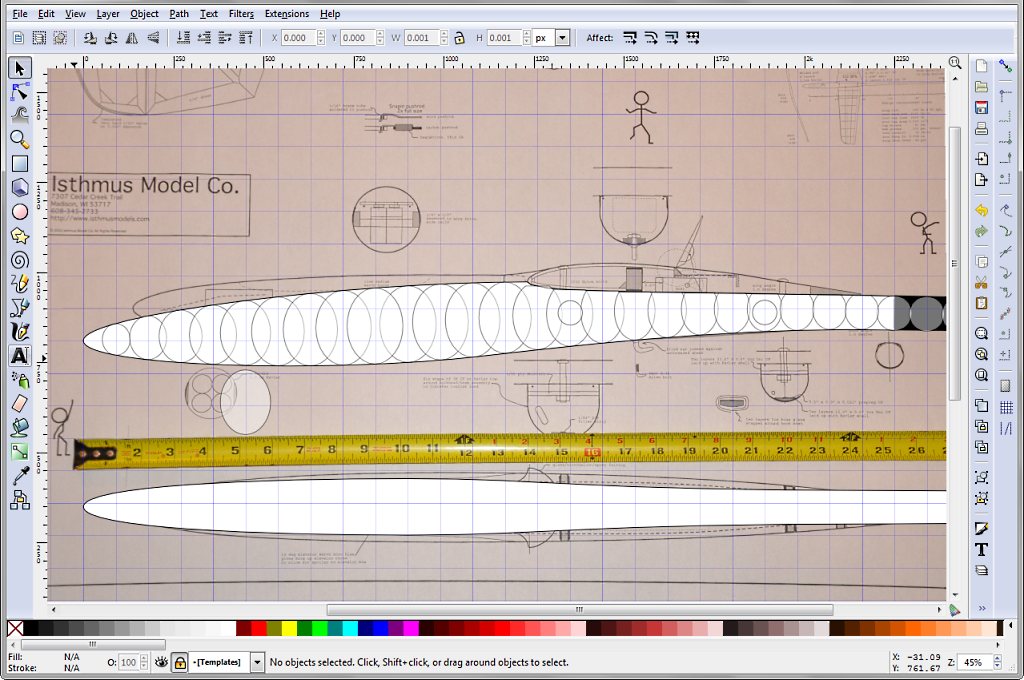
Using the circle tool, I placed circles at the one inch marks. This drawing has 27 circles in all along the length of the fuselage pod.
Next, resize the circles vertically to be equal to the respective locations in the side profile. After you've done that, move the circle down to the top view, rotate the oval 90 degrees and size it to the width at that location.
Now you have a series of 27 oval profiles to aid in shaping the plug.
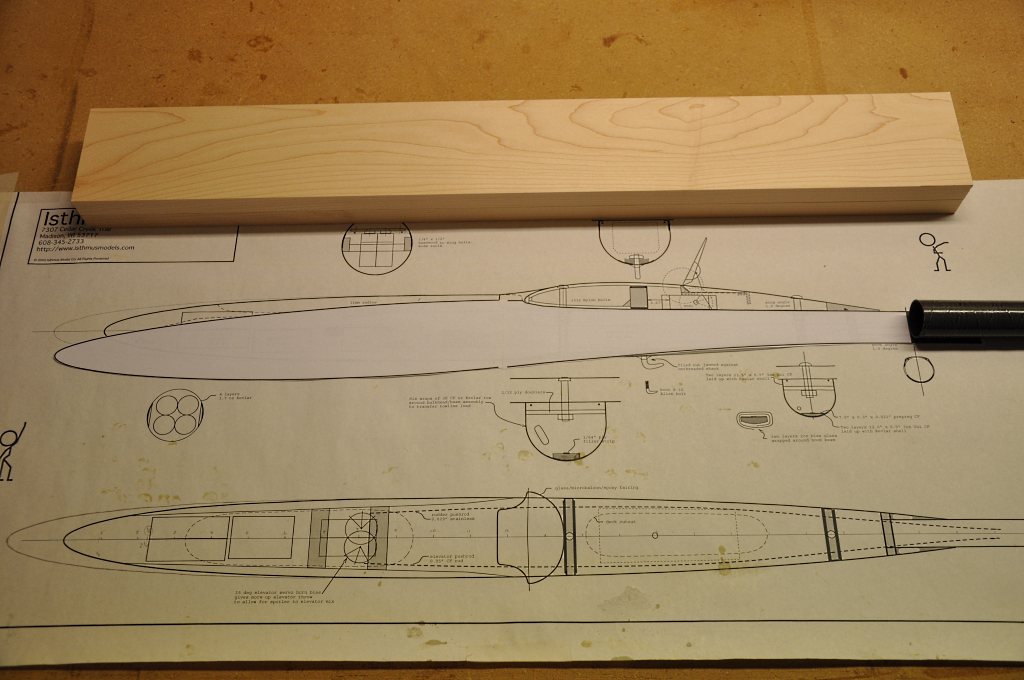
I usually use basswood when making my plugs, but I have to mail-order basswood - so this time I decided to use maple boards which I can get at my local Lowes or Home Depot.
The good thing about Maple is that it is very hard and will make a fantastic plug... the bad thing about Maple is that it is very hard and will be quite difficult to shape.
I cut two pieces from the same board (keeps hardness equal) and stuck them together with double-sided tape.
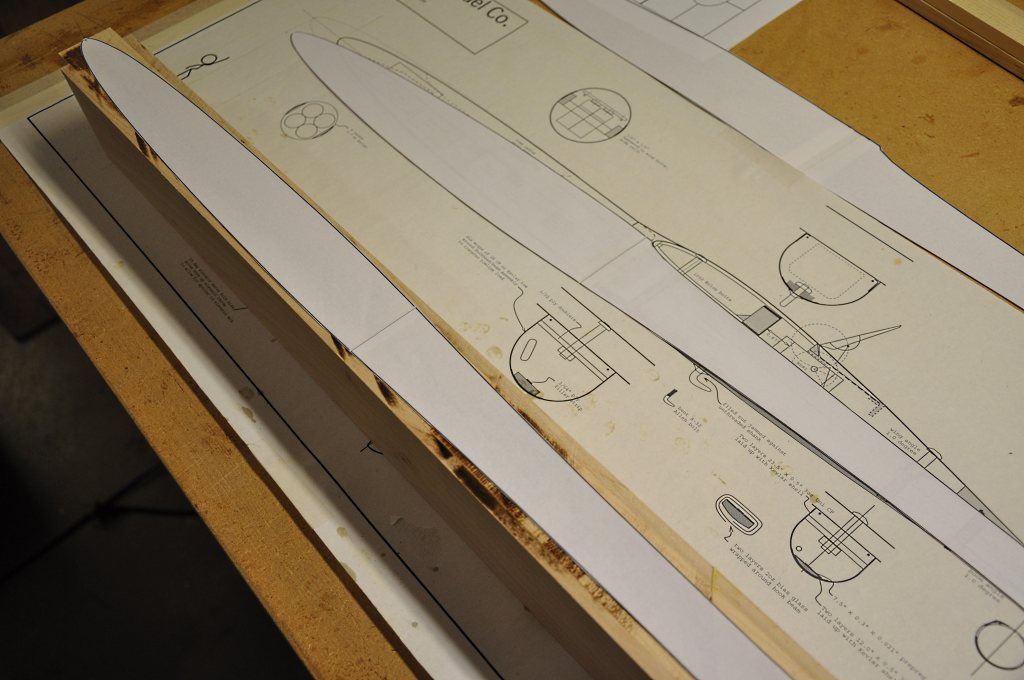
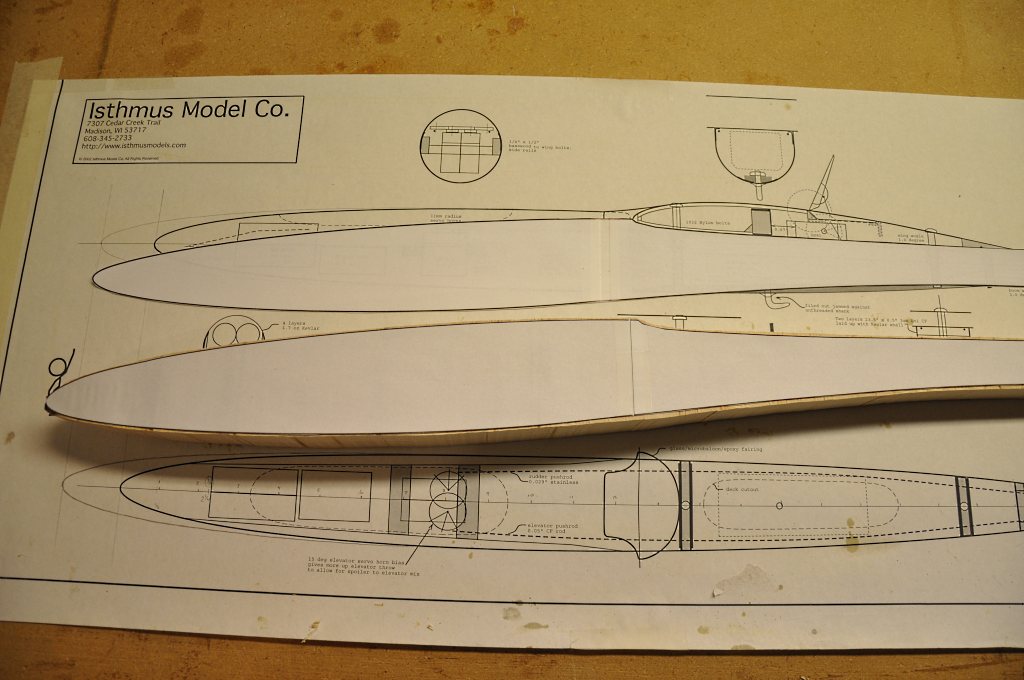
I printed out the top profile from Inkscape and taped it centered along the top edge of the boards.
The nice thing about using two boards taped together, is that the centerline is easy to see between the two boards.
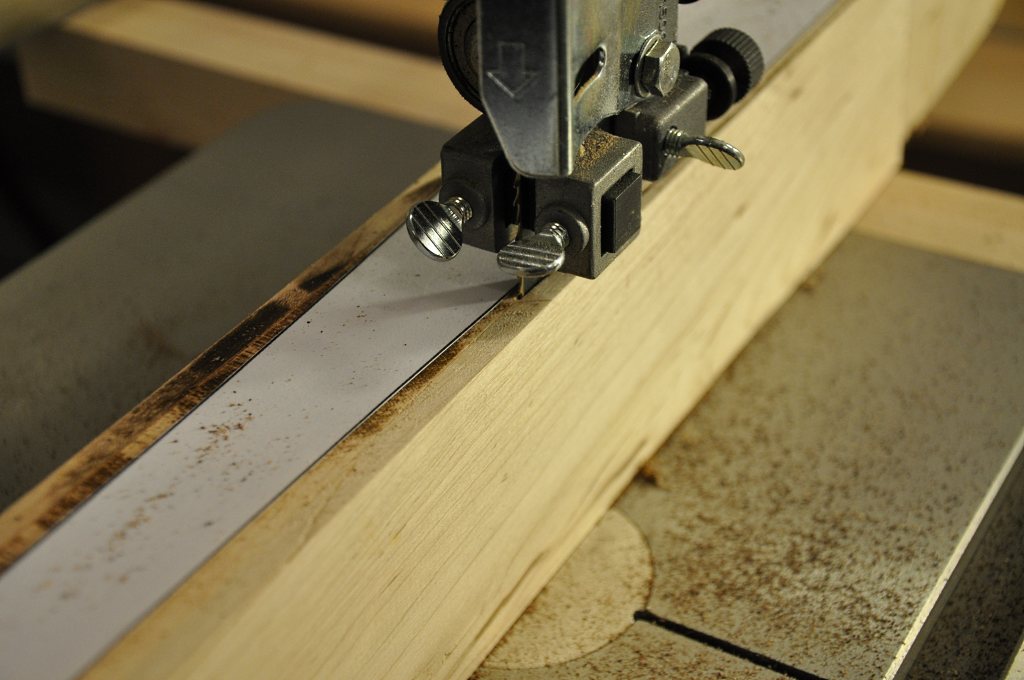
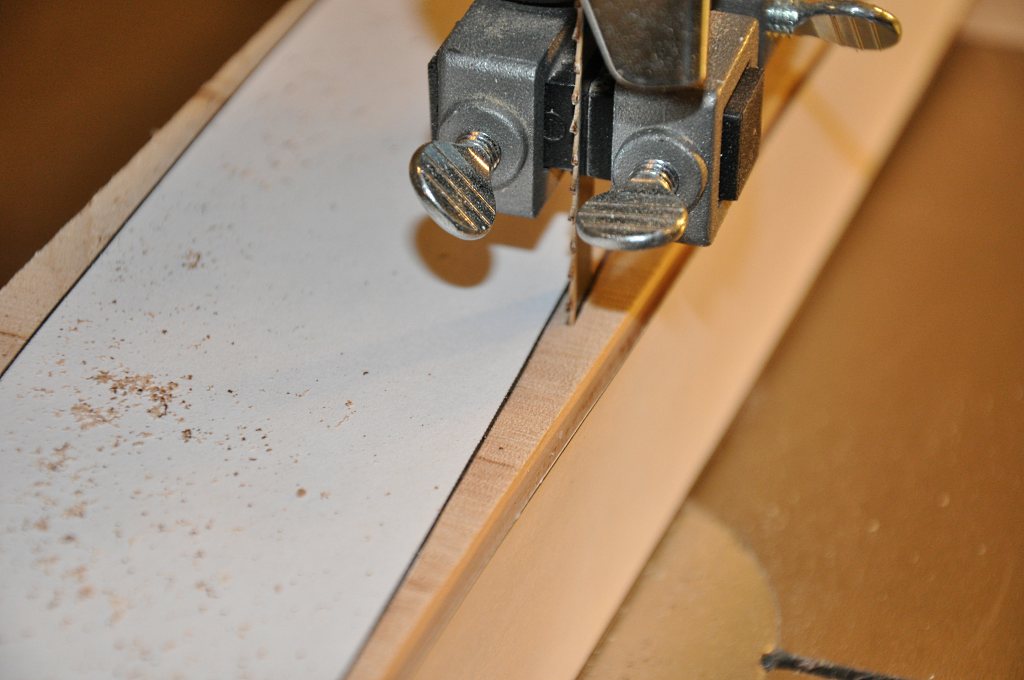
Using my bandsaw I cut the top profile along the lines of the template.
This was the first project I did with my bandsaw, and I'm afraid I gave a little too wide a berth as I cut - not trusting the accuracy of my skills. This unfortunatelly meant that I needed to remove a lot of material later to achieve my target width.
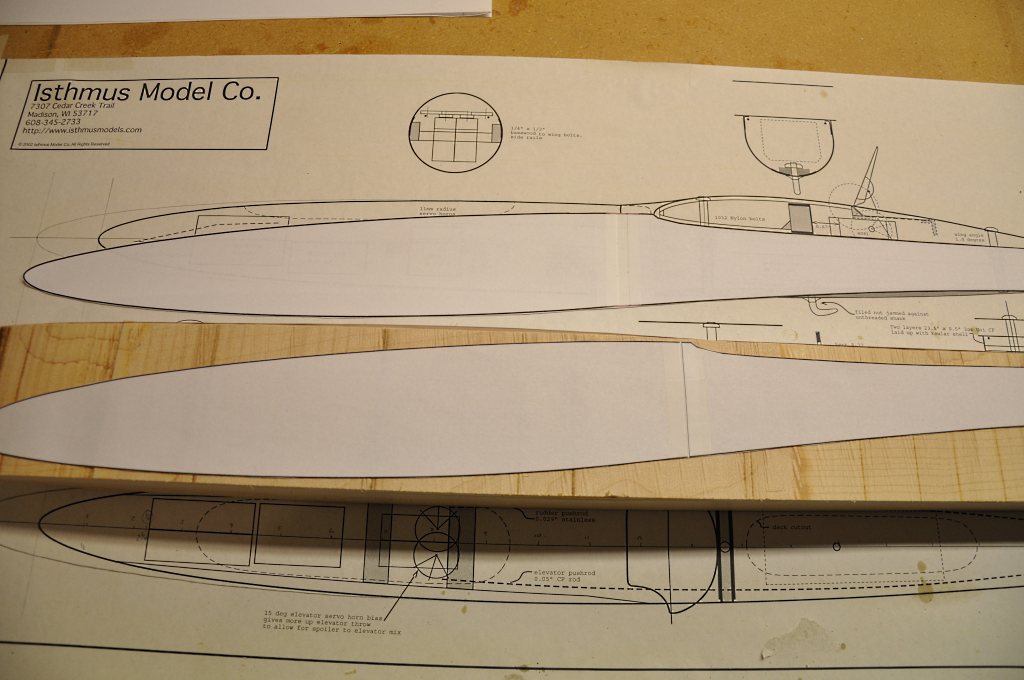
Once the top profile was cut, I taped the side profile onto the boards.
Obviously there will be a little error as the profile bends around the curved board, but it isn't that much, and at any rate, the final shape will ultimately be whatever looks visually right to me. The original drawings are mostly an idea to start with...
I took the boards back over to the bandsaw and cut the side profile, again being careful not to cut into the templated area.
Here is a shot of the plug after the top and side profiles has been cut using the bandsaw.
From here the next step was to start rounding the oval shape of the plug.
I used a small block plane and gradually (over several days) rounded out the oval shape of the plug.

During the rounding process I would check the emerging shape with the oval templates that I had printed out from my Inkscape drawing.
You will note that I also made a plan with lines at each inch. This allowed me to use a right triangle to mark the various template locations onto the plug ensuring that I checked the right location.
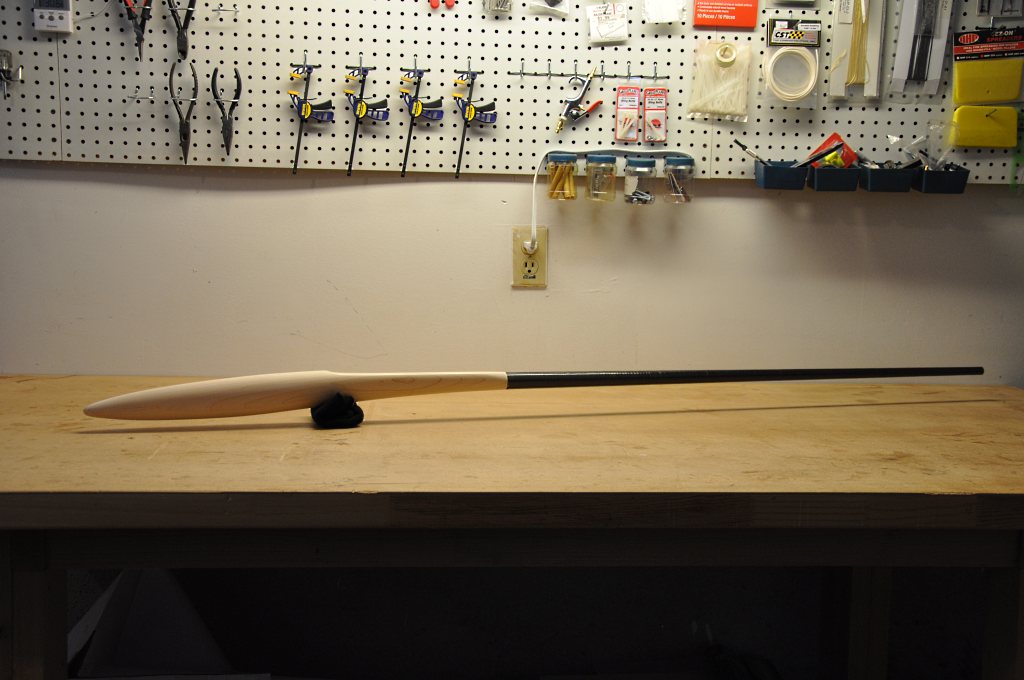
Since I have my own custom boom mandrel (a fiberglass pool cue), I have to ensure that the plug fits my booms.
Once the plug was approaching the final shape, I created the boom mount area, and then fit a boom onto the plug. This allowed me to blend the plug nicely to the boom for a smooth transition.
The last area to tackle was the wing-mount. I cut a wing "0 station" profile template as provided in the Bubble Dancer plans and shaped the wing saddle to that profile.
Once I was satisfied with the shape, I needed to prepare the plug for primer by finish sanding it.
I had used 80 grit paper during the shaping process, so I next sanded the plug with 120, 220, 320, 400 and 600 grit papers in order.
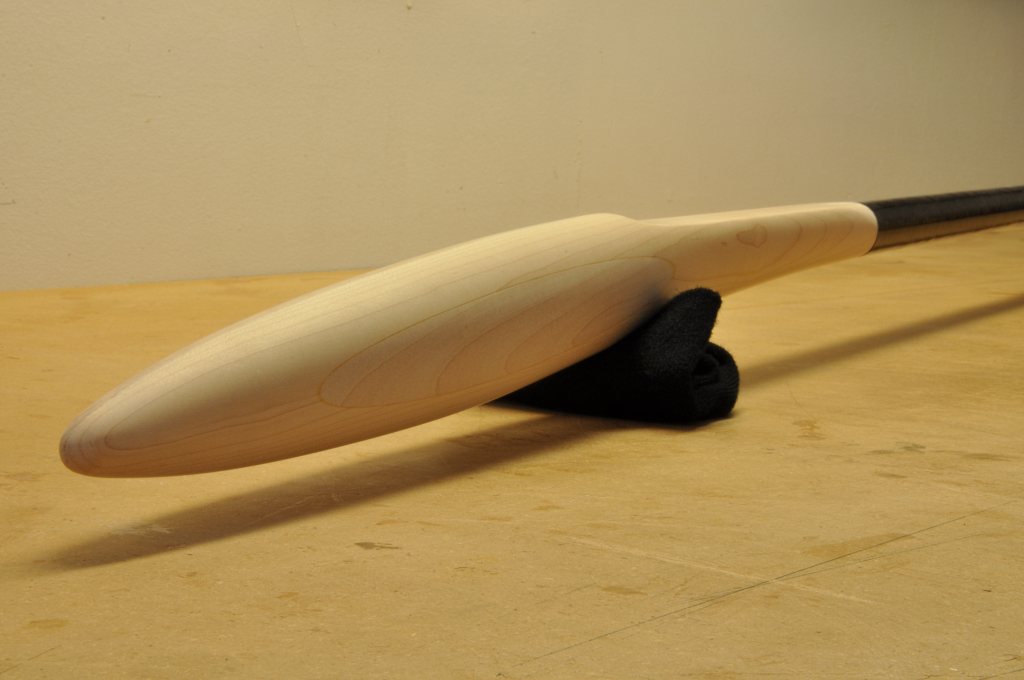
Here is a close up shot of the finished plug. It is .125 inch taller than the original at its tallest point and is .375 inch narrower than the original at its widest point. It is also 1.5 inches longer.
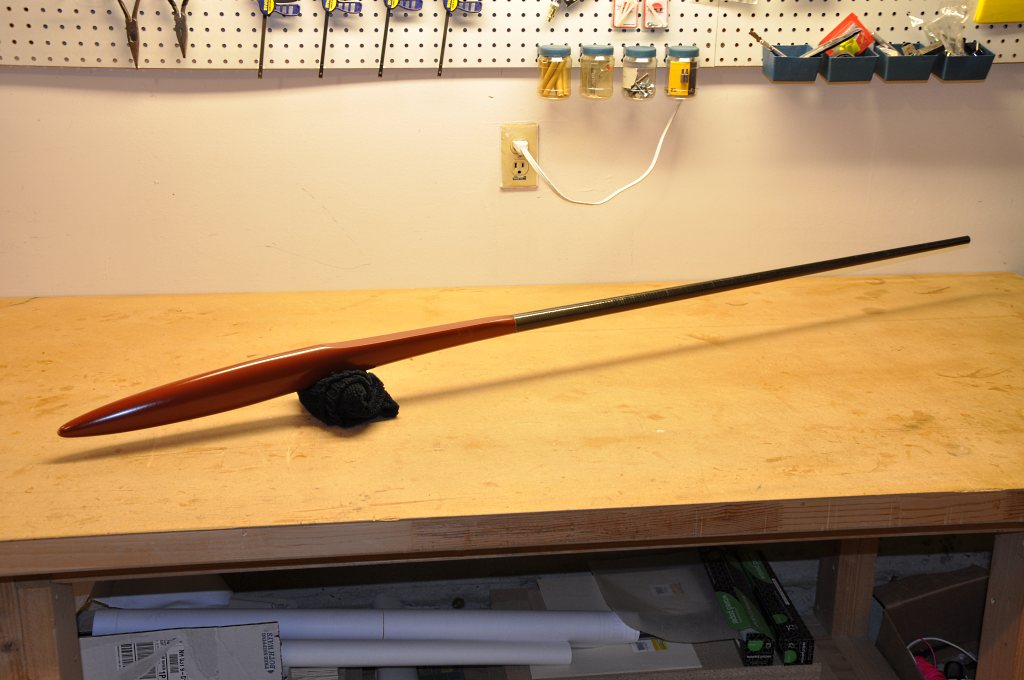
I painted the plug with primer from a spray can and after it dried, I applied 6 coats of wax.
Nice and shiny now.
Safelease will be applied over the wax just before I am ready to start making the molds.