After the wingtips were ready it was time to move on to the mid panels.
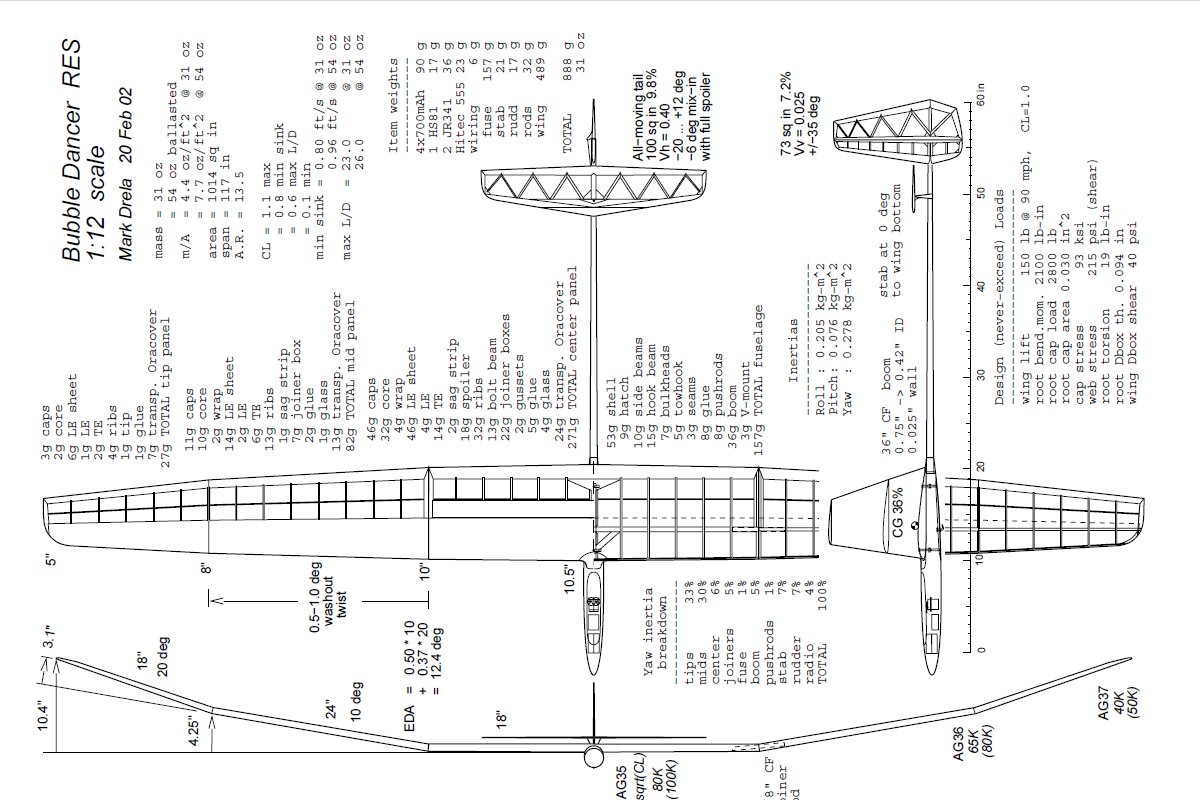
The Mid Panels are 24 inches long and use the AG35 inboard, transitioning to the AG36 outboard.
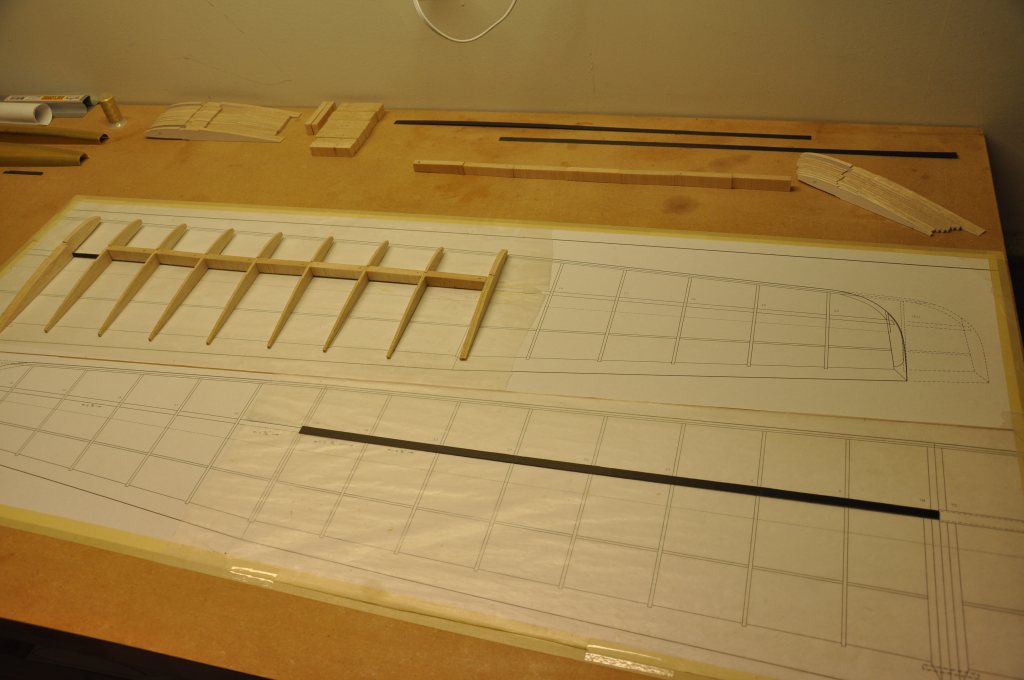
I covered the plans with clear plastic and placed my .015 inch masking tape shim on the plans.
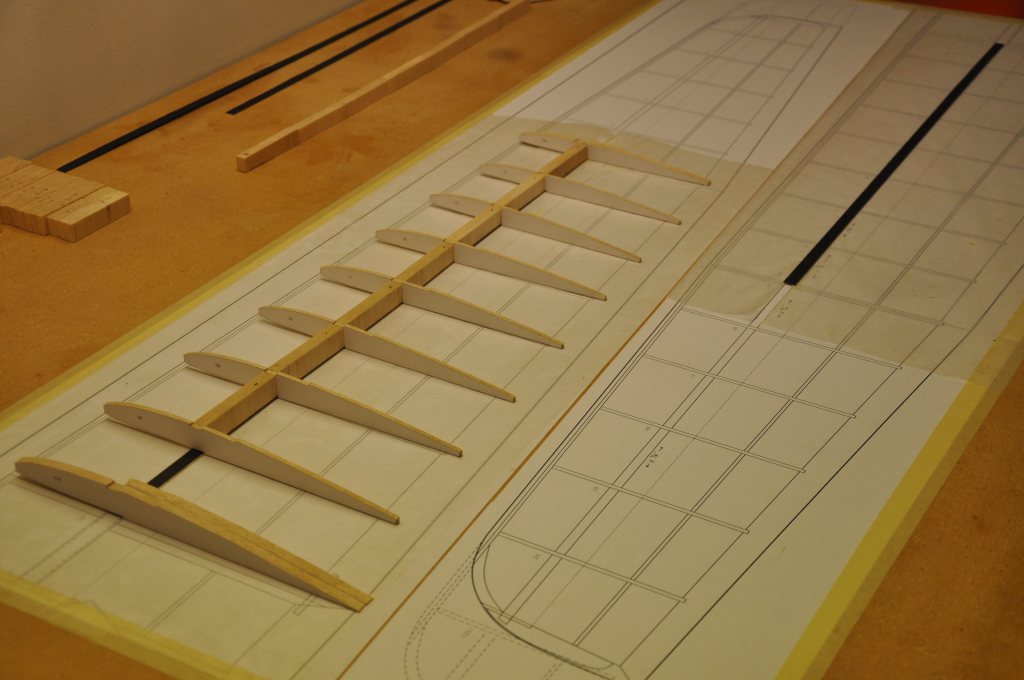
In preparation for the spar cap, web and rib glue up, I did a dry-fit check to make sure that everything was in alignment and that all joints had an accurate fit.
The empty web space is for the wing joiner block, which I prepared and inserted in place during the spar glue-up.
Next, as with the tip panels, I buttered up the spar caps, ribs and webs with thickened epoxy and place them in order on the plans.
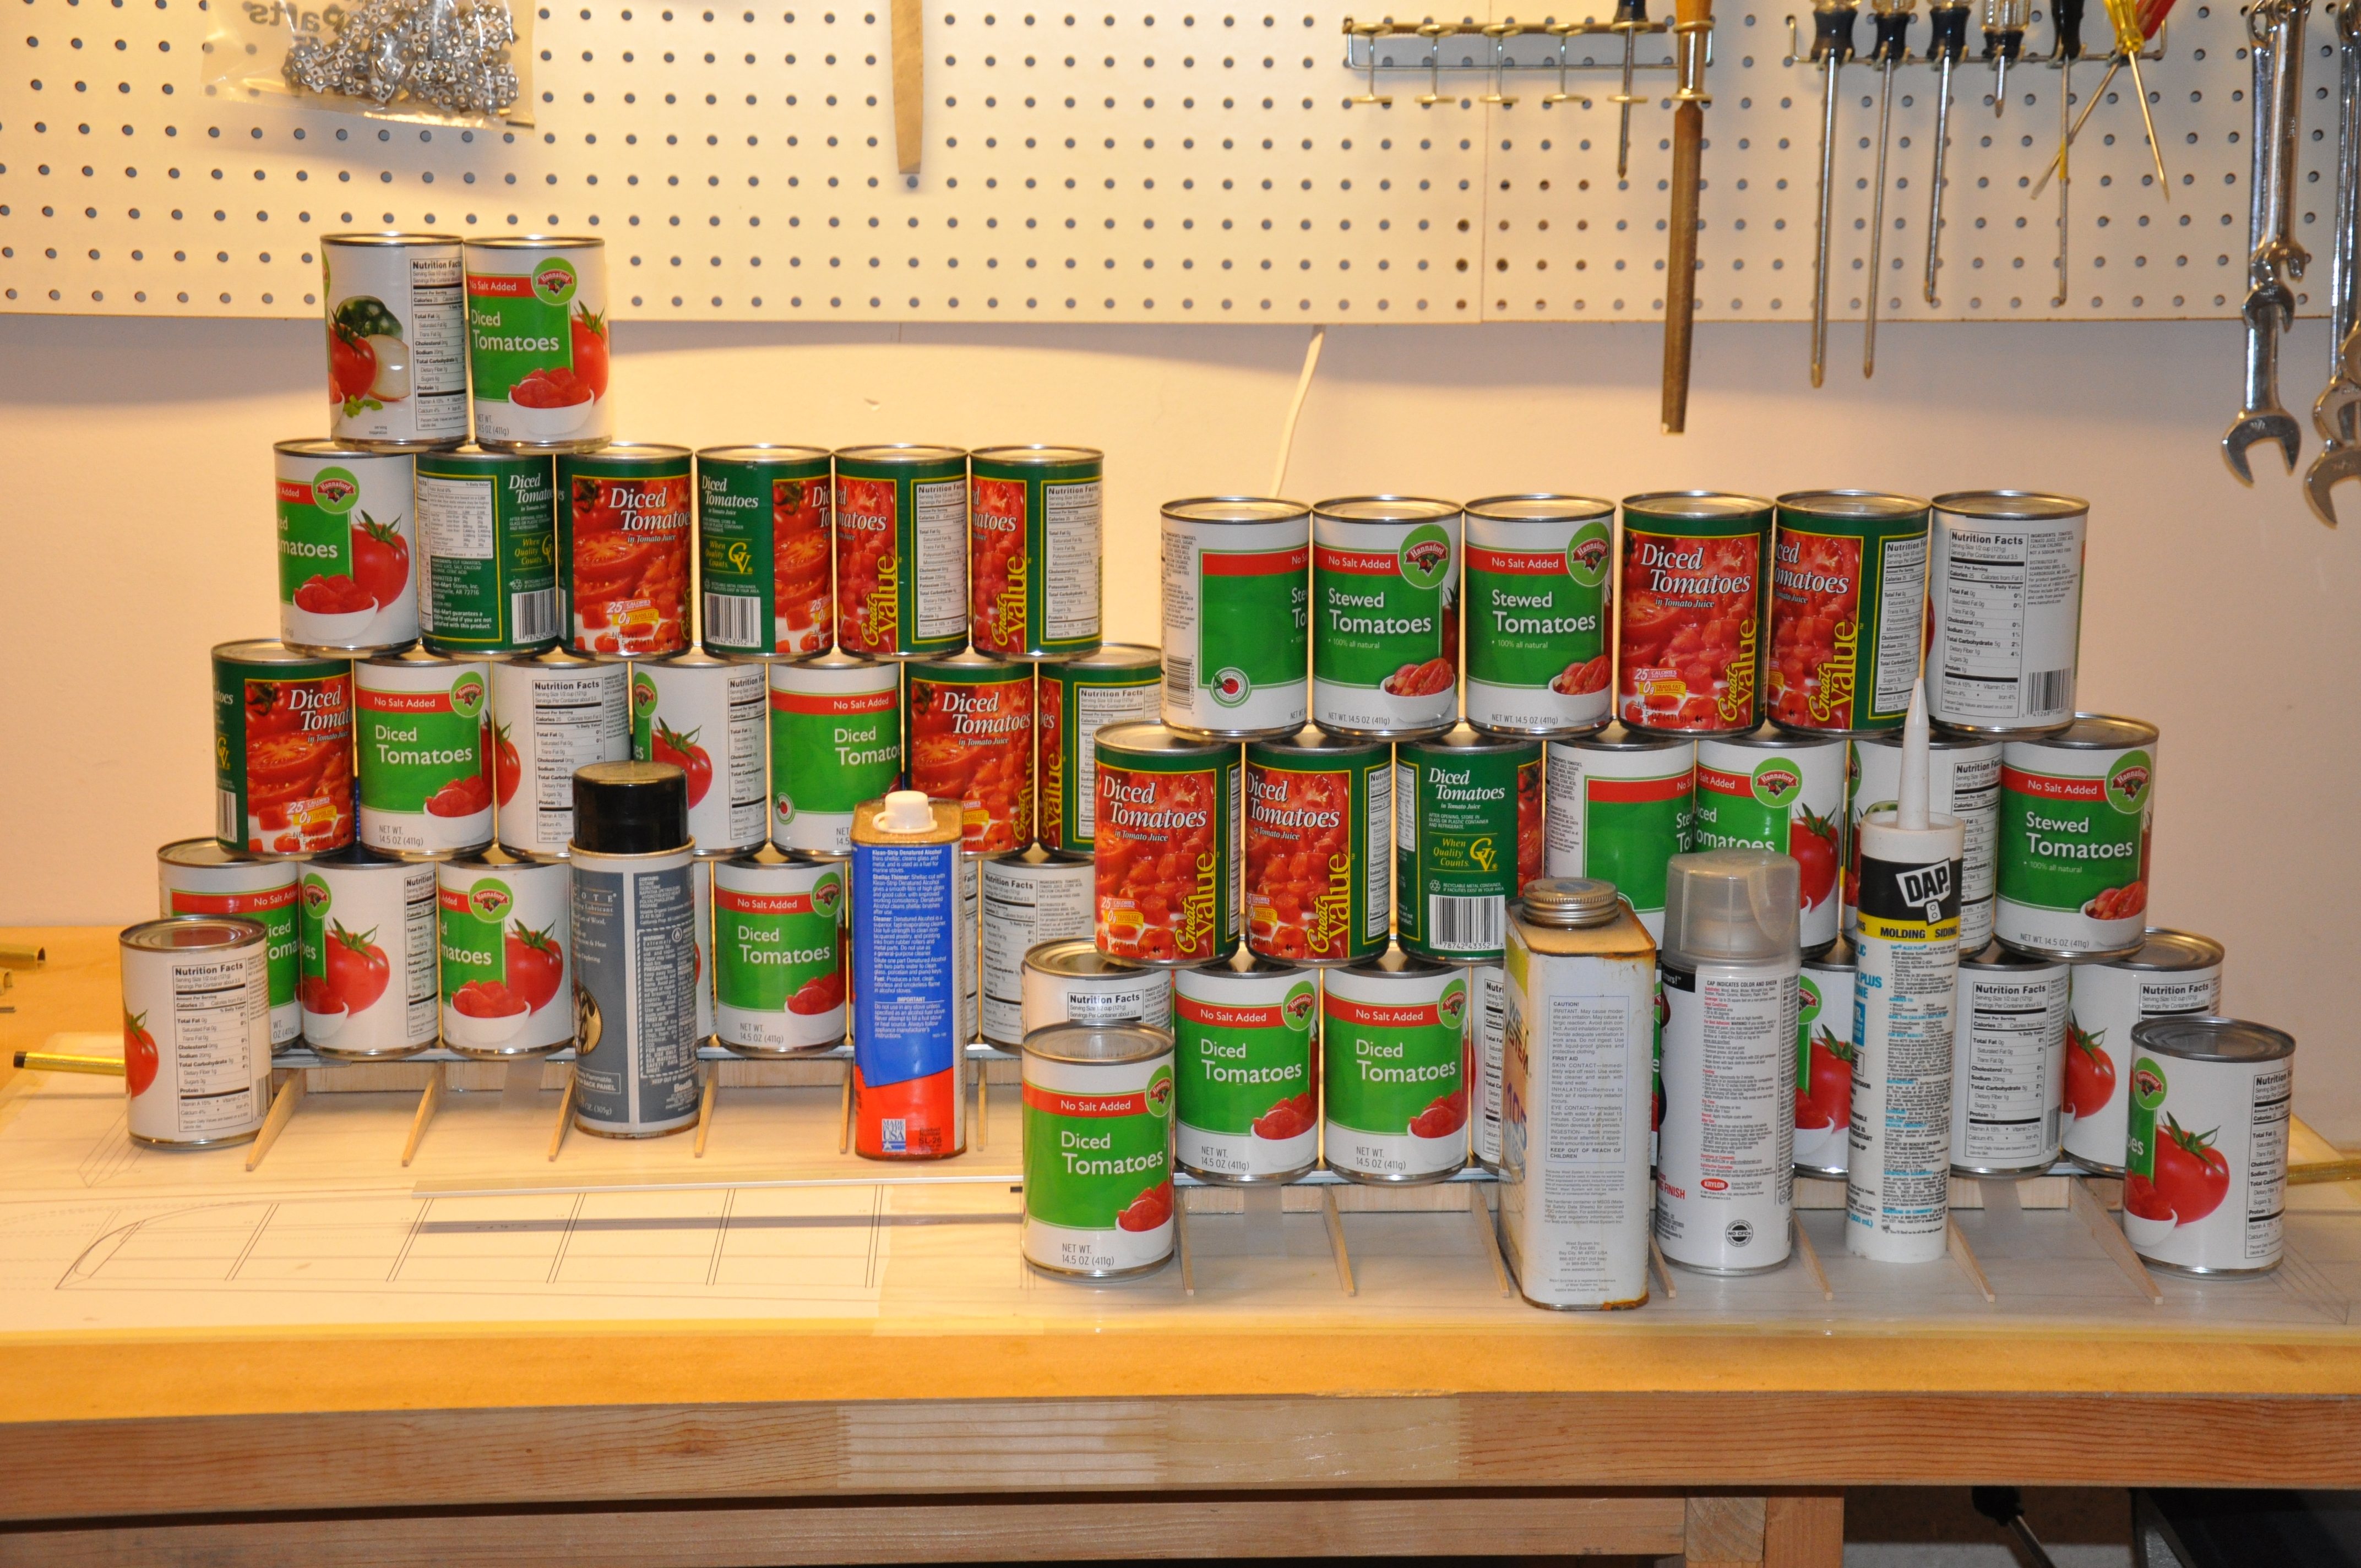
Once everything was in place, I set my foam strip over the top spar cap and weighed the assembly down with cans from the pantry.
Having been through this process previously with the tip panels, I was able to proceed with more confidence and speed. This allowed me to do both panels at the same time.
I allowed the panels to cure overnight before removing the cans.
I cleaned the splooge from the spars and rounded the carbon cap corners.
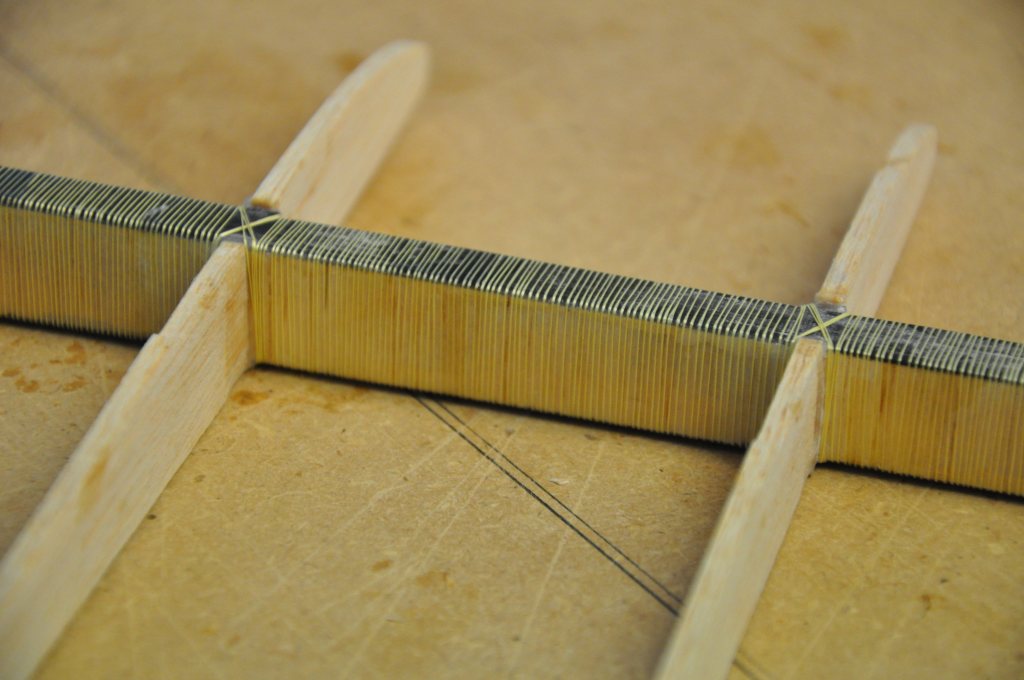
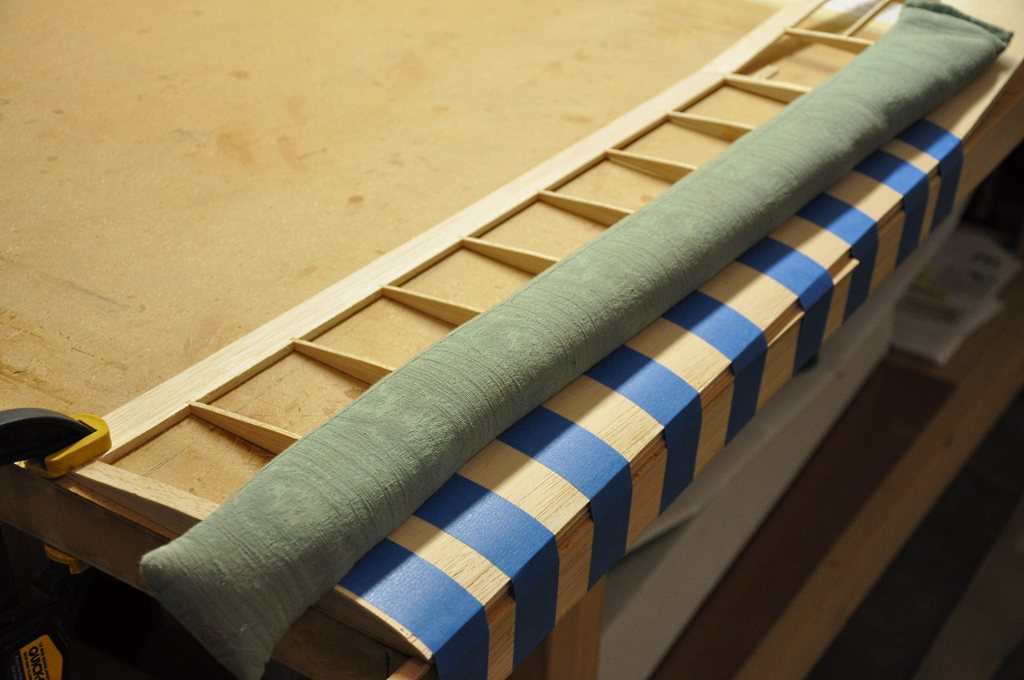
Then as with the other panels, I began the time-consuming process of wrapping the Kevlar thread around the spar.
As before keeping considerable tension while wrapping and maintaining even thread spacing will ensure a strong spar.
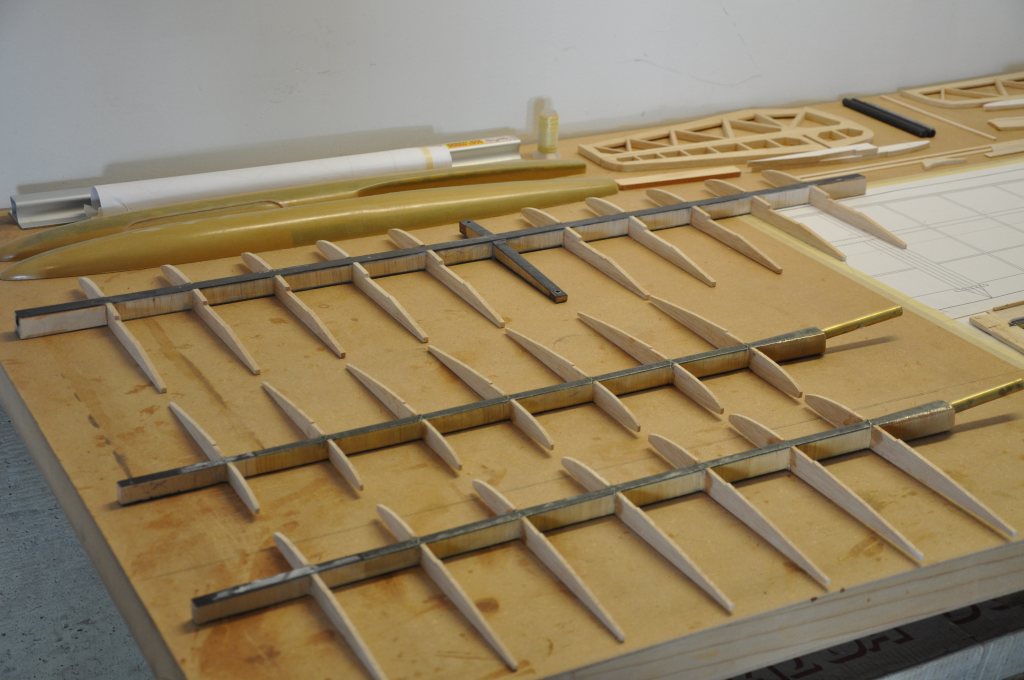
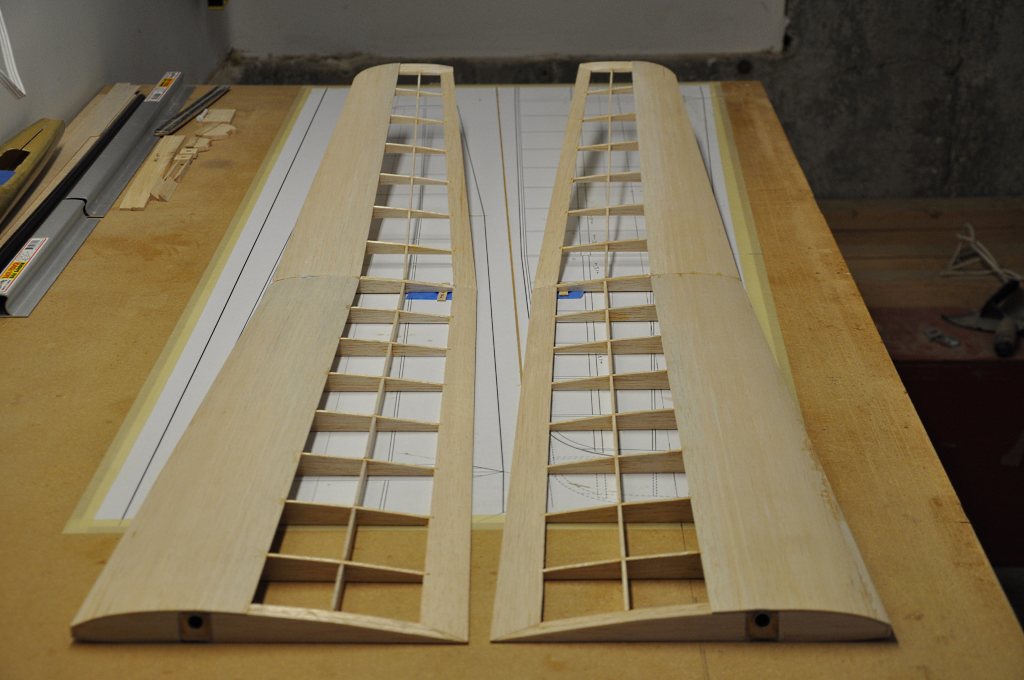
Here is a picture of both mid panels after spar wrapping was completed.
Both spars have also been brushed with a light coat of epoxy to secure the Kevlar thread in place.
You can see at this stage I had the brass joiner tubes still un-shortened and in place in the joiner blocks. You can also see the center panel behind the mid panels. The full length brass tubes were used to align mid and center panels when I was gluing up the center panel spar.
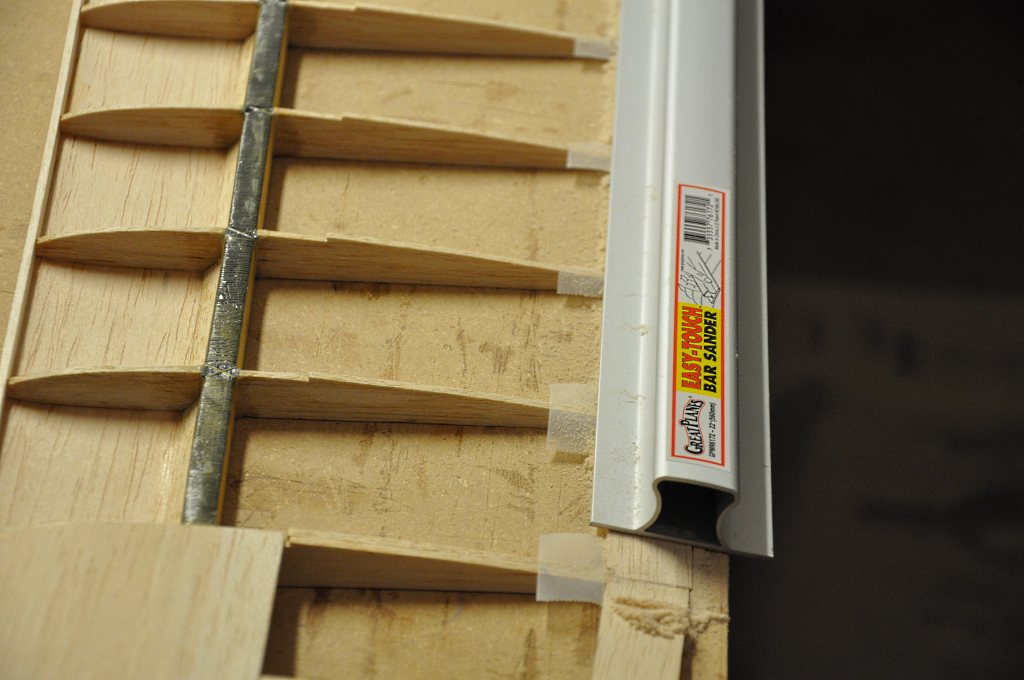
A few steps worth of progress is evident in this picture: the tip panel and mid panel have been joined, the mid's trailing edge has been notched and installed, the mid's inner leading edge has been installed, the mid's lower sheeting is installed and the mid's triangle stock sheeting-to-spar support is in place.
What I was working on here is sanding my oversized trailing edge stock to match the rib profile. You can see that I taped over the ends of the ribs to protect them... obviously the tape is not strong - but surprisingly it's the sound the tape makes when being rubbed by the sanding block that alerts you to stop.
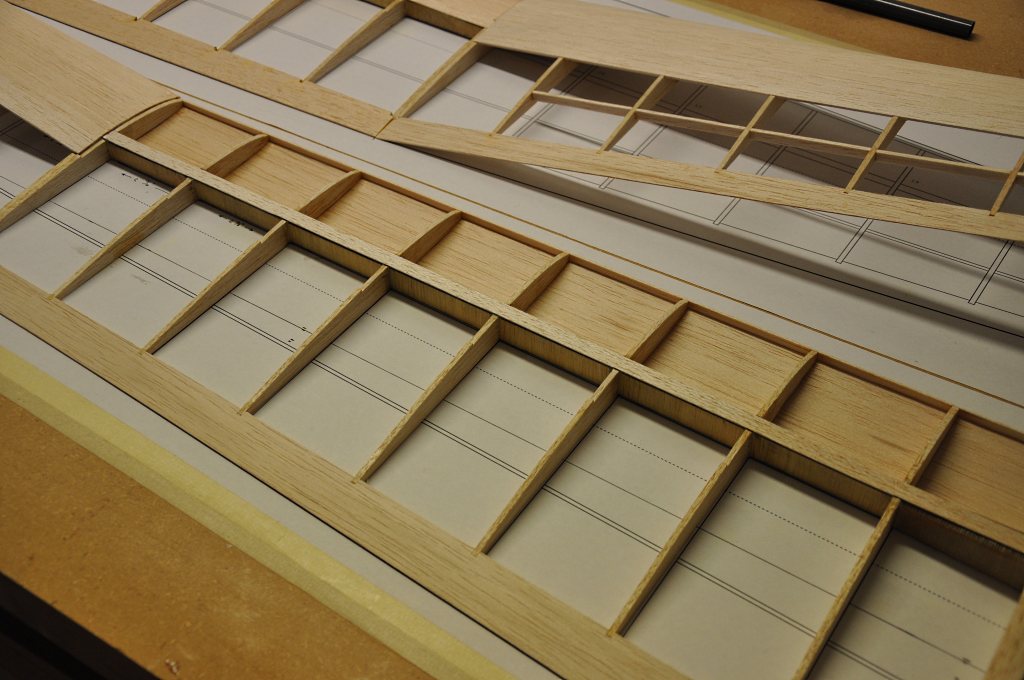
There are two things in this picture that I want to point out that I haven't mentioned elsewhere.
The first is the balsa spar cap on the top of the spar. (I've shown it on the bottom on other pages.) This cap allows us to contour the upper surface of the spar to exactly match the rib at the spar location. This ensures that when the top sheeting is glued in place it will be bump-free and fully supported.
The second is the 3/32" balsa support strips that are placed between each rib halfway to the trailing edge stock. These supports fit right at an almost imperceptible break in the airfoil contour and creates a series of rectangular "panels" in the covering film ensuring airfoil consistency across the entire wing span.
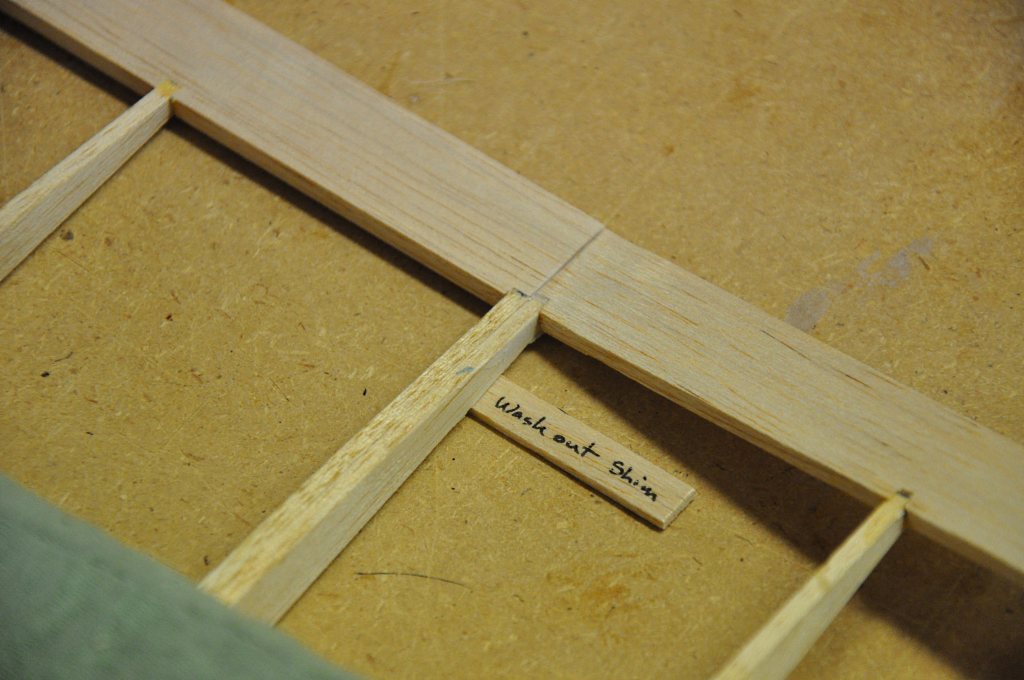
There is an optional 1 degree washout that can be added to the mid panel. Reading online I discovered that a recommended way of introducing the washout is to shim up the trailing edge at the mid-to-tip break when gluing on the mid's top sheeting. So that is what I did here.
I attached the top sheeting with regular Titebond and held it in contact with the spar, ribs and inner leading edge with weight and tape.
Note the shim at the panel break to introduce the washout.
Once the sheeting was dry I trimmed the front of the sheeting to be flush with the inner leading edge and prepared to attach the outer leading edge.
After the gluing on the sheeting, I beveled the 5 degree angle into both mid panel ends.
This shot shows both panels completed up to installing the outer leading edge strips.
This page is not complete yet!
The mid panels are complete, however I still need to prepare more mid panel pictures for placement on this page.
Check back for the completed write-up!
-- Current through June 6, 2011