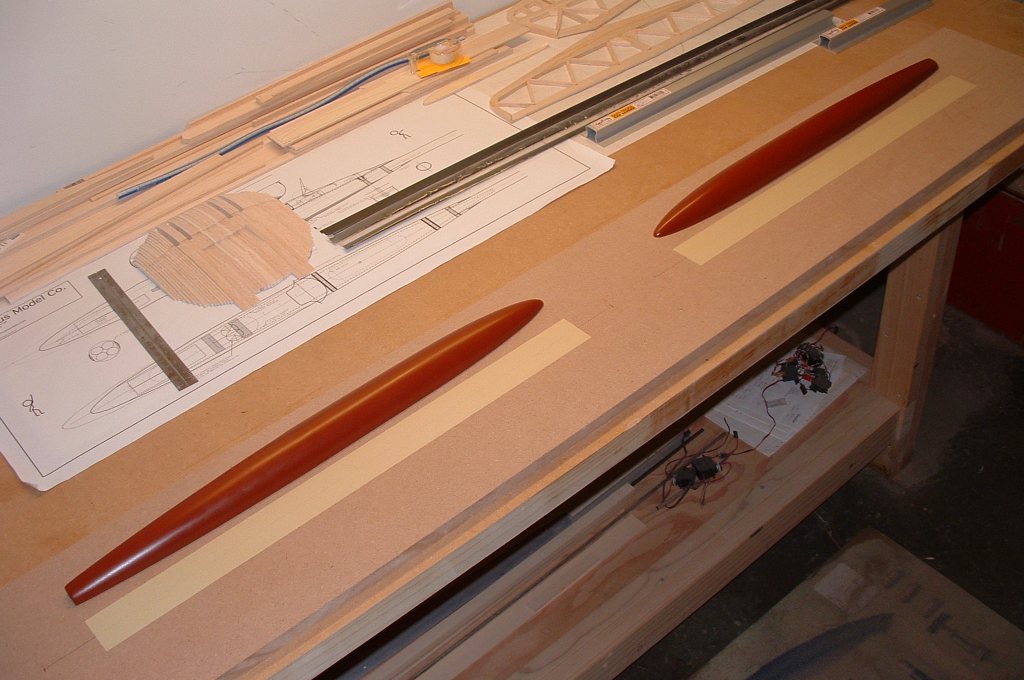
To lay up the mold, I found a scrap piece of MDF that I had in my shop and marked off a space for each plug half.
I made sure to leave enough room around all sides of the plug for the flanges of the molds.
Using regular 2 inch masking tape, I masked off the area on the board where each plug half was to rest.
Next I traced around the outline of each plug and then cut the tape to shape. The tape will keep wax and mold release off this area.
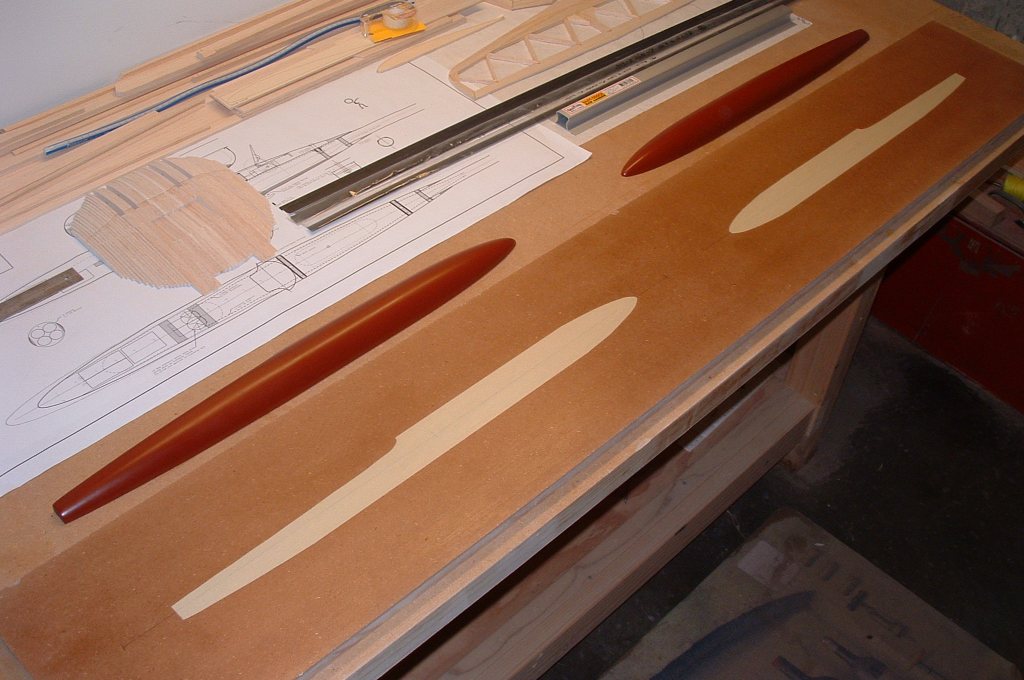
Next I waxed the entire board with three coats of wax.
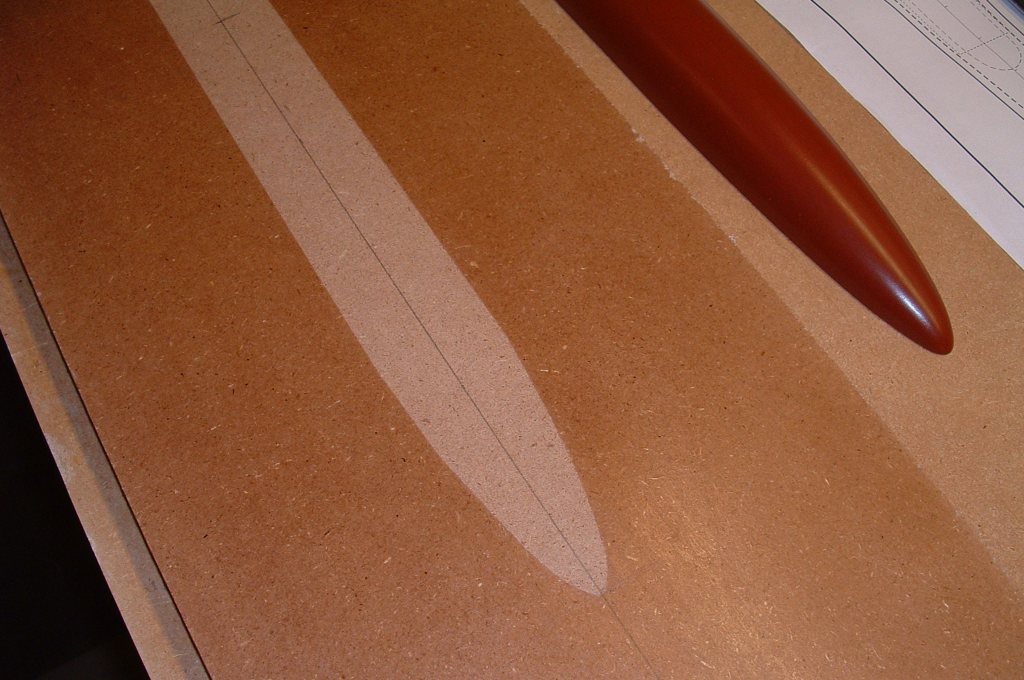
Once the wax was dry and buffed out, I removed the masking tape.
Using a strip of double-sided tape, I secured each plug to it's respective place on the board.
One underestimates the power of double-sided tape, but when it came time to remove the mold from the board, the tape was actually the hardest thing to get loose - by far!

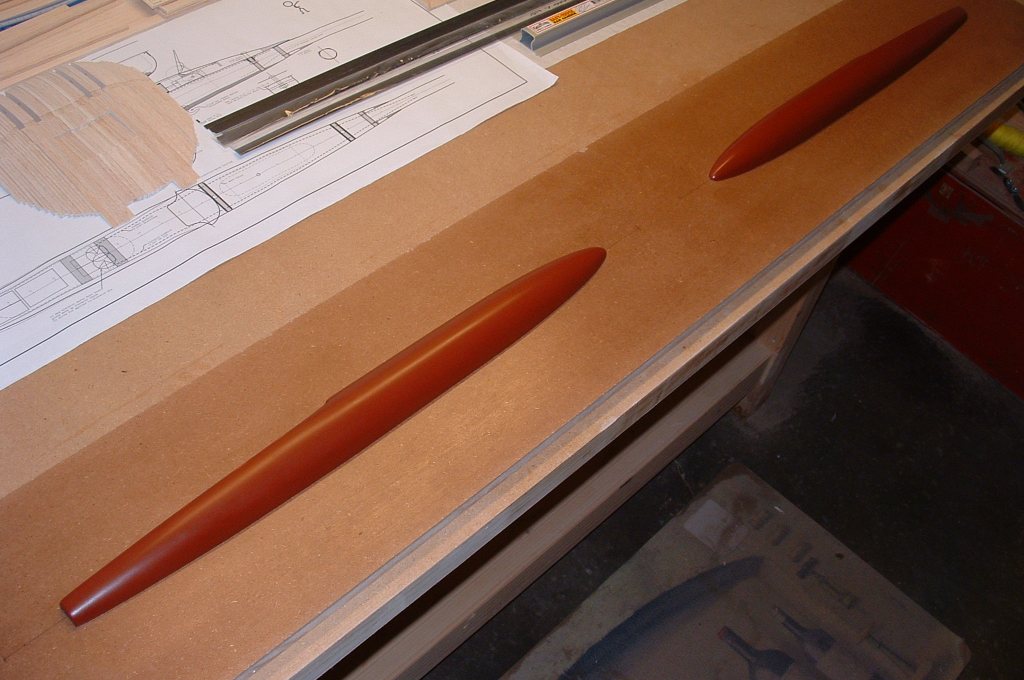
The last step before layup was to apply two coats of Safelease mold release compound over the entire board and plugs.
I wiped on the release compound with a clean, lint free cloth and waited 30 minutes before applying the second coat.
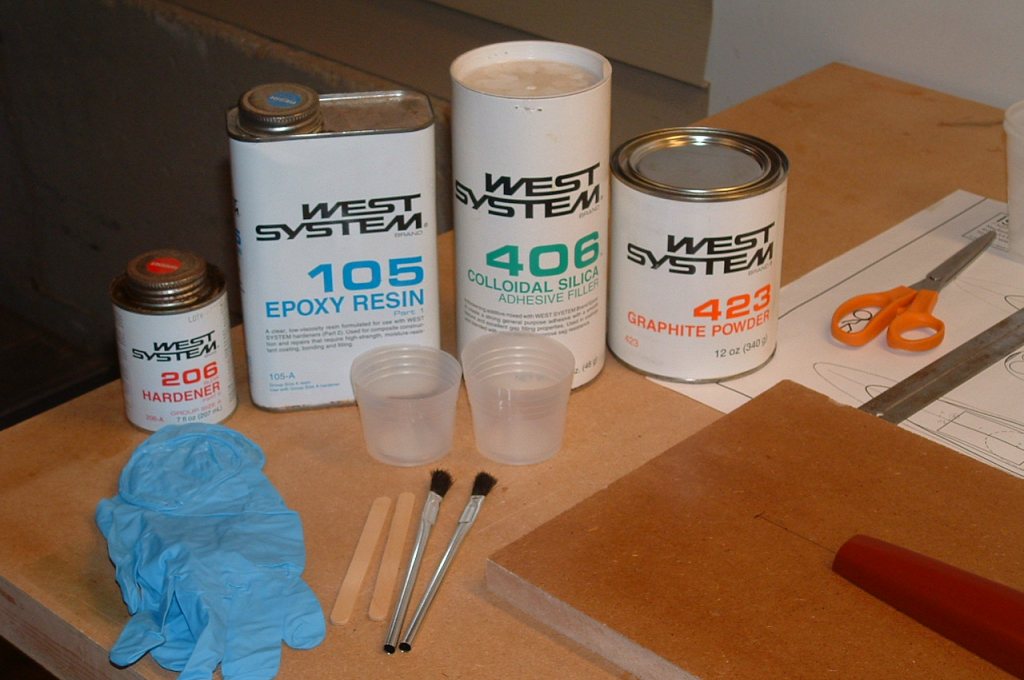
Here are the products I used: West System 105 resin 206 hardener 406 silica and 423 graphite powder to make the gel layer black.
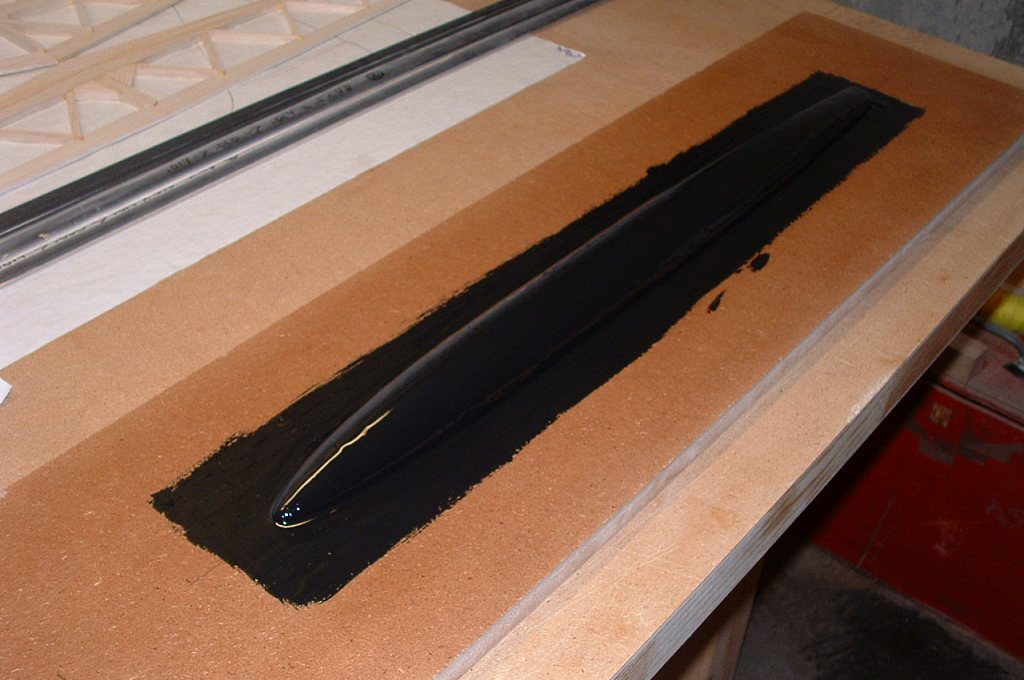
I mixed up a large quantity of epoxy and then added some graphite powder. To this mixture I added the silica powder to thicken the mixture enough so that it had the consistency of ketsup.
I then painted this mixture over the entire plug and enough area on the board to provide a roughly 1 inch flange around the entire mold.
The thickened epoxy helped round out some of the sharper bends to ease glass layup later
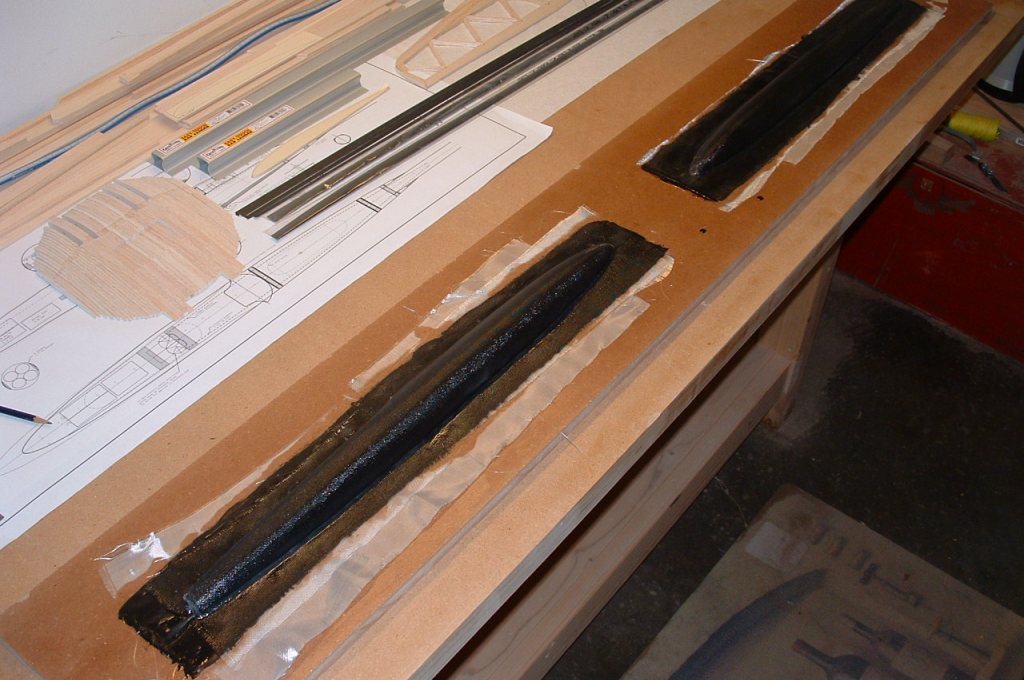
After allowing the gel coat to harden to the point where it was just tacky to the touch, I started adding fiberglass.
I ended up applying 4 layers of glass in two 2-layer increments.

When the glass had set up I surrounded the plug with a layer of core-mat to provide bulk and strength to the flange area of the mold.
Then finally, I applied one more layer of glass over the entire set-up to lock it all in place.
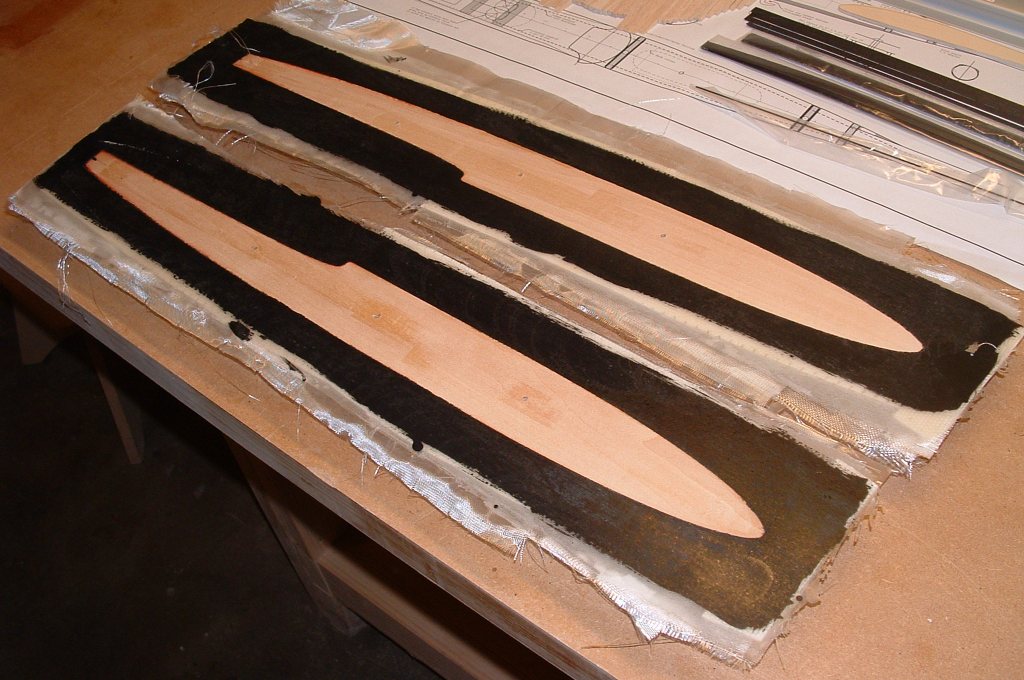
The next morning I carefully removed the molds from the board and was gratified to see two beautifully precise molds!
If you look closely you will see three holes in each plug. These were drilled prior to layup and I screwed screws into them to aid in gently pulling the plugs from the mold.
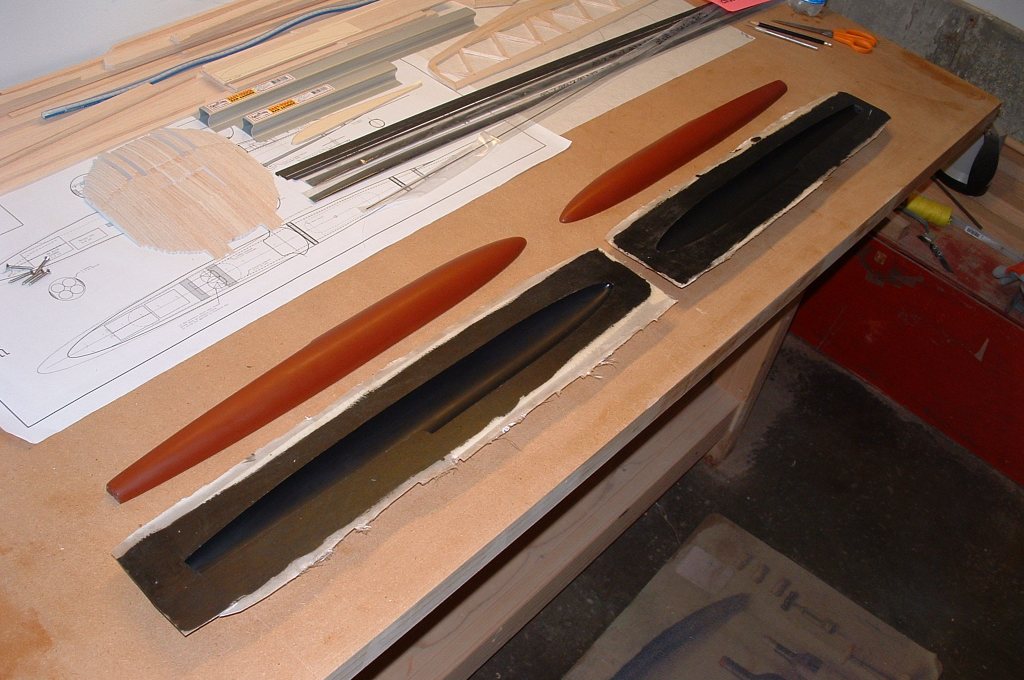
Two nice molds, now separated from their plugs!
Time to pull out my Dremel tool and clean up the excess glass around the edges.

A close-up of the mold and it's corresponding plug.
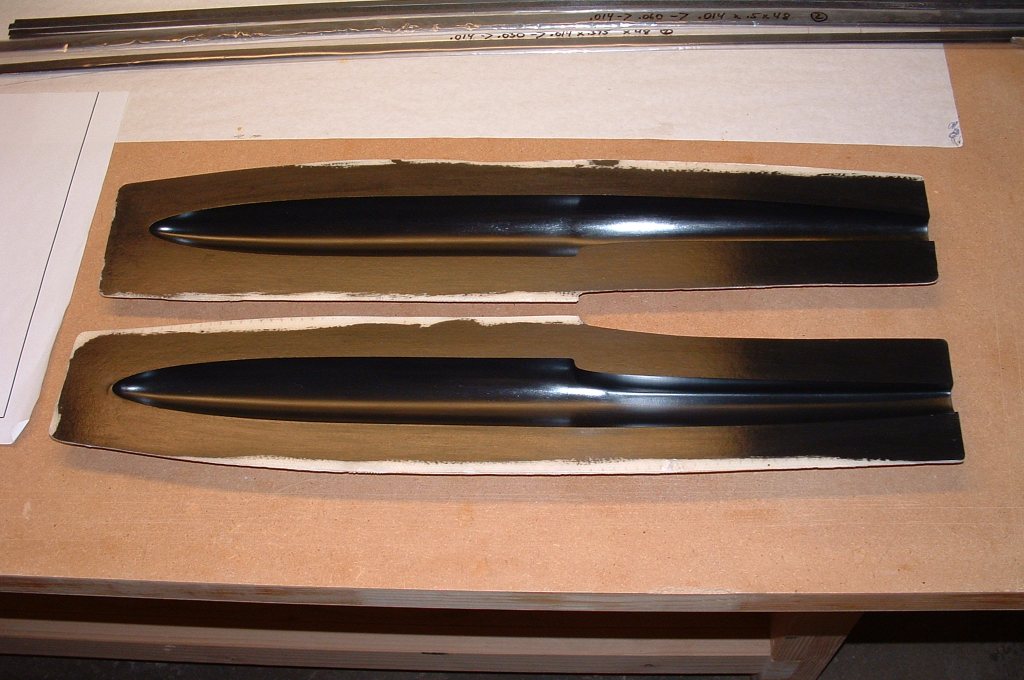
Since these molds will at most, be used for 2 or 3 fuselages, I only did a quick clean up around the edges - mainly to keep from hurting myself when handling them.
I have chosen not to make registration pins because I'm going join the halves at a much later time and that will not be done in the molds.
In this shot, the molds have been waxed multiple times in preparation for making the first fuselage pod.